Dye Job

The Project: Filthy Pants


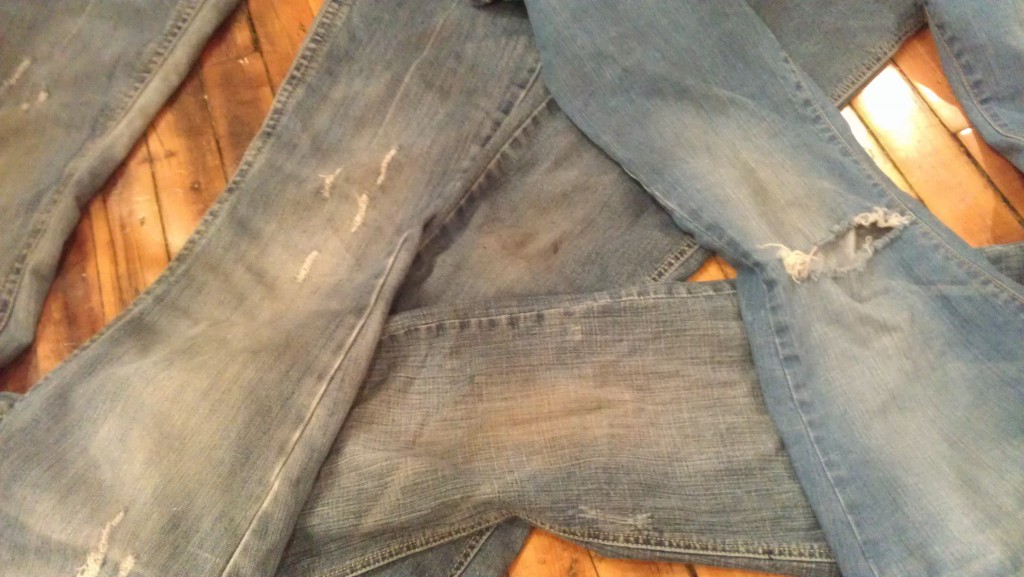
Okay, so the project description isn’t very descriptive, and it isn’t exactly accurate. But I am seriously sick of the short life of the prettiness of jeans. If a day goes by in which I do not spill coffee on my pants while driving, then it’s because I’m wearing a skirt. And as I have outgrown spinning around on my knees, by a couple decades, I have no freaking clue what the heck is up with the knees of every pair.

A bit of Shout extends their lives for a while, but eventually they all come out of the dryer looking like I haven’t washed them and there’s nothing else to do for it but dye them.


Well, I’ve double-checked and determined that I didn’t save any of the rest of the shots of the process. I don’t remember them being very good or very informative, anyway.

I put all my jeans, as well as some denim scraps to be used to patch knee holes into a very large pot filled with several packs of dye. They came out not nearly dark enough and the knees continued to look ugly. I also spilled some drips onto the shirt I was wearing and couldn’t get them out.

So the next round happened in a larger bucket with a lot more packets of dye and included the dye-spotted shirt and a dress belonging to my roommate that had a dull white bodice.


Reception Dress

The Project: take in and shorten a reception dress that was covered in beads and sequins. For an out-of-state bride getting married in a couple weeks.


This dress is a very silky, loose-woven chiffon and is cut on the bias. It’s hard to tell how it will lay on the actual wearer, because the drape of it will be different on anyone who puts it on.

I pinned it on the bride-to-be and determined that taking it in in the sides would make the most sense at the back-center zipper.

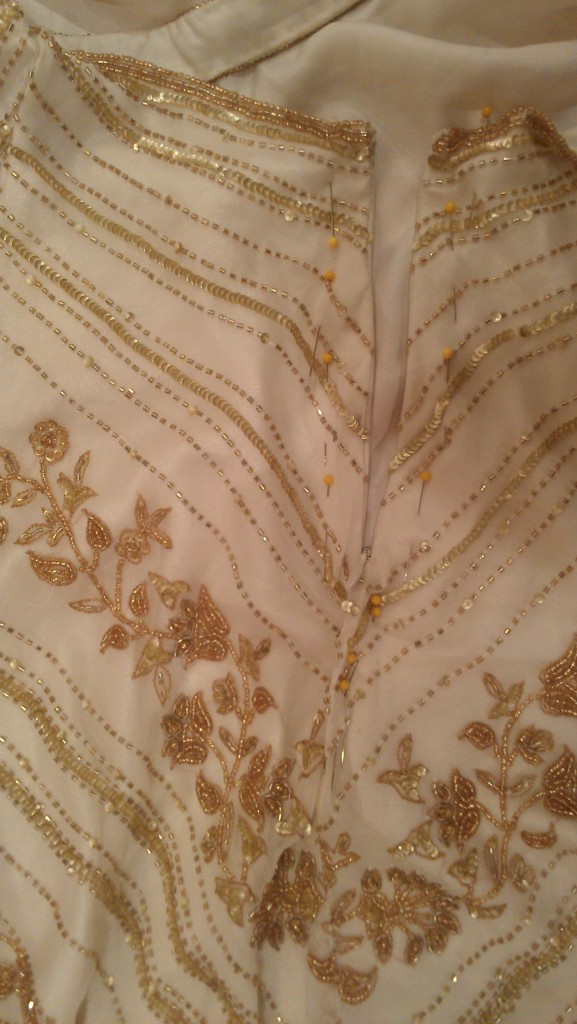
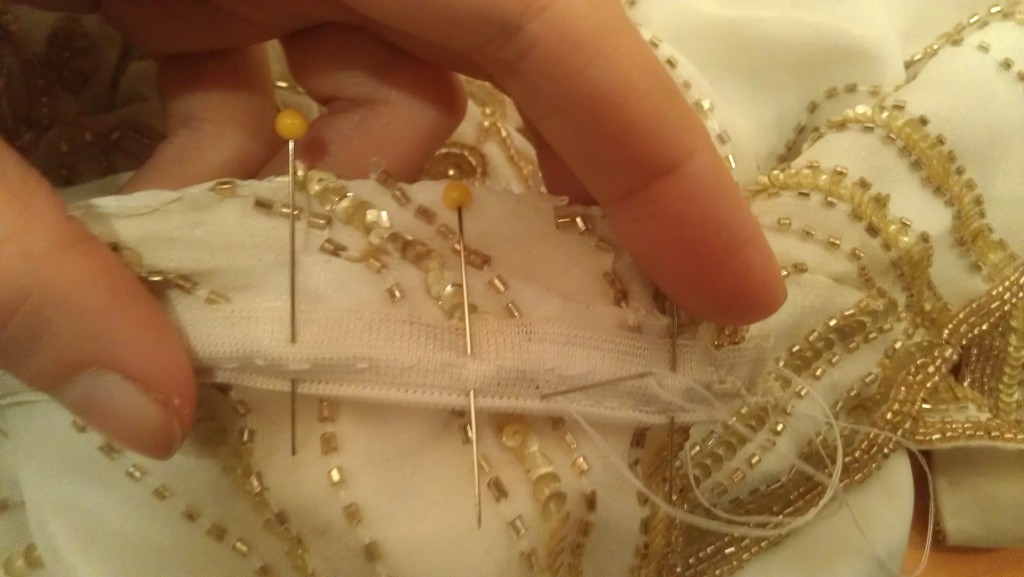
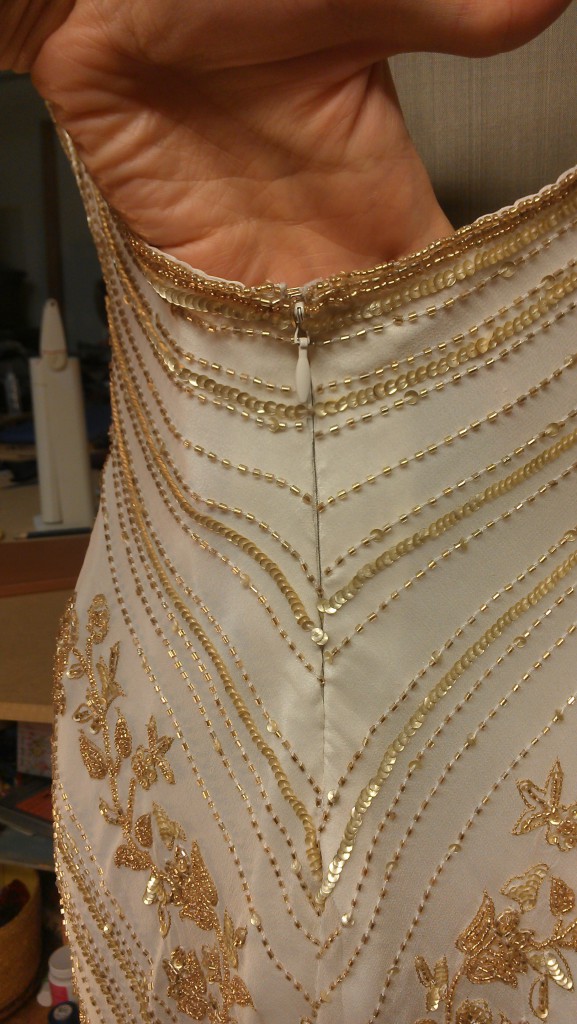
Once I delved into it, I discovered there was no machine sewing to be done, pretty much anywhere. I removed the zipper and replaced it by hand:

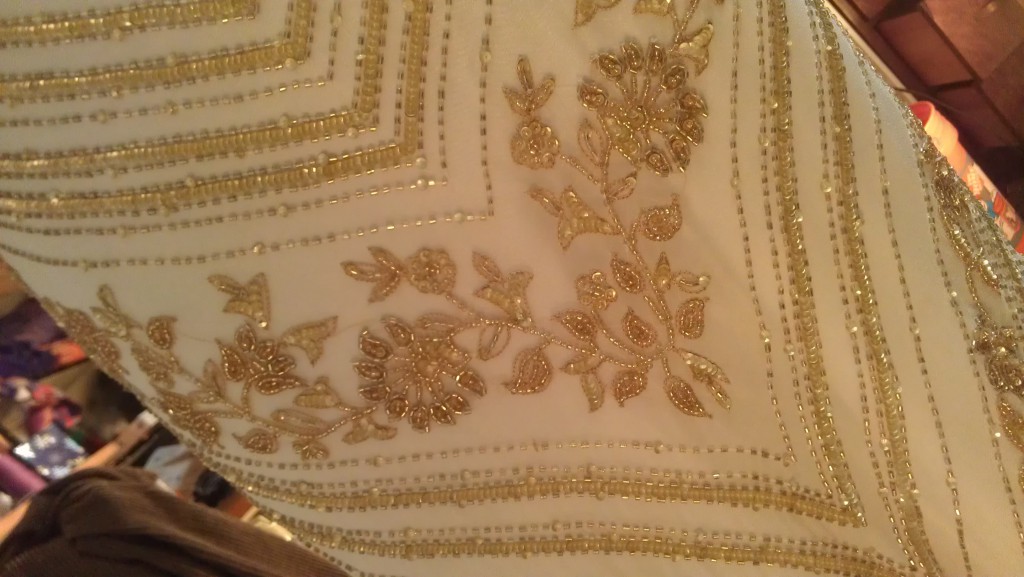
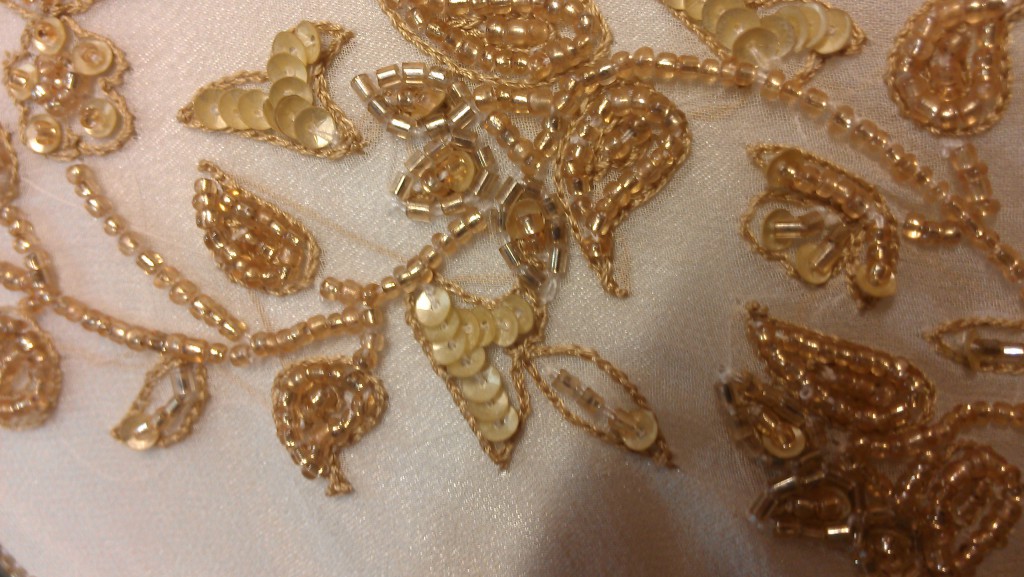
Working with this dress was incredible. It’s hard to tell how much of the beadwork was done by hand, and despite some scrutiny by both my designer-creator friend Denise and myself, we couldn’t come to any solid conclusions.

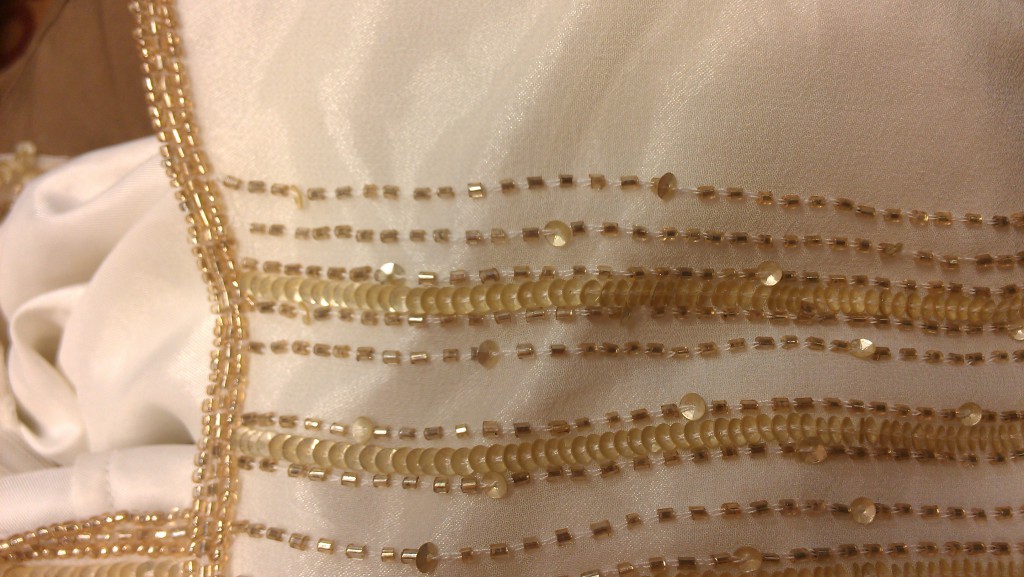
The periodically interspersed sequins into the lines of seed beads are a nice touch:

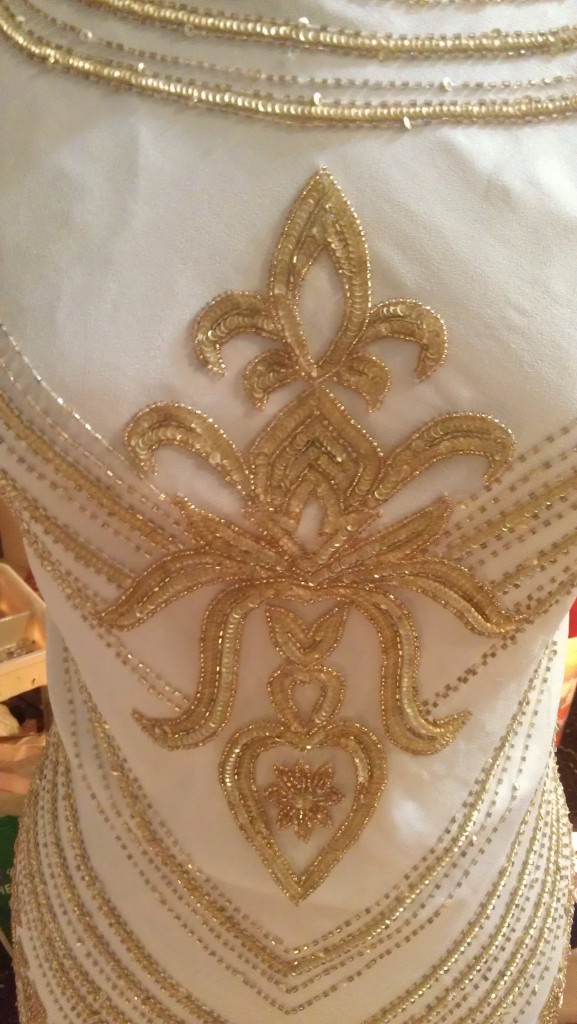
Look at this and keep in mind that it is done on the bias on the shiftiest, slidingest chiffon:

Seriously:

Remember this is not an applique. And it isn’t backed with stabilizer:

I had to find a balance between getting both edges right up on top of each other to hide the invisible zipper vs. making the beads lumpy against the edge or getting them too close to the teeth:

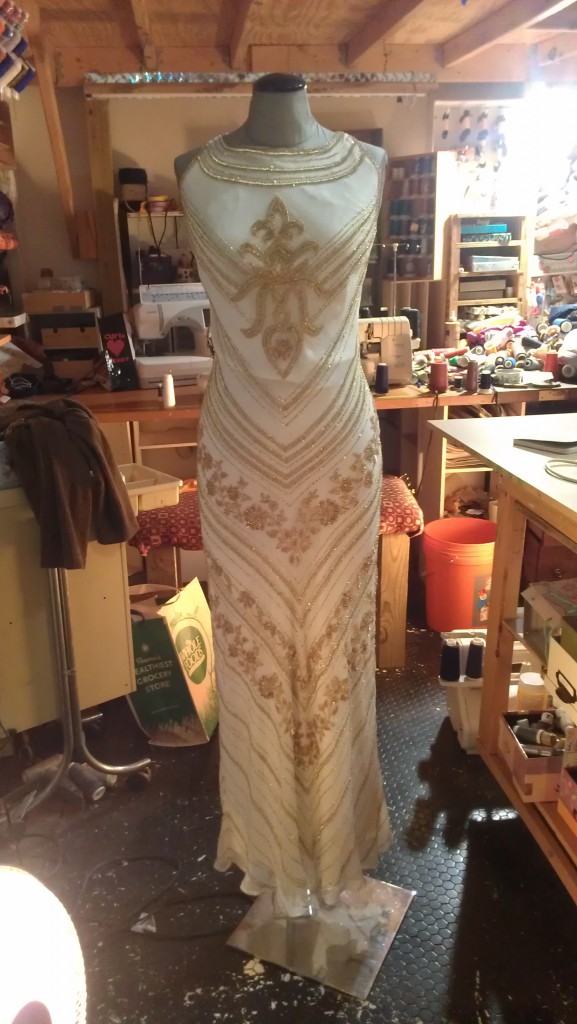
Here it is finished, hand-sewn hem and everything:

Added drama: despite planning to go to the wedding, I figured with something this last minute and this important, I’d better not be responsible for hand-delivering it and not losing it in transport. I could so see sleeping in late and missing the plane. So I sent it by Fed-Ex so it would arrive 2 or 3 days before the wedding.

I hadn’t paid attention to the tracking number and was out and about without the receipt when the groom called to ask about the dress’s whereabouts. Since I’d paid by debit, the tracking number was luckily listed in my online bank summary, and we discovered that some weather conditions (neither rain, nor snow, nor sleet, nor hail, my butt) had held it up–to the extent that it arrived shortly after I did.

Which doesn’t necessarily mean that we’d have been better off with me hand-delivering it; I’ve heard too many stories of items being stolen off planes, and after our adventure in ridiculousness in flying Spirit, I wouldn’t have gotten off that little toy plane too surprised if all my luggage had been replaced with a sack of potatoes.


Racing Stripes

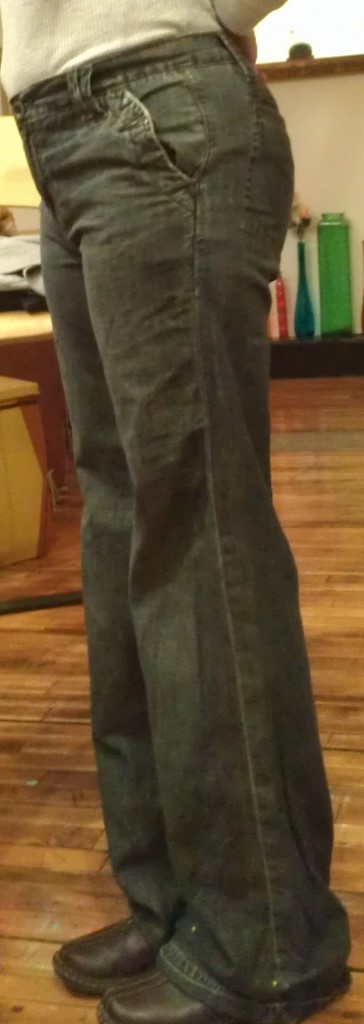
A client brought me a number of items that were just a little too small. A couple of them, I added what I like to mentally refer to as “racing stripes” up the side, though calling them that out loud to clients generally gets a negative response.

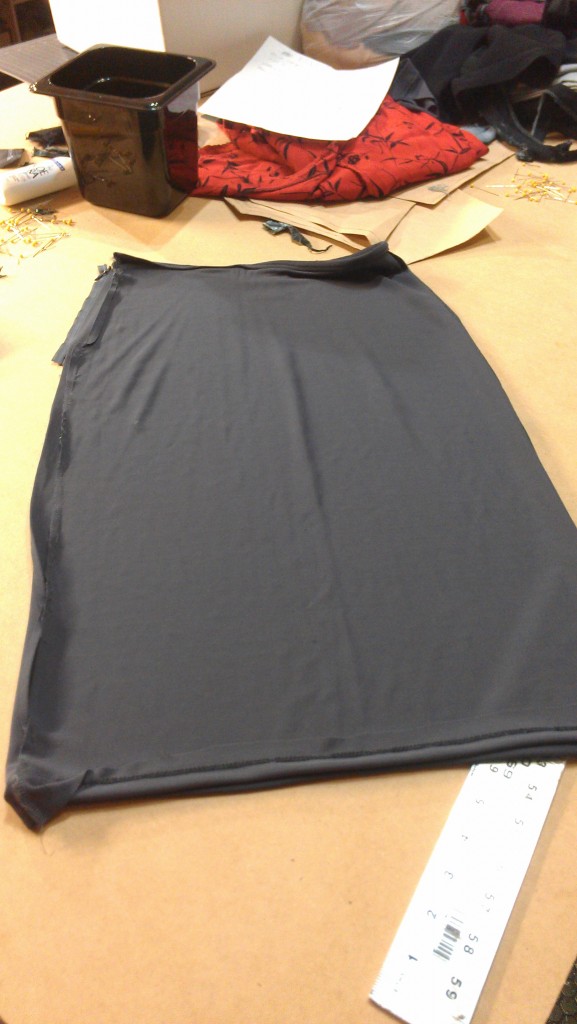
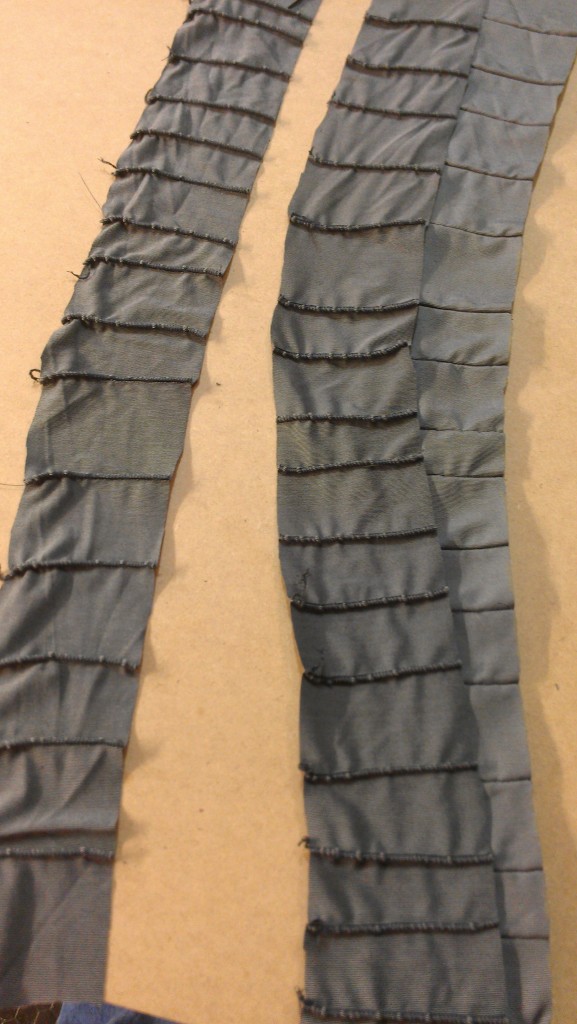
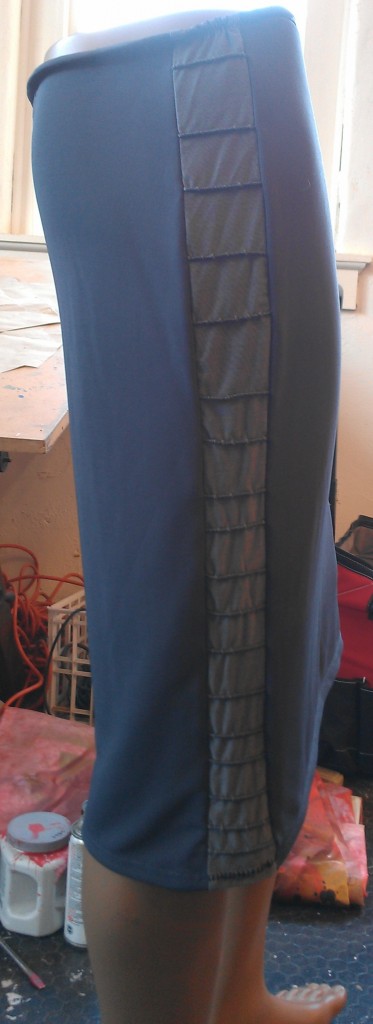
For both the jeans and the skirt, I added a contrasting grey stripe; for the skirt, I serged horizontal stripes to give it a textural difference and add some interest. I made one long piece that was more than wide enough for both sides, then cut it into strips:

And the results:

Dying Linen Pants: Do Not Try This at Home

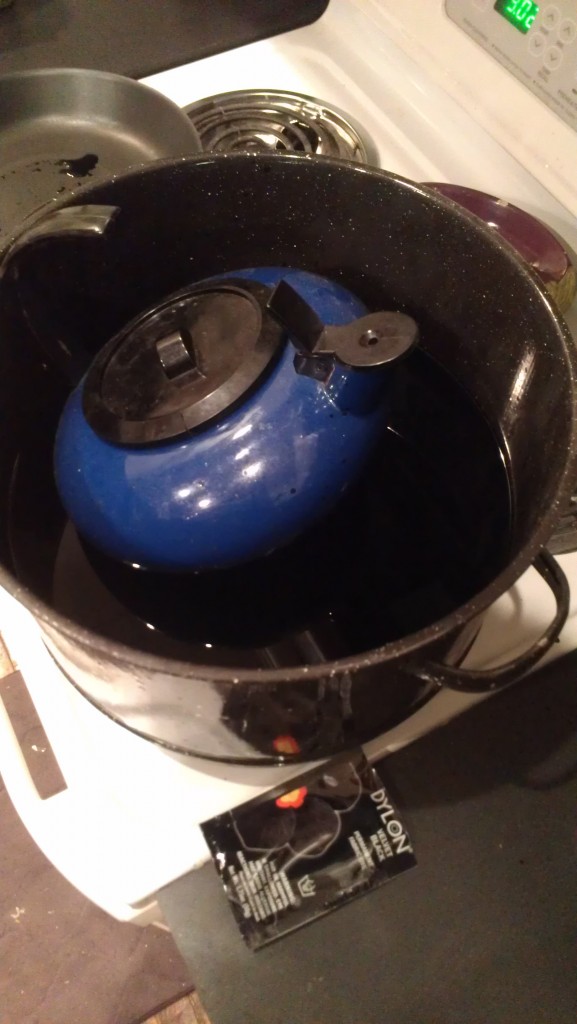
A client gave me a pair of pale green linen pants that had an unremovable spot on them and asked me to dye them black. In an attempt to get them as black as possible, rather than greyish, I used 3 packages of dye in as small an amount of water as possible. Since linen can shrink, I couldn’t boil the water or the pants themselves; I used sink-warm water. To keep the pants from floating, leaving some of the fabric outside of the dye and potentially making it splotchy, I weighted it down with heavy things–a large lid and a full kettle:
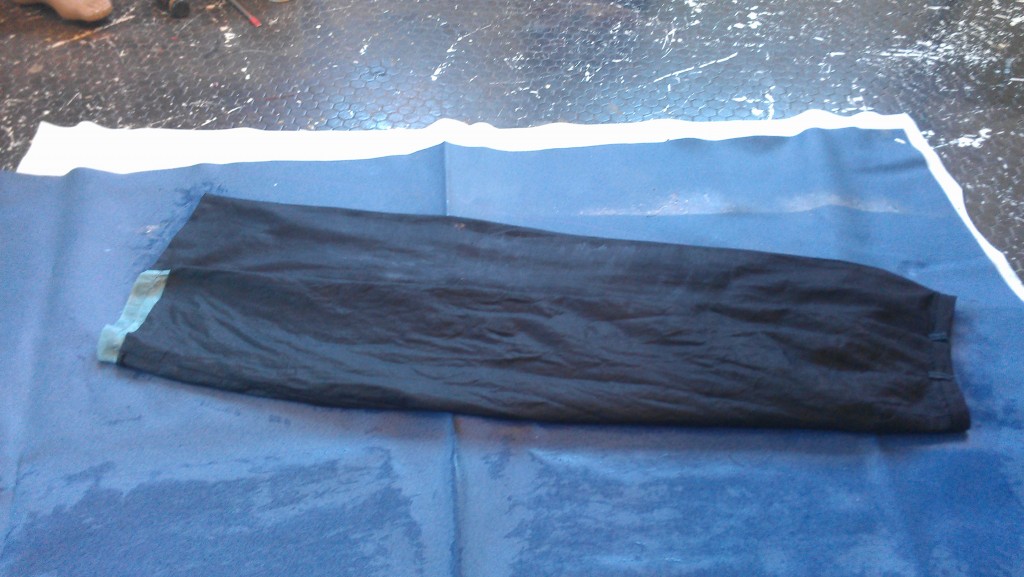
Usually, permanently and seriously setting dye into fabric involves washing in hot water and running it through the dryer. I settled for washing it in cold water, but still pulled it out of the washer about 4 inches smaller.

Here it is with the lining hanging out and a Barbie-sized waistband:
If you had asked me a week ago if clothes could be stretched out larger, I would have recalled the time in highschool when a friend of mine got sent to the office for a “paper stretcher,” essentially an academic snipe hunt, and I would have laughed at you. But while holding a client’s apparently ruined garment, I went ahead on a google search for fabric stretching.

Turns out it IS possible. Most sites recommend soaking it in conditioner beforehand, which I did, though I’m not sure that’s entirely necessary. I used the piano harp to weight it on one end and some paint cans with handweights on top on the legs. I put the paint cans in plastic bags to protect the pants from whatever might be on the cans.
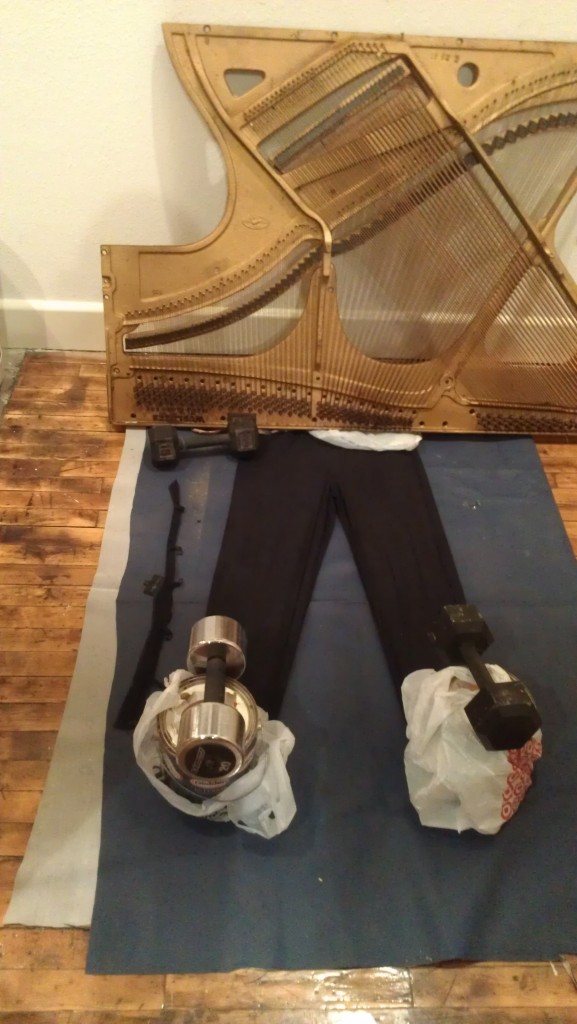
The pants mostly shrank up, but not so much side-to-side. The reason the waist looked like it shrank so much is because the grain of the waistband was horizontally the same as the vertical grain of the pants themselves. I had to pull off the waistband to effectively stretch the pants, and when I tried to stretch the band, the ease clipped into it ripped. So I gave the band up for lost and just stretched the belt loops.

It pulled back to the original length, but it became increasingly obvious that the dye had not set.
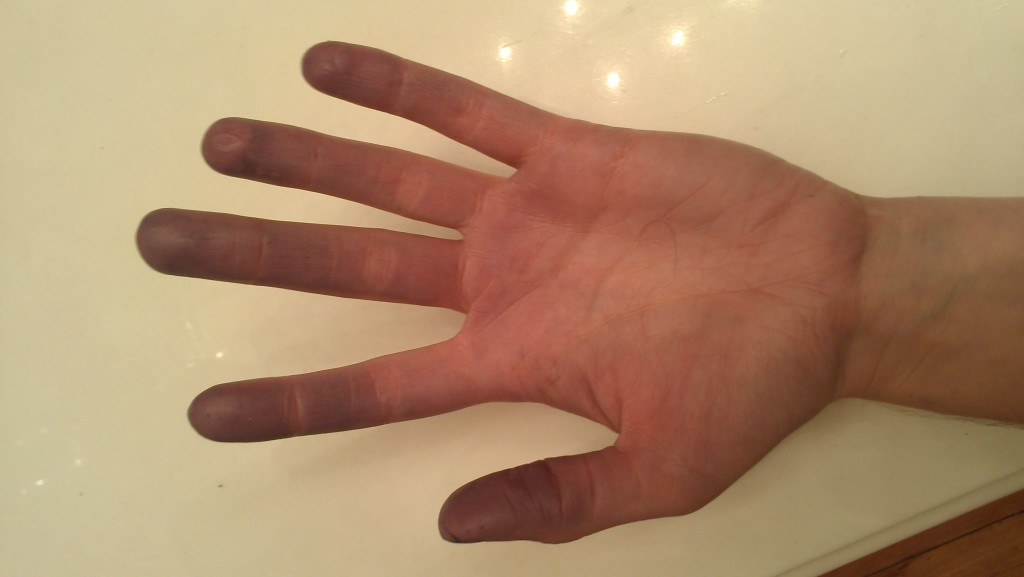
I didn’t wear gloves while messing around with the stretching and the dye kept coming off all over my hands. So I washed the pants in a gentle cycle of cold water with vinegar. I stitched the belt loops into a baggie made of scrap fabric so they could also be washed in the vinegar without getting lost.

The pants came out 2 inches shorter again, and the dye was still coming off to the touch. I washed them again, including more soaking time, in a larger quantity of vinegar, and they shrank back down by a total of 4 inches.

I stretched them again and made a new waistband. The client tried them on and was pleased with the color and happy with the length. They’re still a little bit too narrow in the hips,  so I do need to attempt to stretch them out more horizontally, though it’s only by about an inch at the most.

Racing Stripes

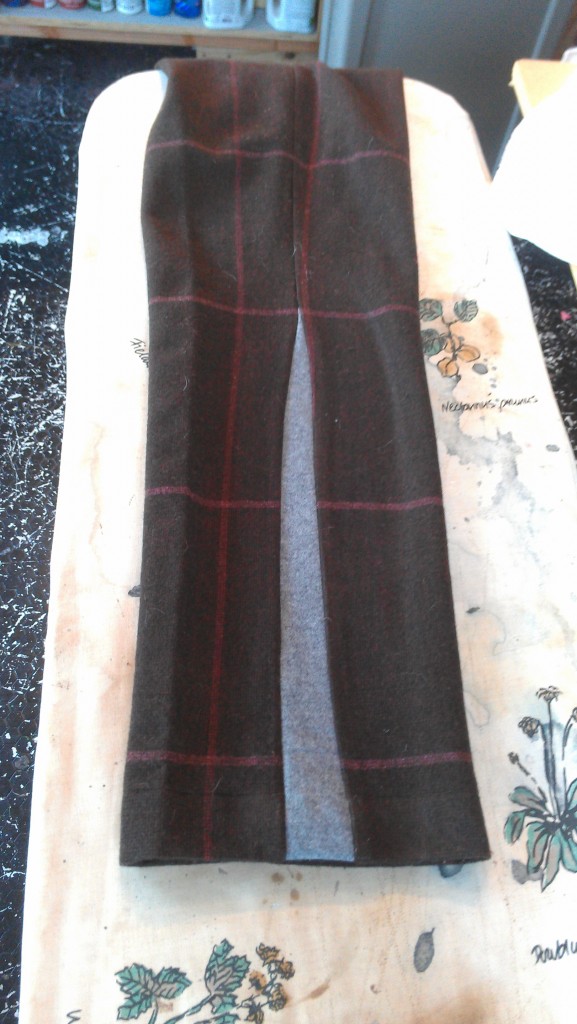
These are some wool slacks cut like skinny jeans, with rivets and everything. The client generally wears boots, so I added some similar-weight cashmere godets in the side seams up to the knee.

I stitched some scrap fabric over the rivets so they wouldn’t poke out and wear on the ribbon or look lumpy.

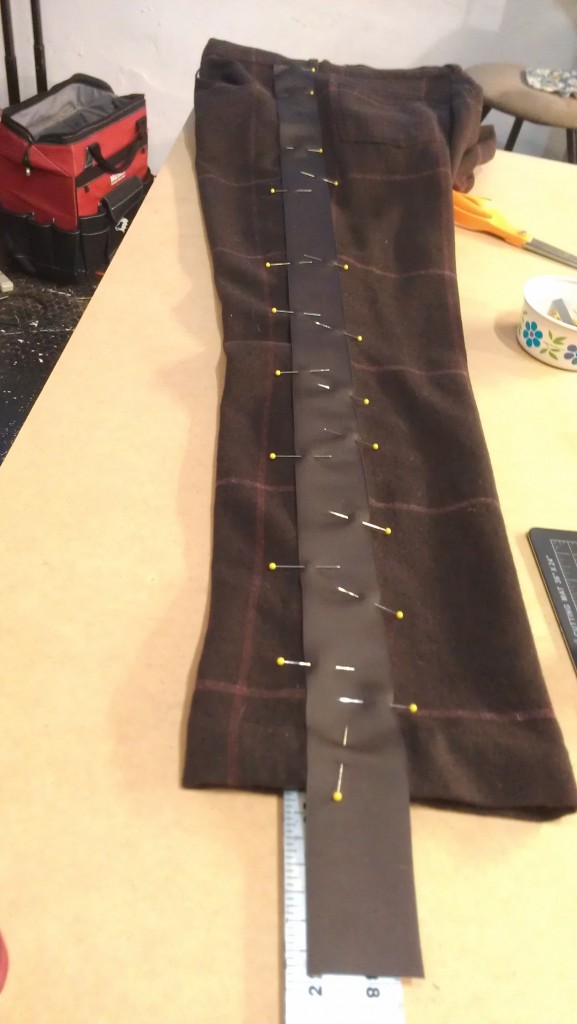
I pinned this grosgrain ribbon up the side seam with a ruler inside the leg so I wouldn’t pin through more than one layer of fabric:

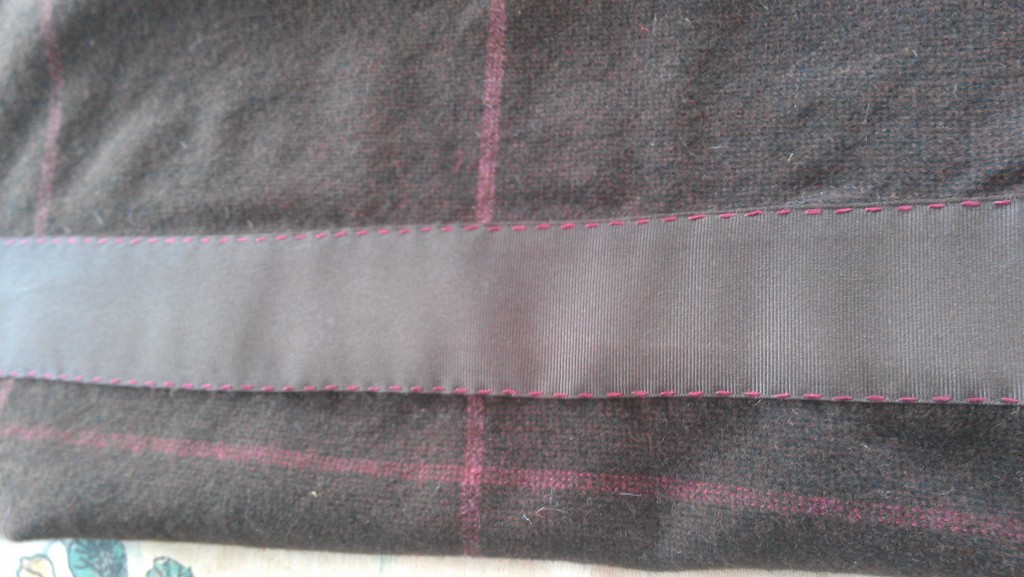
I matched the maroon of the stripes in the fabric and quadrupled the thread so it would show up. The grosgrain stripes made it easy to keep the stitches even–4 stripes on, 4 stripes off.

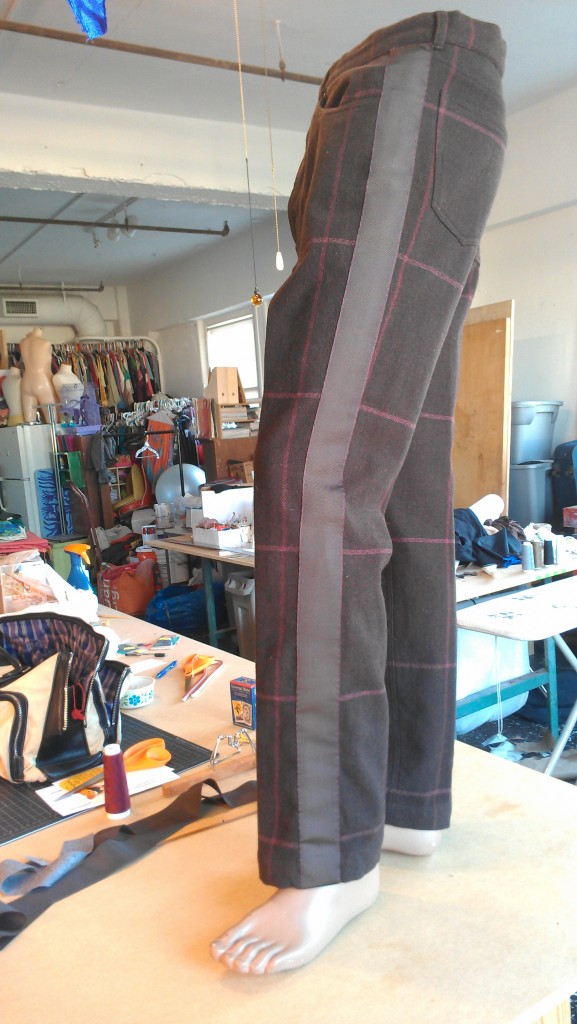
It came out looking pretty sharp: