Christmas Pants

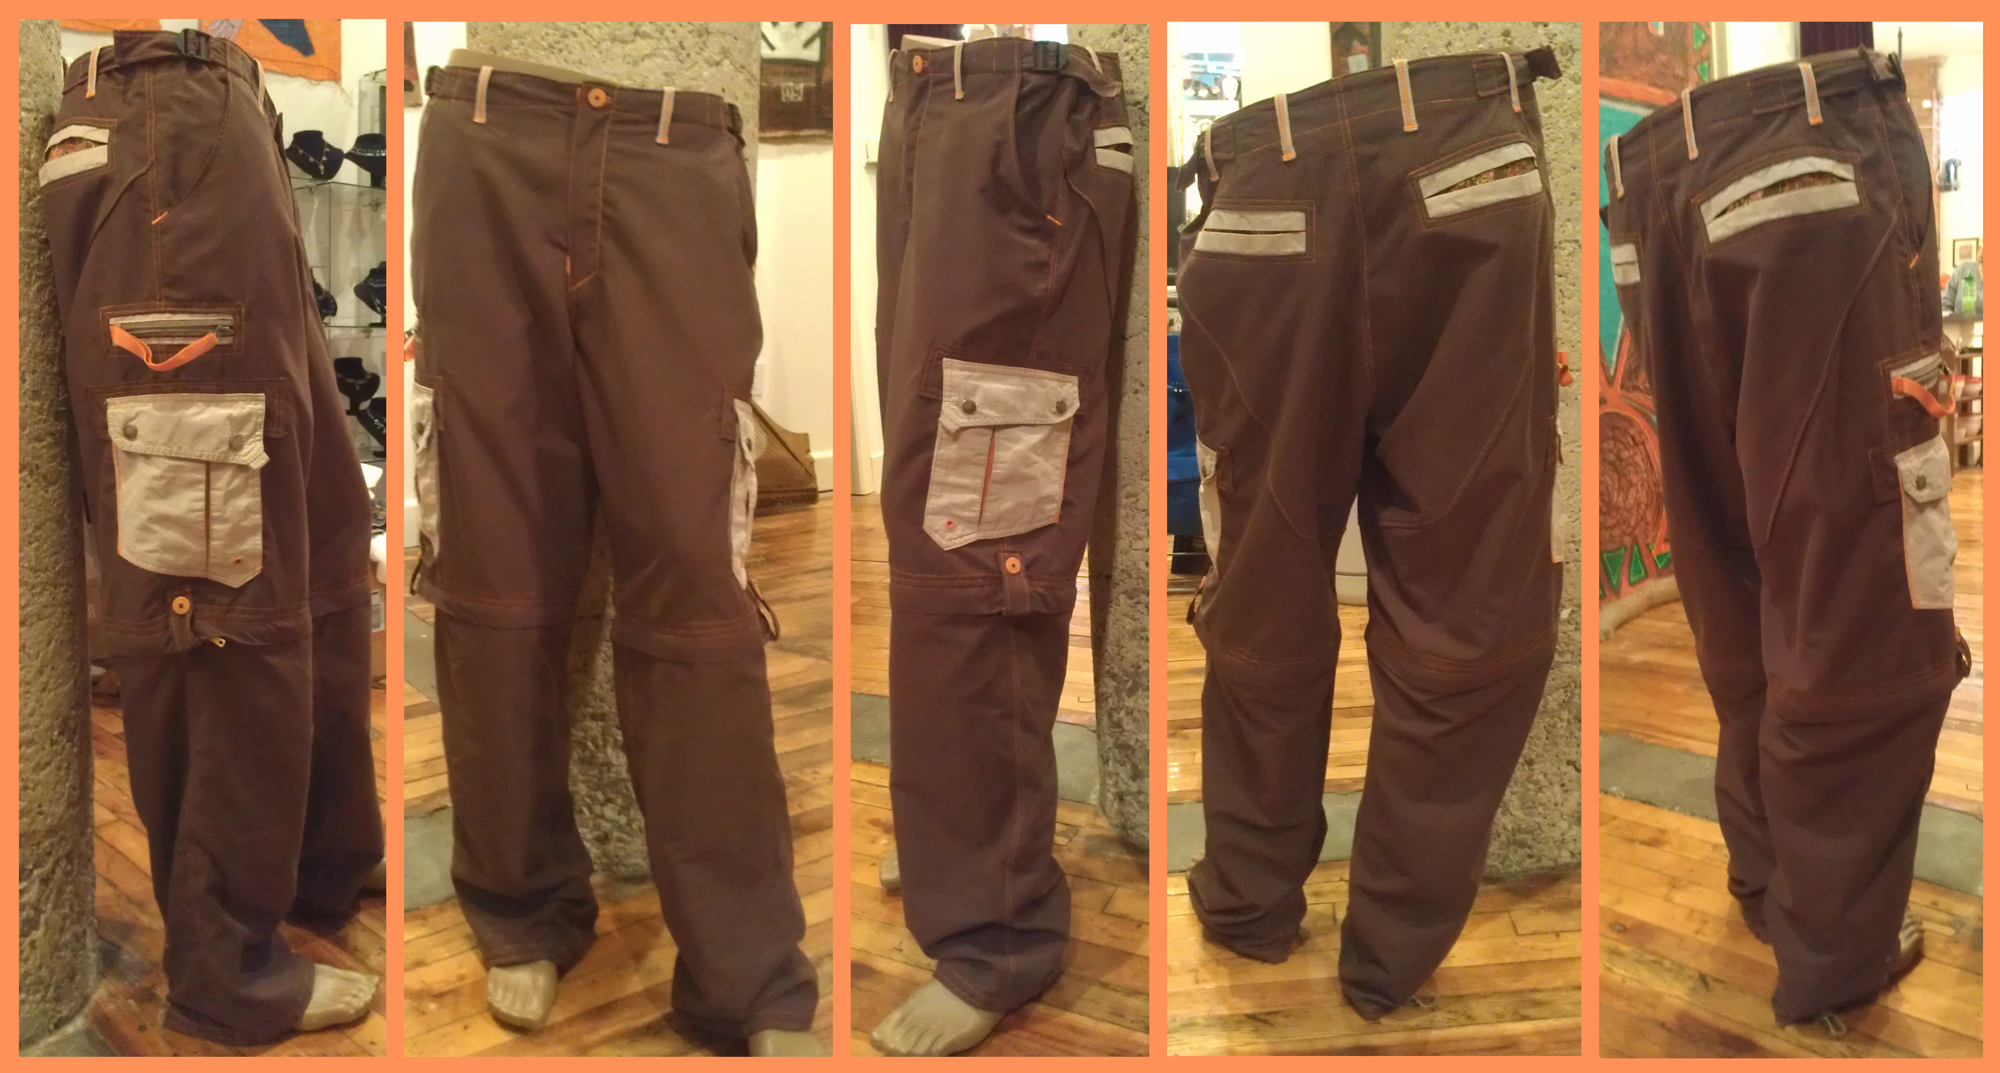
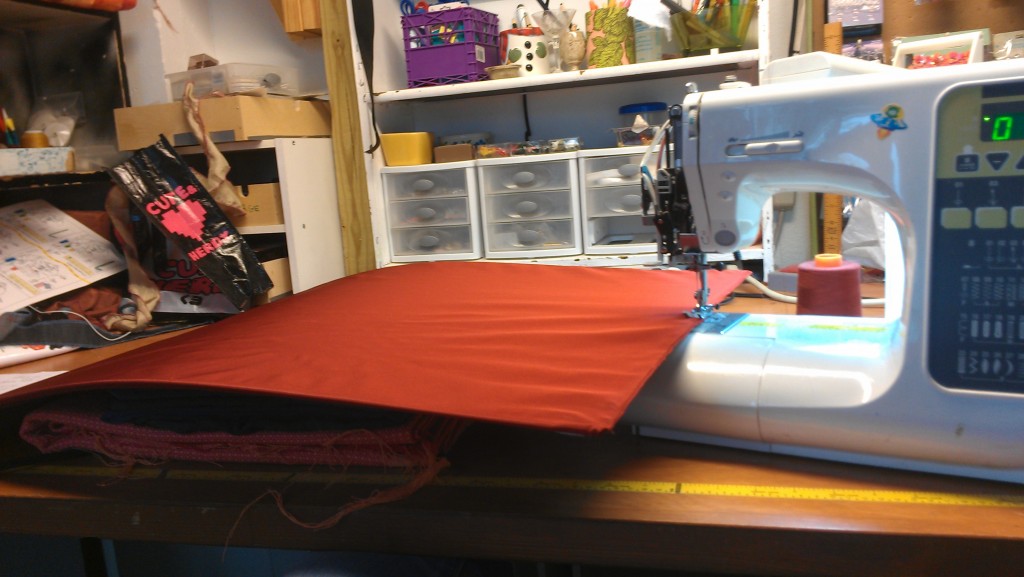
The project: pants like the black ones I made to be like the blue ones that died. You may remember the project from last September: black pants


The previous pants used some pockets from the pair I copied and provided a delightful color contrast. This time I went to a thrift store and wandered through the men’s section in search of unusual pockets. I found a pair of khaki shorts with orange accents in a little boy’s size, so only the side pockets were usable; the back pockets were too small for normal people hands to fit inside.

I had been putting off starting on these pants because I couldn’t find any good fabrics. I ordered a sample online of some peachskin fabric, but it was the same flowy stuff as the black pants and I had really wanted to do something different. In my head, I saw myself using that . . . umm, I’m not sure what to call it . . . that slightly crinkly, stiff fabric they use on sporty pants; almost like it’s been treated for waterproof or something, but it probably hasn’t? Anyway, that stuff. I thought maybe if I kept checking back, some might turn up in the warehouse districts that get random fabrics and even sometimes have relatively cheap men’s suiting and what-have-you.

I went to the warehouse fabric district again a couple weeks ago and found a scrap of brown peachskin that was stiffer and less floopy, closer to the original pants and more sporty than the black fabric I had used last time. Since I knew the end user liked fun colors, I asked the shopkeep for anything besides brown; no luck, but they had more of the brown on a roll.

So I texted the client to ask if brown was okay. She wrote back that she had lost my number, and had been trying to figure out how to get ahold of me to let me know she’d like the Christmas pair to be brown. Actually, the verb up there, “wrote,” doesn’t really describe her message back, but I’ll leave that to your imagination.

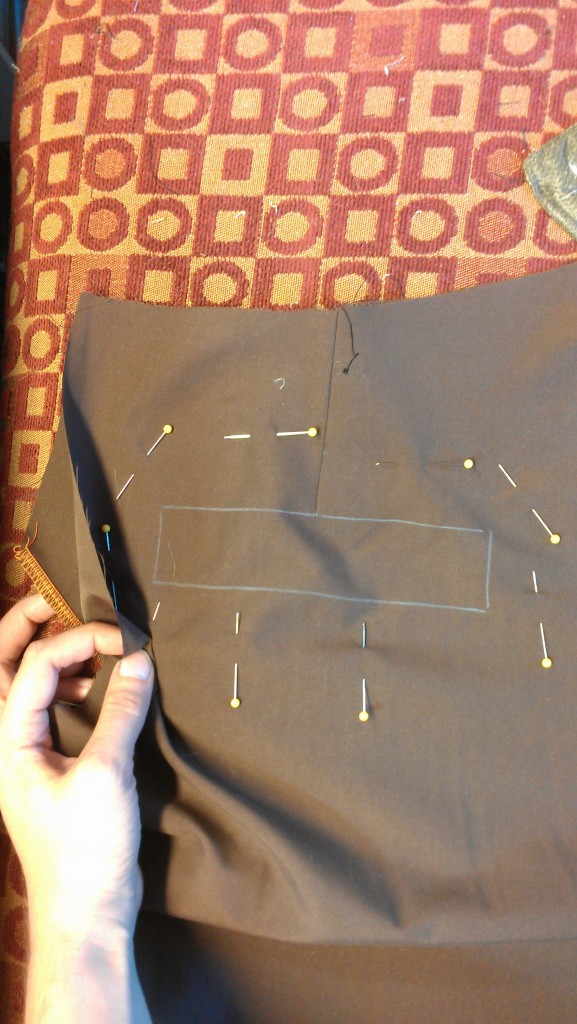
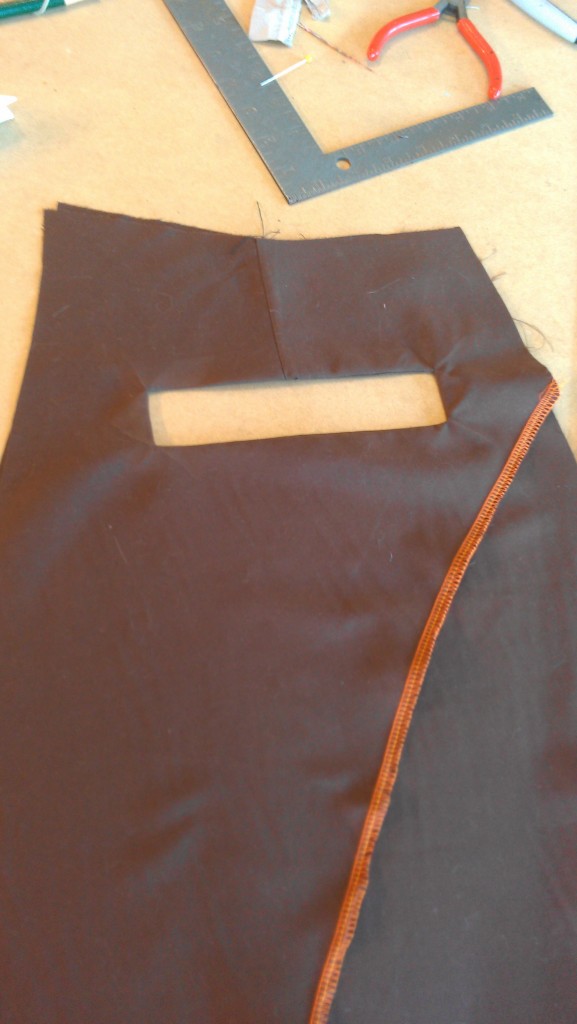
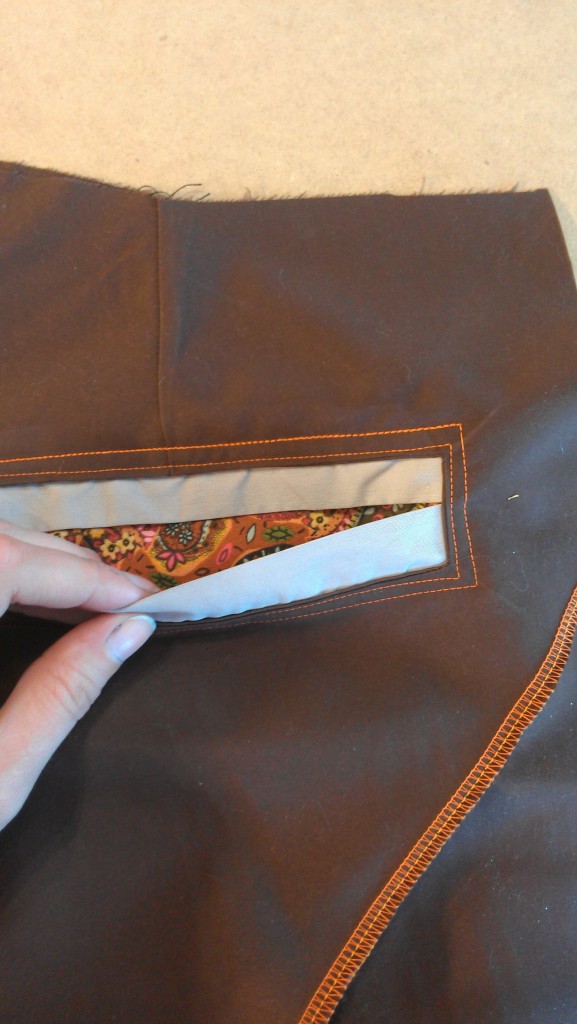
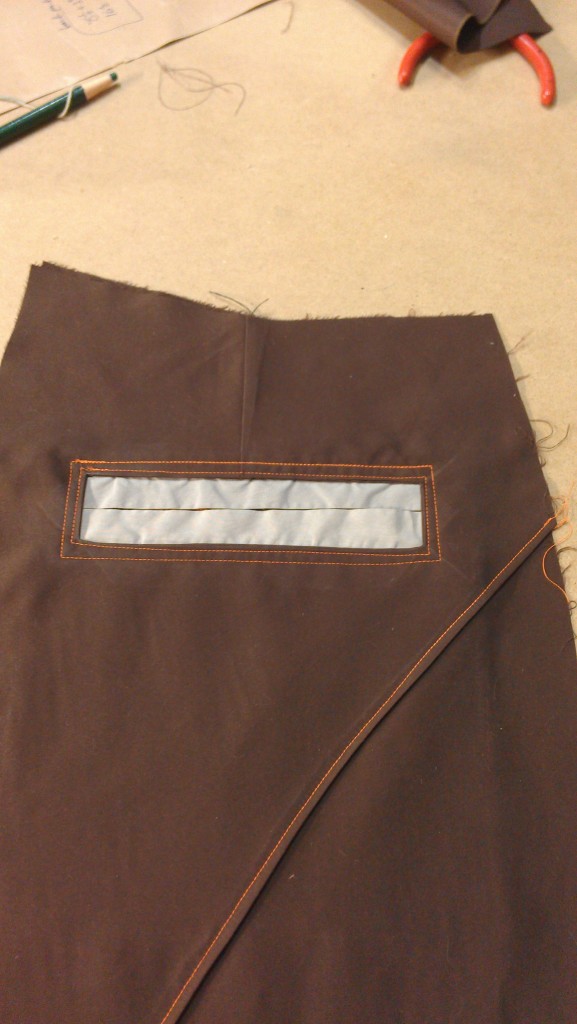
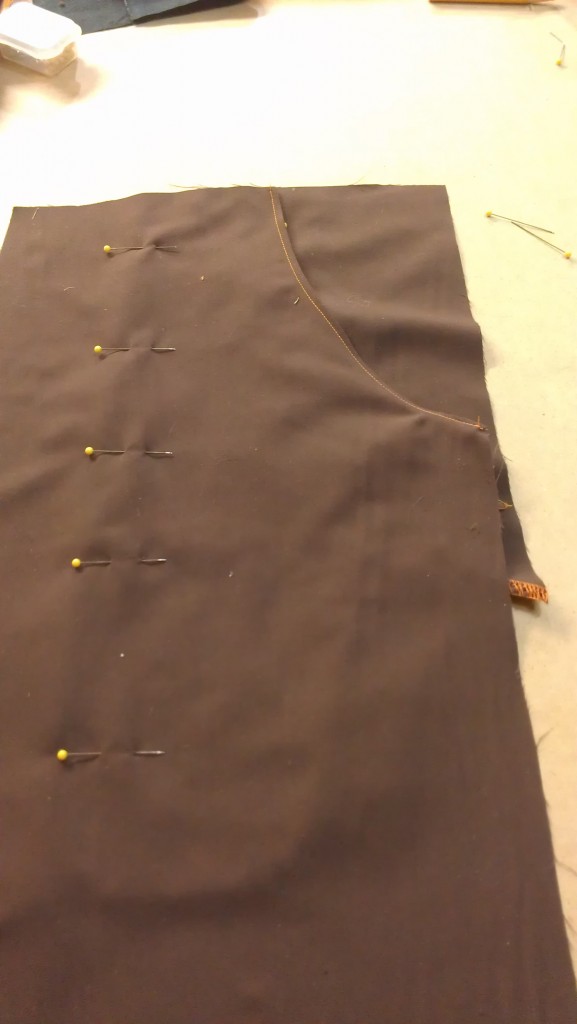
All my Constant Readers (as Stephen King would say) and my Alert Readers (as Dave Barry would say) might recognize nearly the same 2 photos from the black pair’s back pockets:

Above, I stuck my hand in the shot to demonstrate that the top layer (edged in orange thread) is pinned below the lower layer; the darts on both layers have already been put in.

Below: stitched, snipped, flipped right side out:

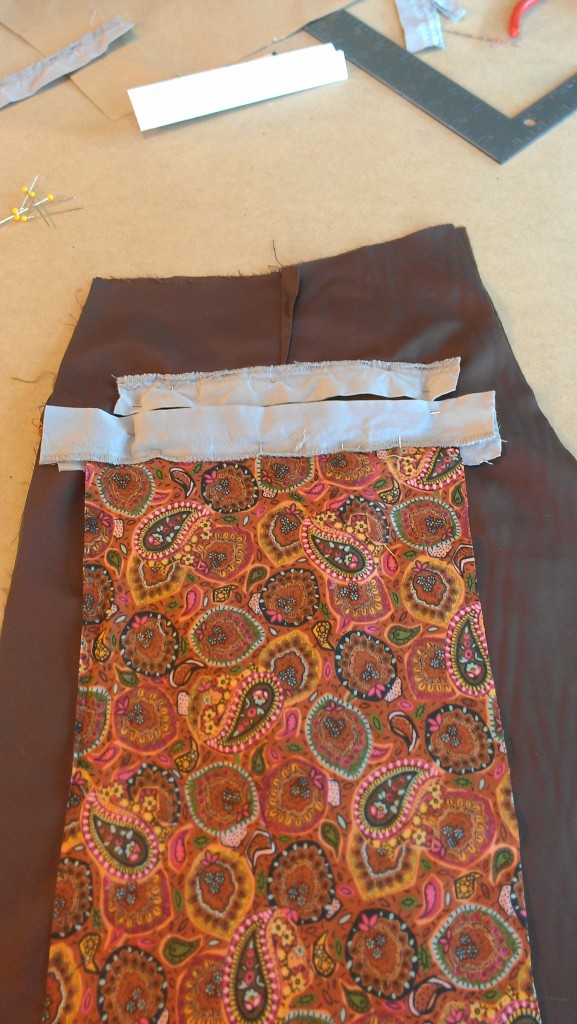
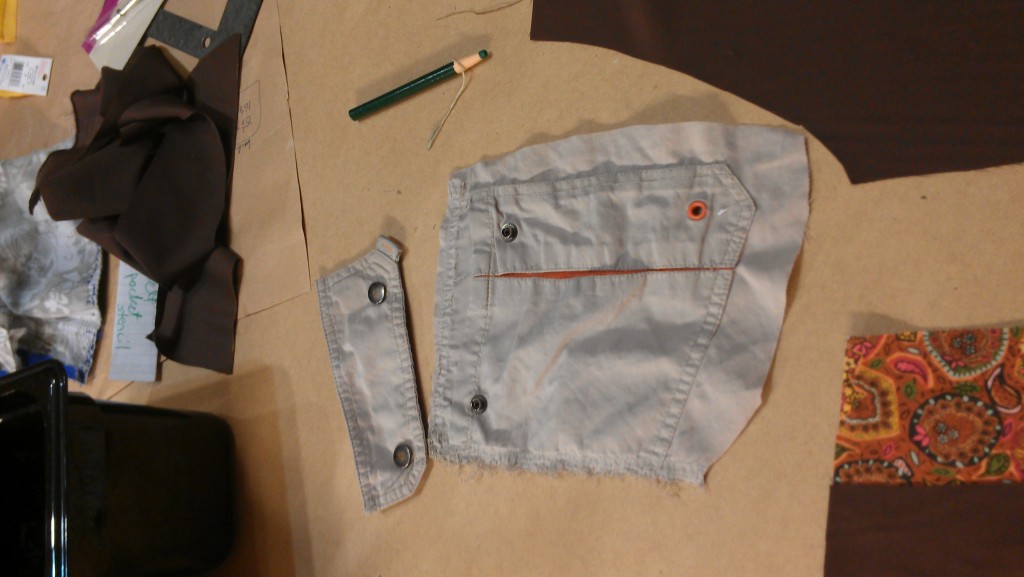
I used the cuffs of the khaki shorts for the contrast on the pockets, and a cotton fabric in complementary colors for the pouch:

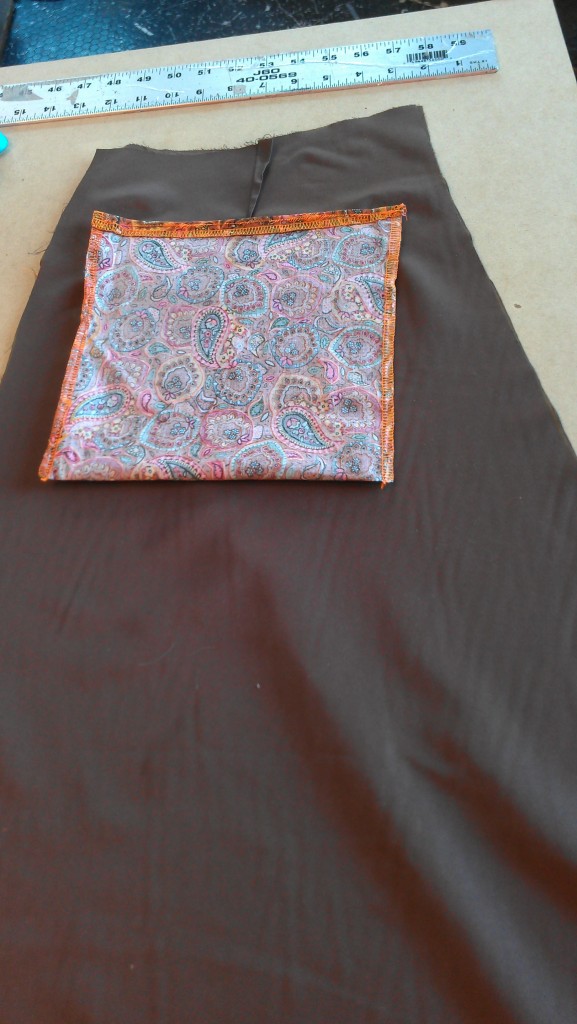
Finished pocket from the inside:

From the outside:

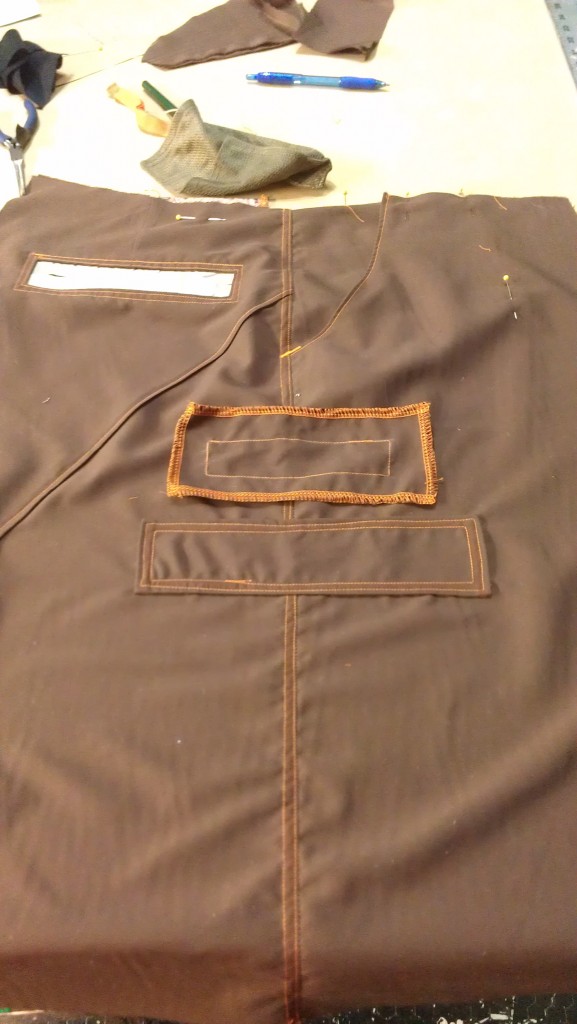
After top-stitching the butt-protector, reinforcing layer, or whatever the heck that panel is called:

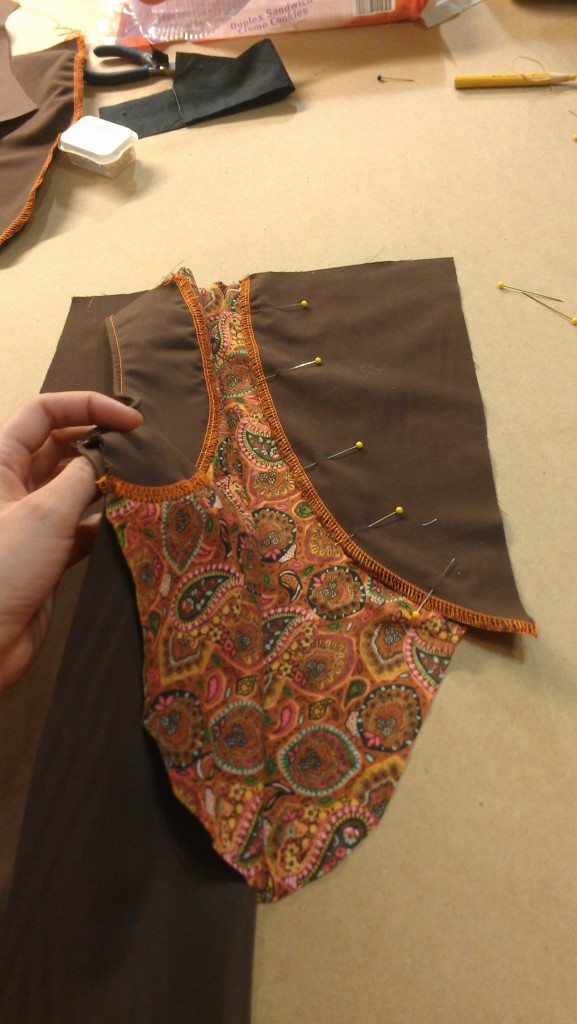
I attached the smaller facing (under my hand) onto the front pocket pouch first, then sewed it to the pants themselves before pinning the back part of the facing to make sure it laid right.

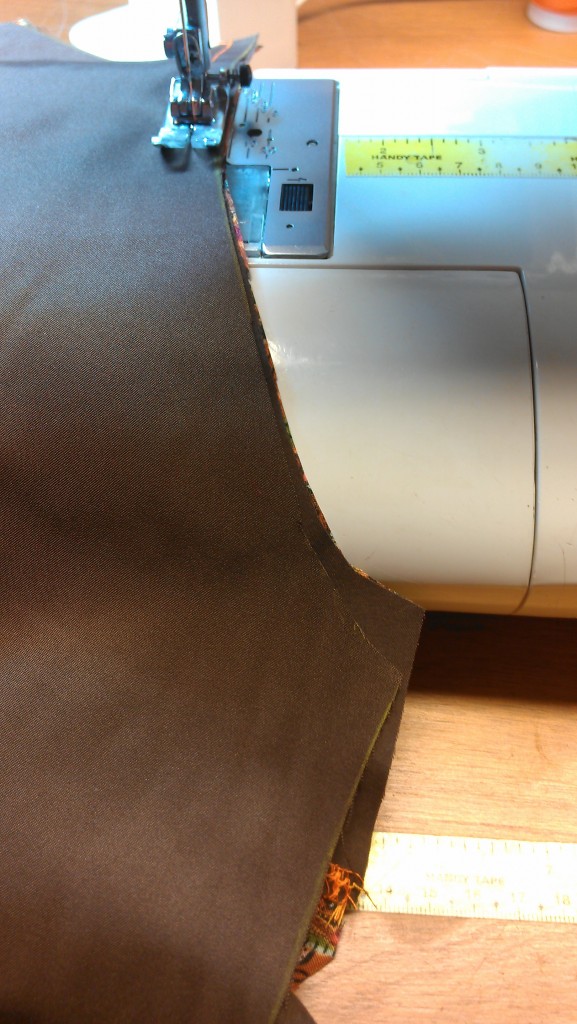
Here’s a cool thing about the front facing on these pockets. I’m showing this out of order to try to be clearer–this is the seam that I am holding in my hand above:

When they are lying flat and the top of the seam is lined up perfectly, the bottom of the curves are different by that much, though the total length of each is the same. This helps the pockets curve in a little when the pants are worn, rather than pooch out a little. It’s one of those things where sewing it not flat creates the illusion of it being flat. Kind of like how sewing square pillows to be square when they’re flat can give them rabbit ears, but sewing them with rounded corners produces a square pillow when it’s stuffed.

(Pillows spotted via Regretsy.)


Back to the pants: pockets pinned flat–you can see the nonflatness at the bottom part, but it’ll look flat when it’s wrapped around a hip.

I finished off the side seams then placed the side pocket reinforcement rectangle. On one side, I also integrated an extra pocket from the khaki shorts. It needed a cut-out similar to the back pockets.

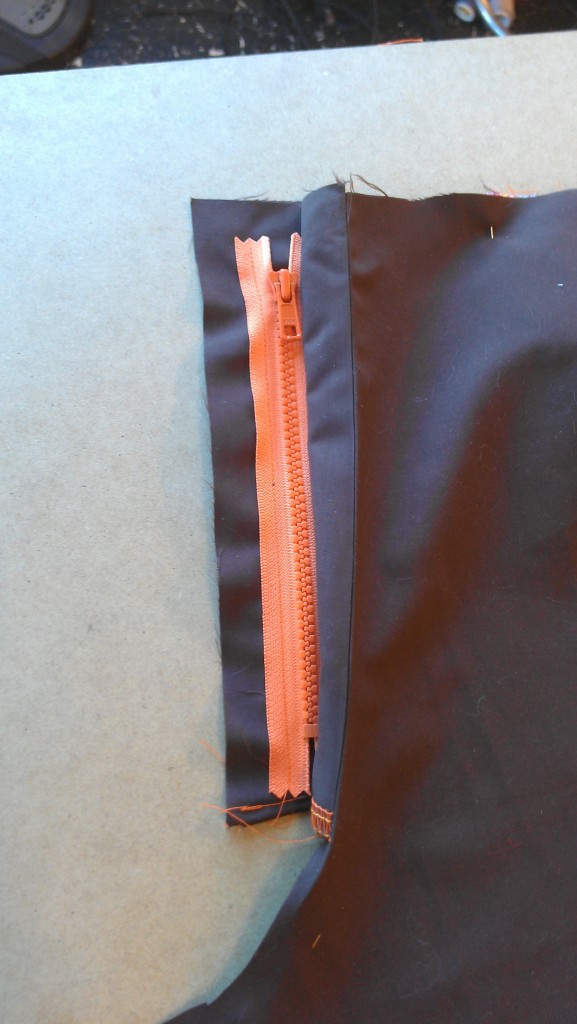
Orange zippers are no longer available locally, at least as far as I could find. Luckily, I had one on hand. Some people will look at my stash of materials as borderline hoarding, but how would they explain this zipper, installed right before Christmas and with no time to order online?

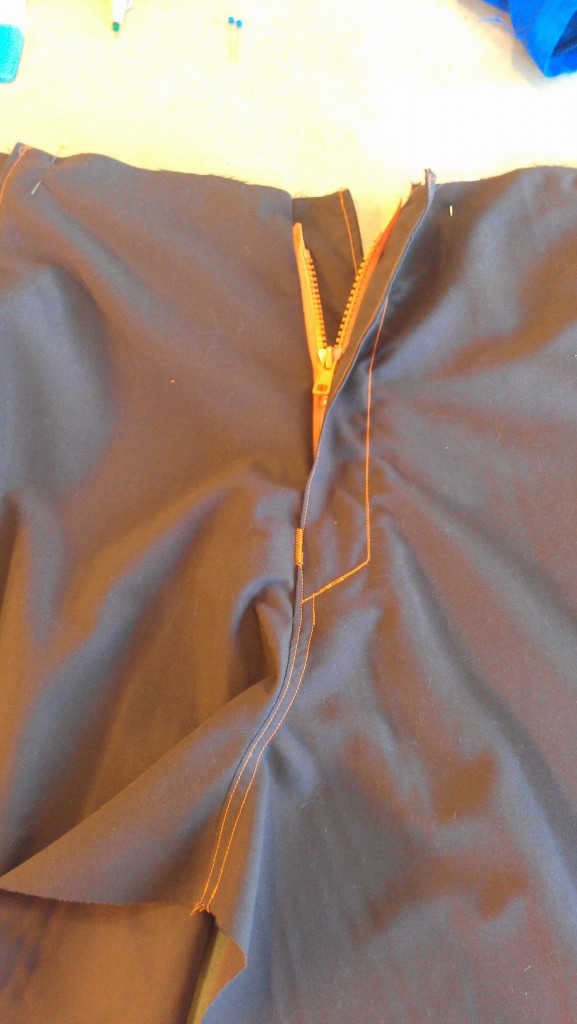
Starting the fly:

Finishing the fly:

I can put in an invisible zipper pretty much blindfolded, I never do welt zippers if I can help it, and I can count on my fingers–probably one hand–the number of fly-zippers I’ve installed. This one was practically easy–I must be getting smarter.

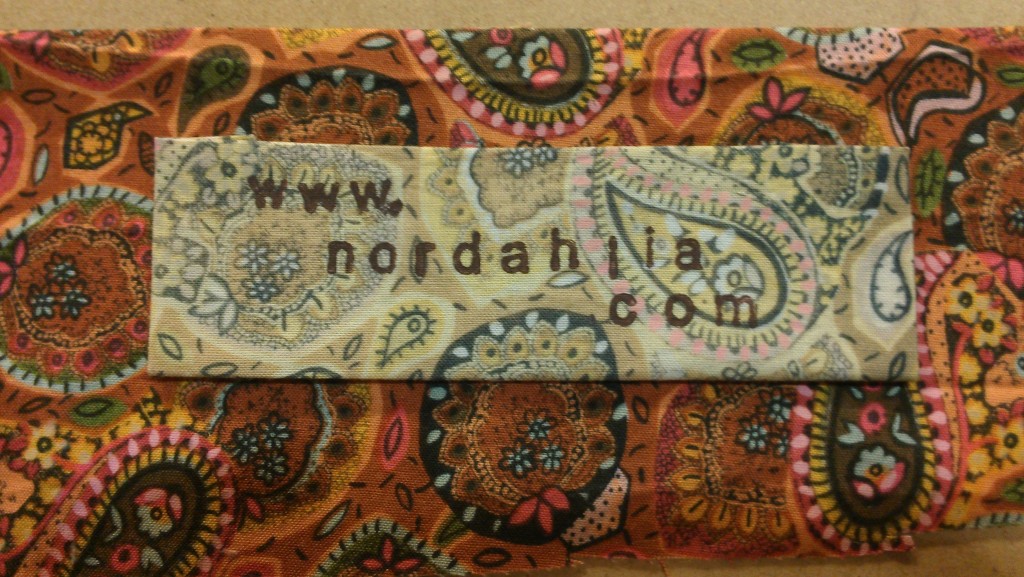
Partly in keeping with the original original-pants’ design that included large labels, as well as due to my desire to keep the inside of the waist as a “waistband” instead of having to use geometry to create a facing (I hid all the ease behind the label), I had some fun creating a specialty label:

No stamp would have turned up on the fabric as it was, so I soaked a scrap in bleach, then stamped it. I put a border of the regular fabric around the edge.



Window Panels

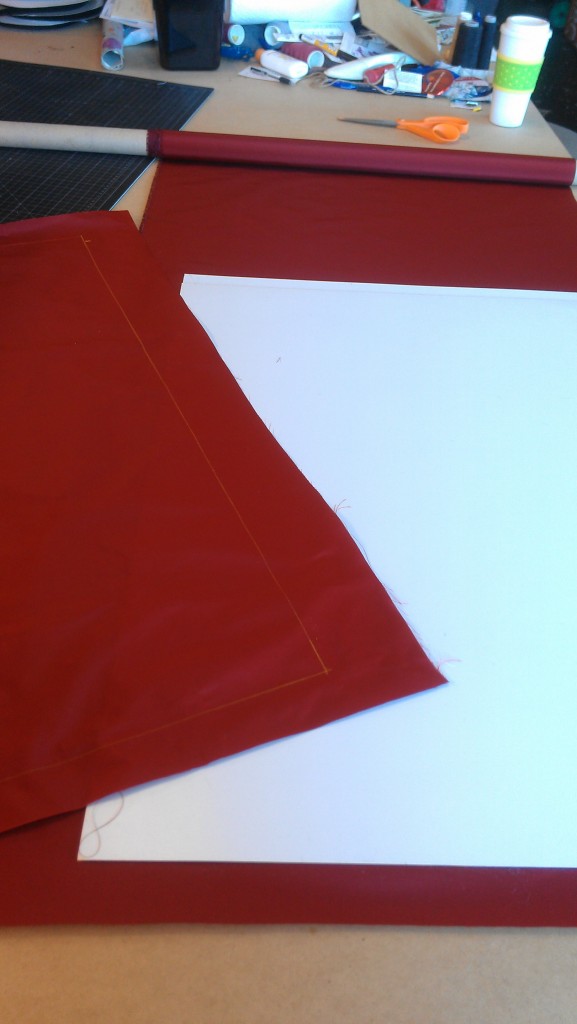
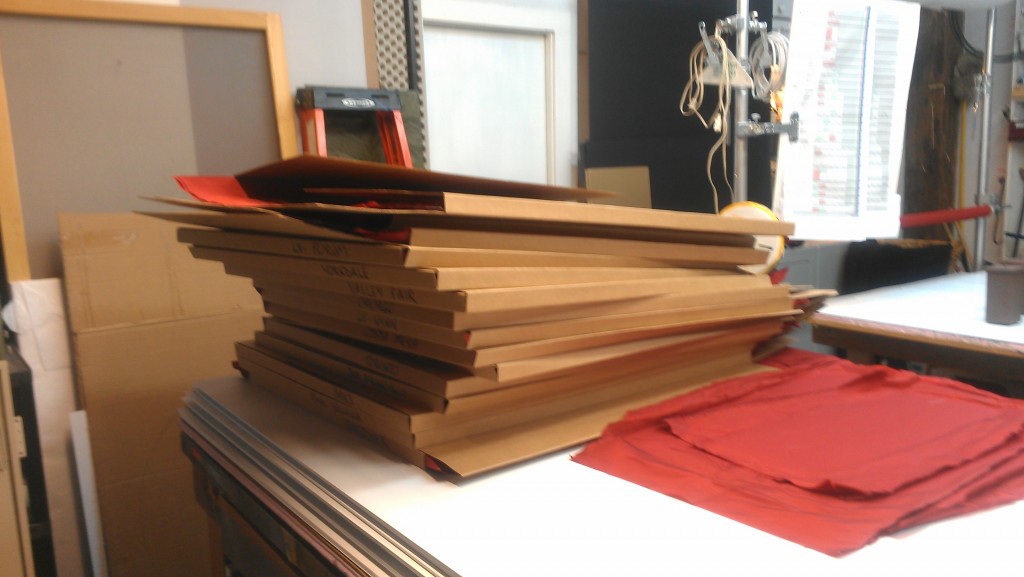
The Chinese New Year fabric is too thin to be glued to the styrene in the usual way, so this time I’m going to be sewing the panels into cases, rather than just sewing the velcro. Luckily, I’ve already done the velcro part, so it won’t be as last-minute time-consuming as it might have been.

We started out trying to avoid this, because it always looks better glued than sewn. I made a sample of it sewn and the gluer tried every possible technique to keep glue spots from seeping through and leaving marks.

I marked one side of the fabric to stitch on the lines, as they have to be very tight and very exact:

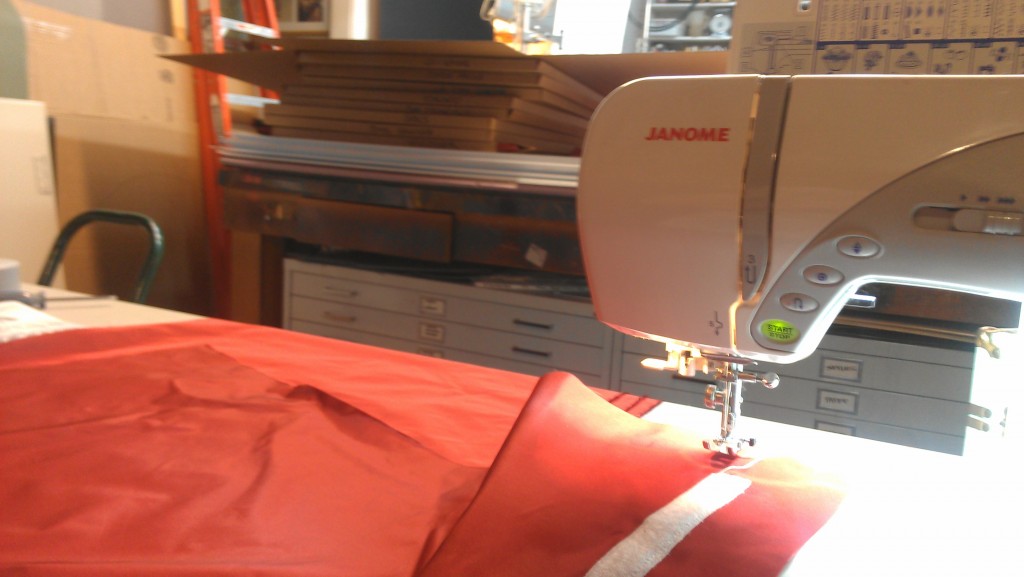
Stitch it, turn the fabric, press the edges and corners flat, insert the styrene with the seam allowances behind the sheet, secure the velcro straight with double-sided tape, fold the top over, pull it tight, and sew along the edge:

This part is really awkward because the machine can’t grip something this big and stiff in the same way it grips regular fabric. When discussing this project in advance, I swore up and down that stitching through styrene would break the needle. It doesn’t, for no apparent reason that I can figure, as styrene is plastic and relatively thick. So for the rest of these panels, I’ll be able to stitch intentionally on the styrene itself, which will secure the fabric a little more easily. I’ll also be working in a larger studio space so I can keep them flatter.
An added difficulty is this: you have to iron it perfectly and not wrinkle it before inserting the styrene. It cannot be ironed afterward without adding steam-related wrinkles and warps. The first sample I made wound up with these, and I had to start over.


Grauwyler: Artist’s Rendering

A couple years ago, my trusty Grauwyler ran off and was missing for a week. I printed off enough small fliers to tape to the door of every single house for about a 5-block radius. I had a flier and piece of tape in hand and was just about to stick it to the door of one house when I looked over and saw him sitting on the porch staring at me like “what?”

Grauwyler used to be a cat who appeared sickly and homeless and possibly diseased, due to being a runt and having a nervous disorder, so his would-be new owners had taken him to the vet and spent a bit of money attempting to fix what a vet he hadn’t been to before didn’t realize was his genetics.

So when I dropped off a check for his doctoring, I put it in the mouth of this interpretation of Grauwyler (I created the grip using plastic canvas covered in flannel) so they wouldn’t have to be so sad to lose their new friend.

Okay, so it looks more like a hunch-backed opossum, but I think he’s recognizable.

I painted stripes on the back:

I think it’s a pretty good likeness:


Velcro for the Chinese New Year

The project: 72 strips of velcro for Chinese New Year window display panels for Cartier


Those are the finished boxes in the background:

The fabric this go-round is fancy taffeta, which feels lovely, and would make a great dress, but its high-wrinkle tendency adds to the difficulty of using it for window displays. It also doesn’t work well with spray glue and makes the whole process especially hard for pretty much everyone involved. Except for me!

Boxes of velcro-sewn panels ready to be glued, with test-glued mini-panels sitting next to them:

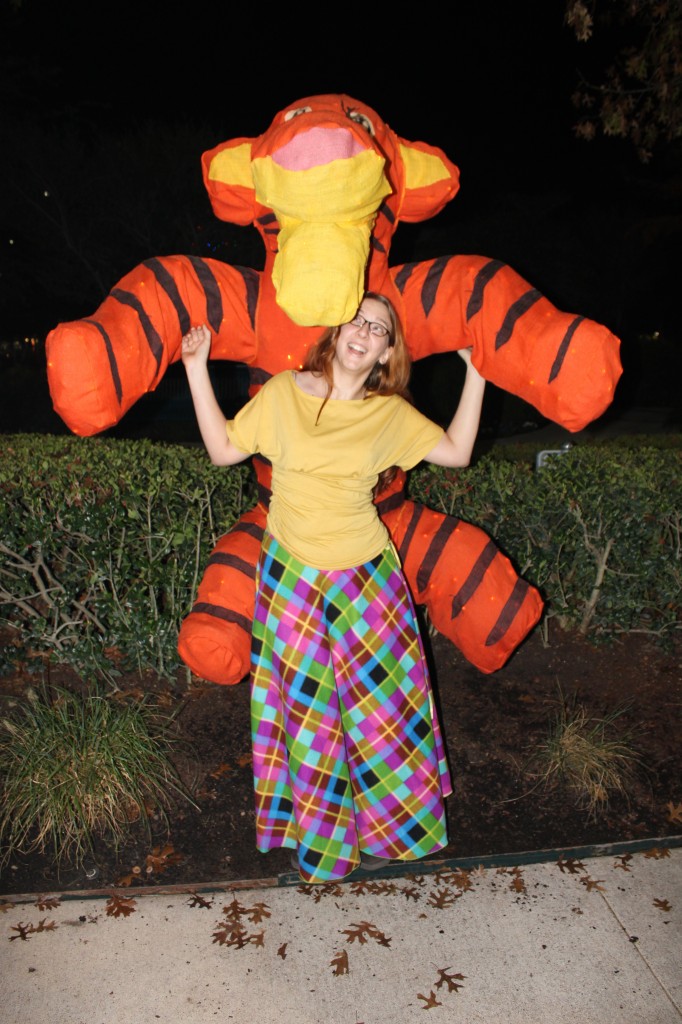
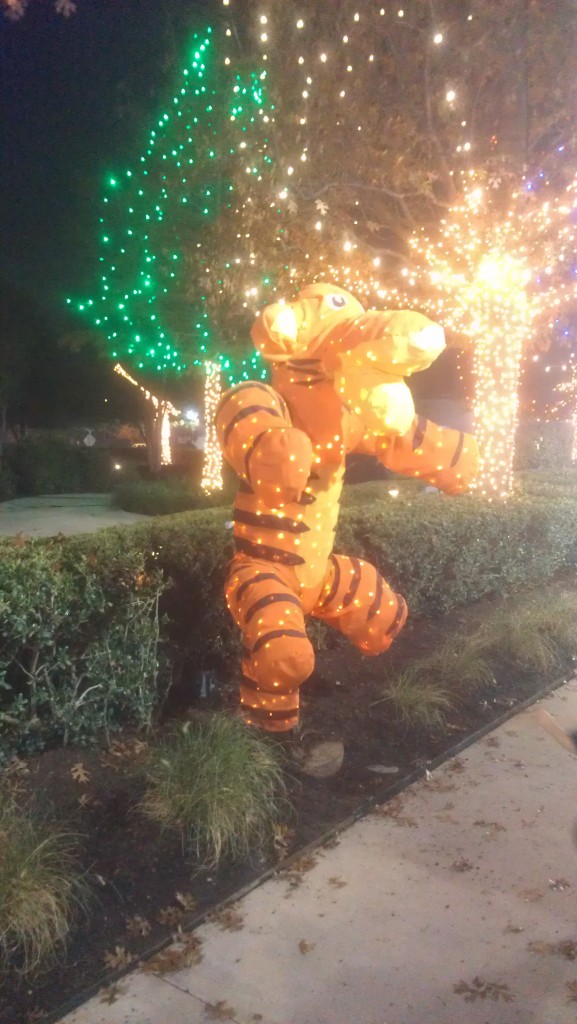
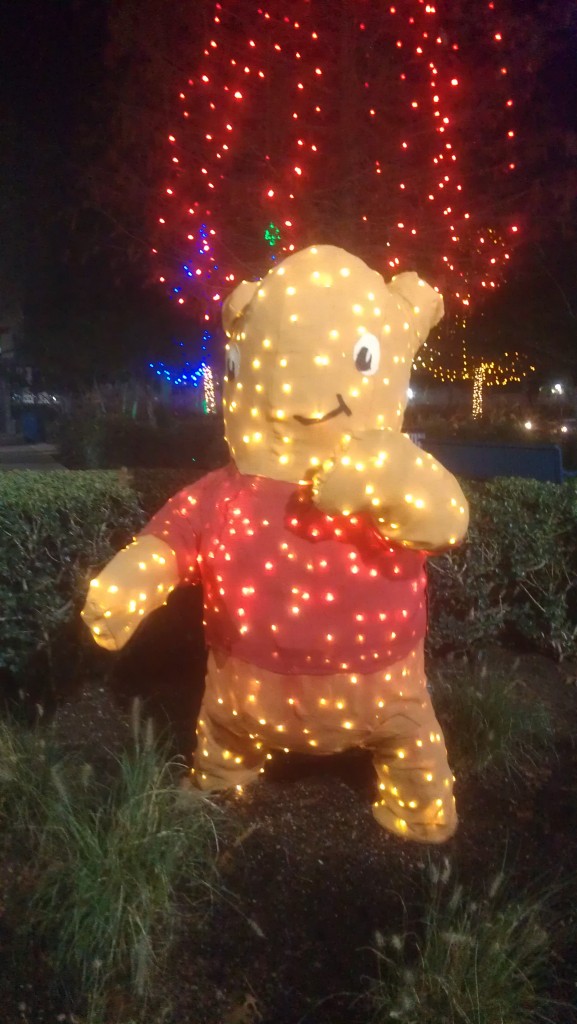
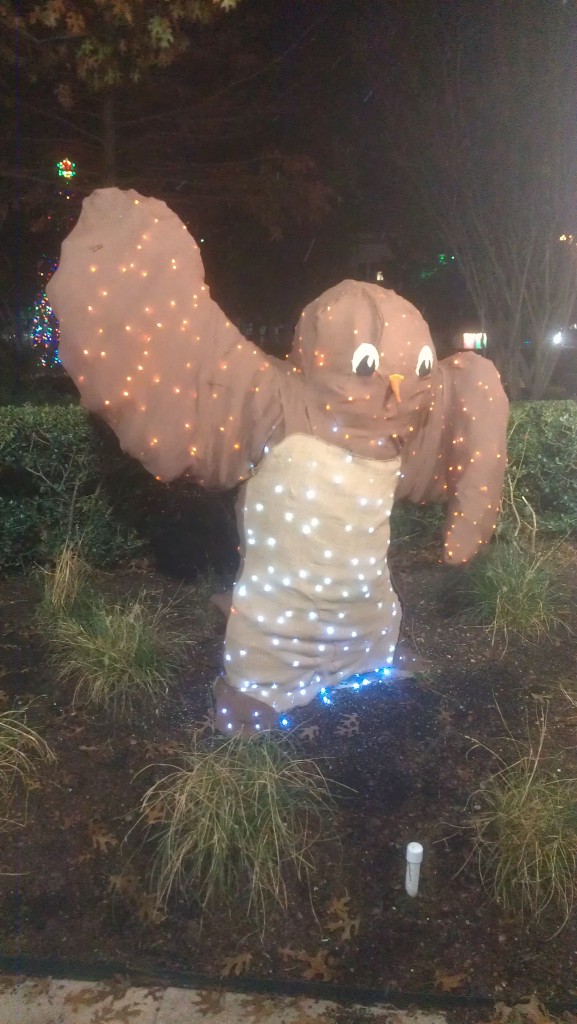
Winnie the Pooh Light Show

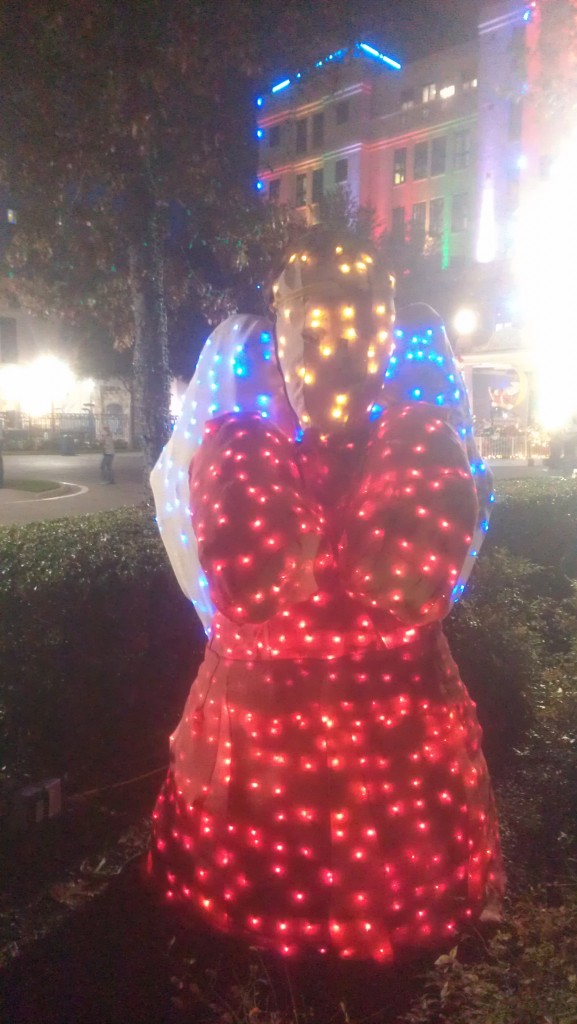
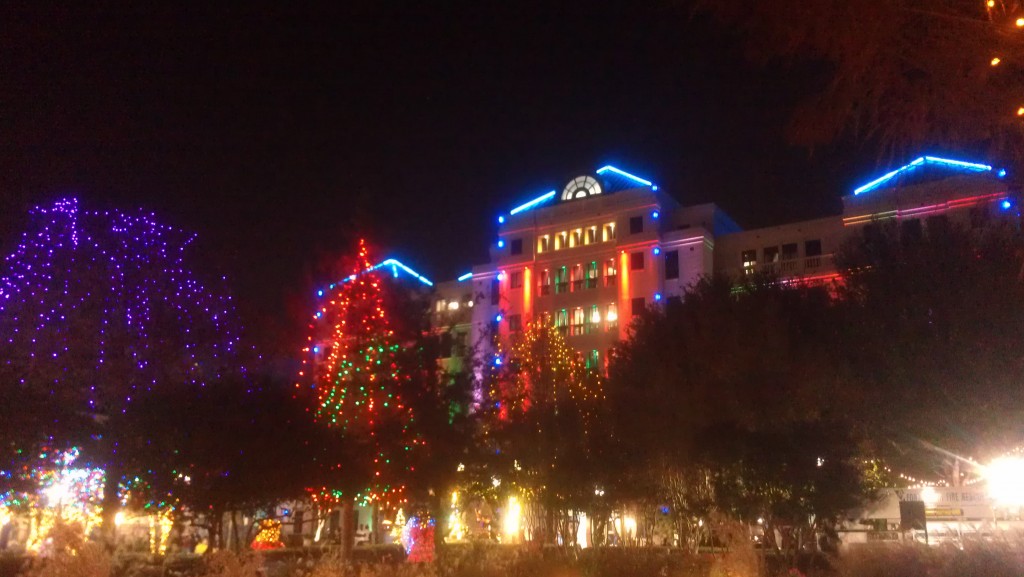
There was a big Christmas event at Cook’s Children’s Medical Center that involved lighting up all the trees as well as the topiary animals. Santa rode in on a fire truck with police escort. The middle of the event had a surprisingly long fireworks display, and for the rest of the night, kids had a chance to push the button to set off the remaining fireworks.

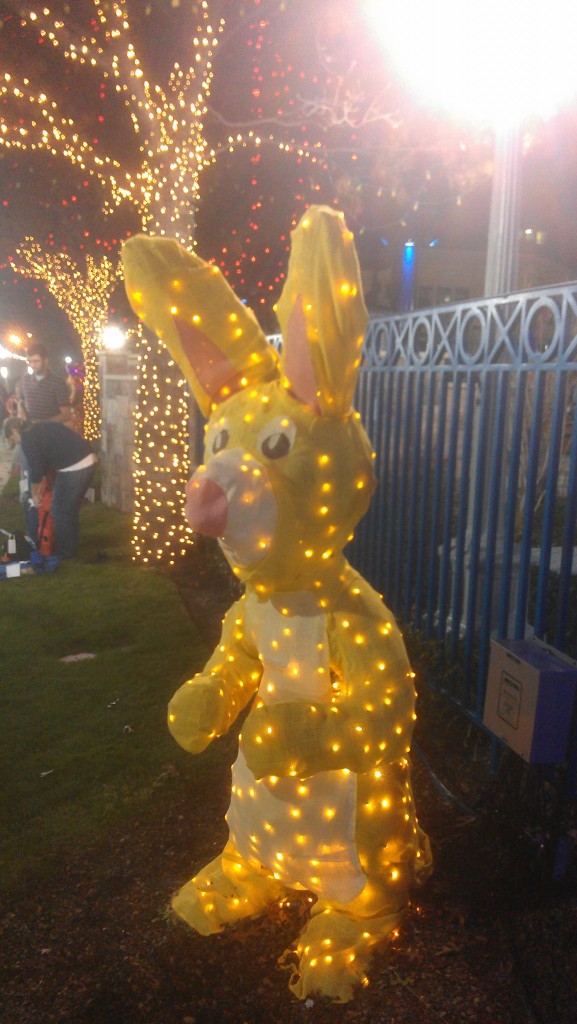
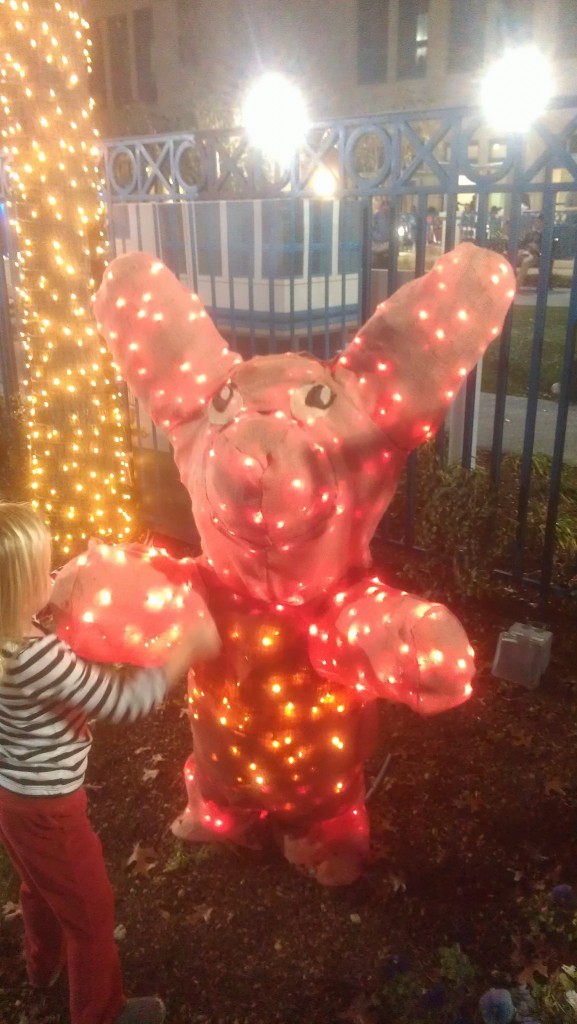
My camera and D.’s handled the lights different. Mine focused on the lights, as seen on Rabbit above; his focused on the objects, as seen on Rabbit below:

This girl was adorable; it’s too bad you can’t post pictures of strangers’ kids’ faces online:

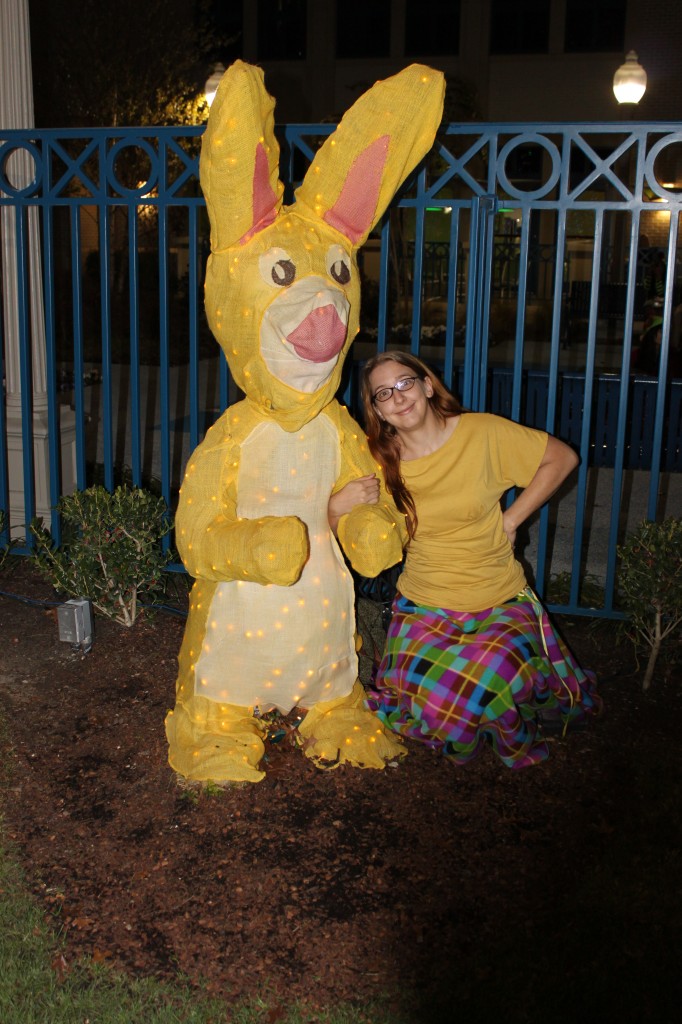
So sad, though this time I’m the only one without a tail:


The rest of the trees light up, too, but they’re all flashing on and off; it was about a dozen shots before I could get this many lit up at once:

To see the other animals, the grounds, and the rest of the shots from the night, my gallery is here: http://www.nordahlia.com/?page_id=885

Neiman Marcus: Gingerbread Yummm!

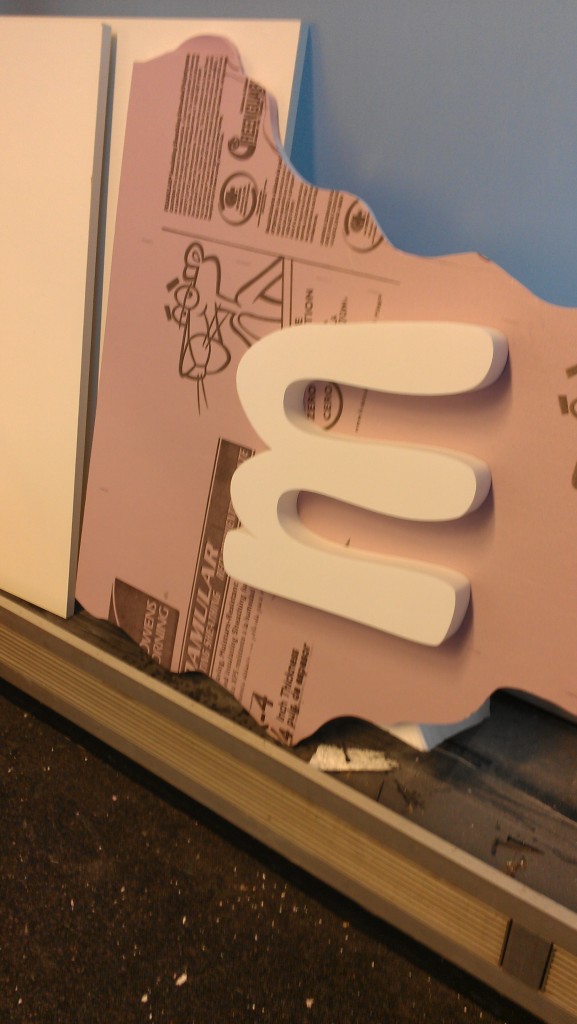
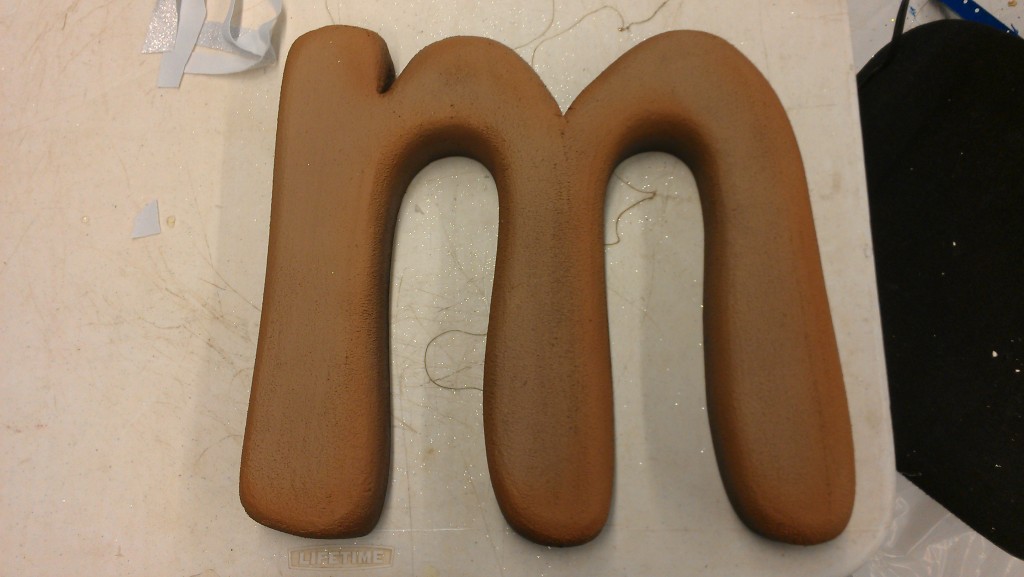
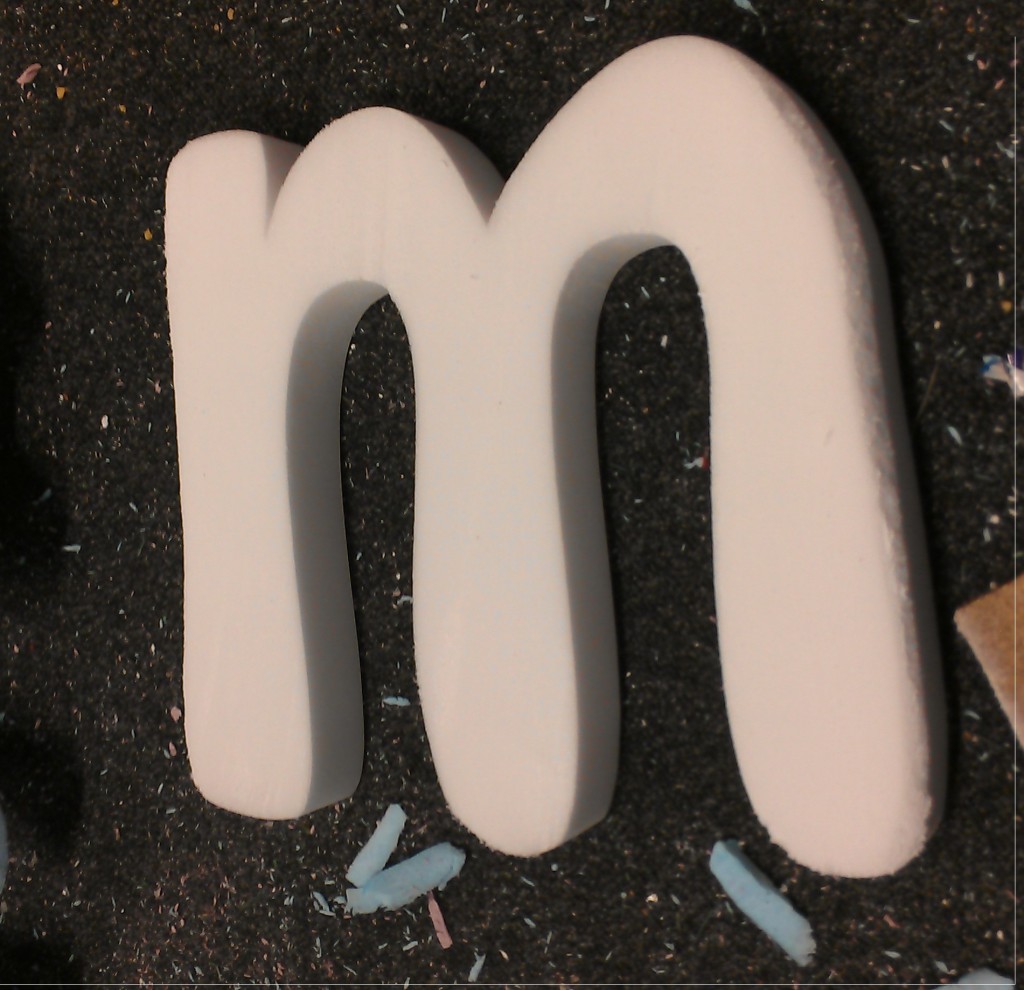
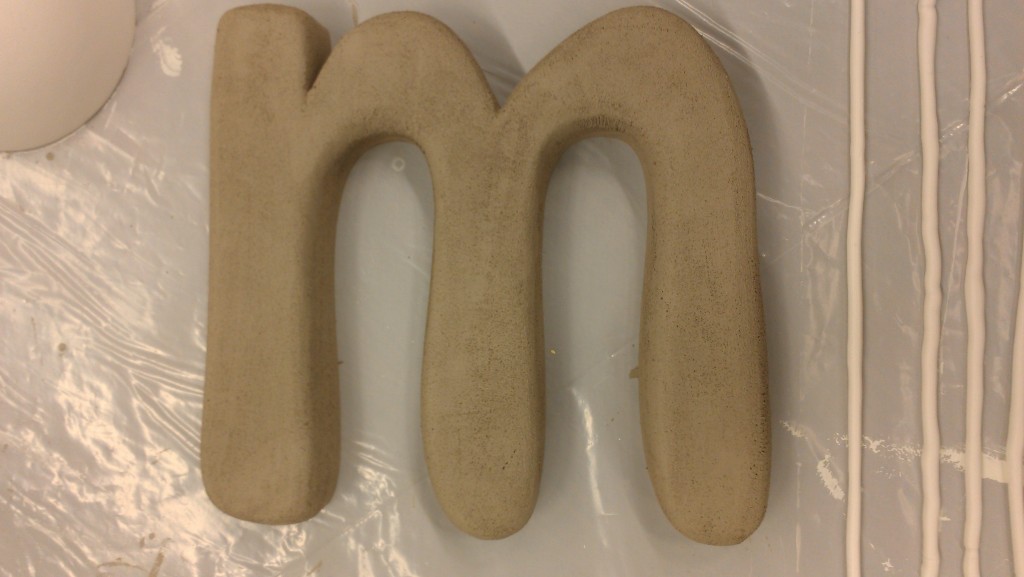
The process by which a foam piece of M becomes a delicious gingerbread cookie:

First it begins as a thick foam cut-out with what appears to be styrene on both sides. That got sliced off with a heated-wire foam-slicing tool.

Then it gets sanded down by hand:

Some sanding and painting later:

What would be a more interesting book than the one on grey–50 Shades of Brown:

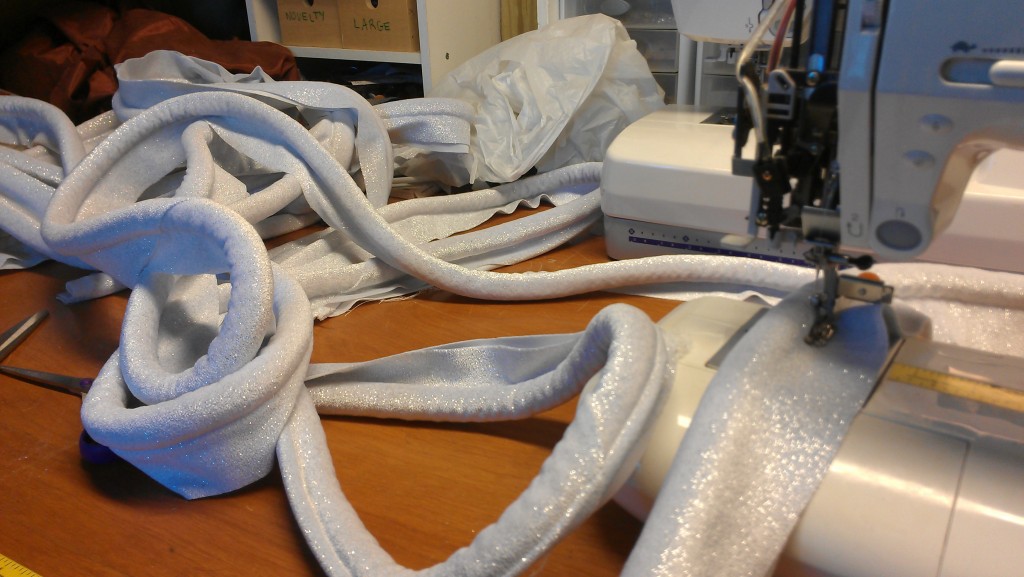
I made a lot of cording:

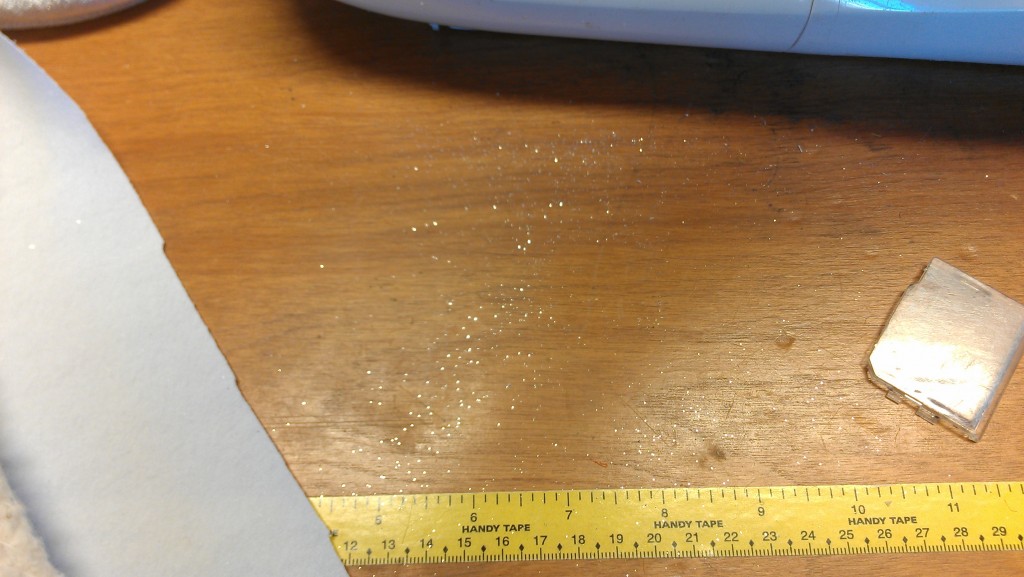
Glitter, the herpes of the crafting world (then again, so is fur-fuzz):

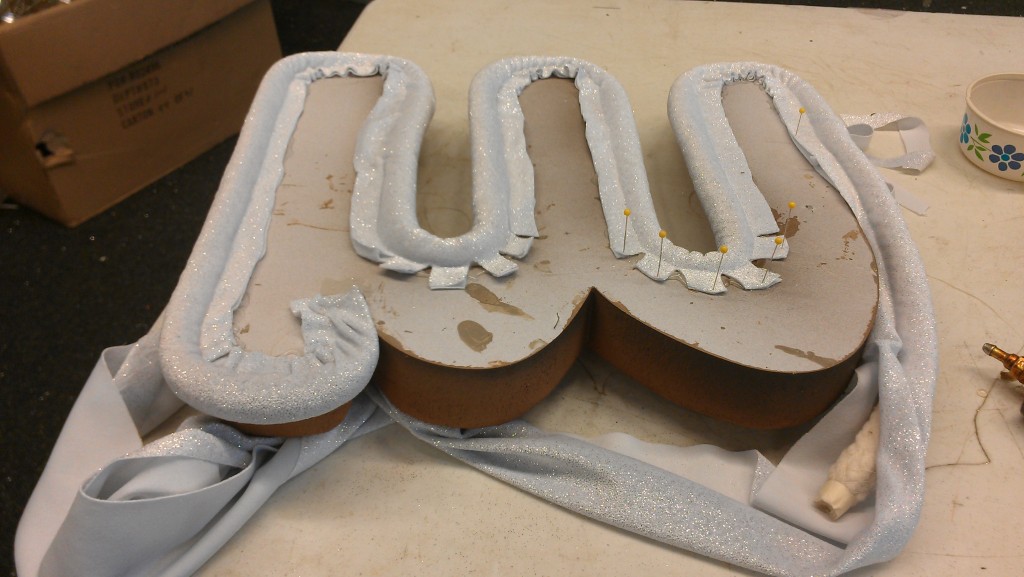
Here is where I ran out of cording. The Goddess of Adequate Yardage, despite being prayed to, did not provide.

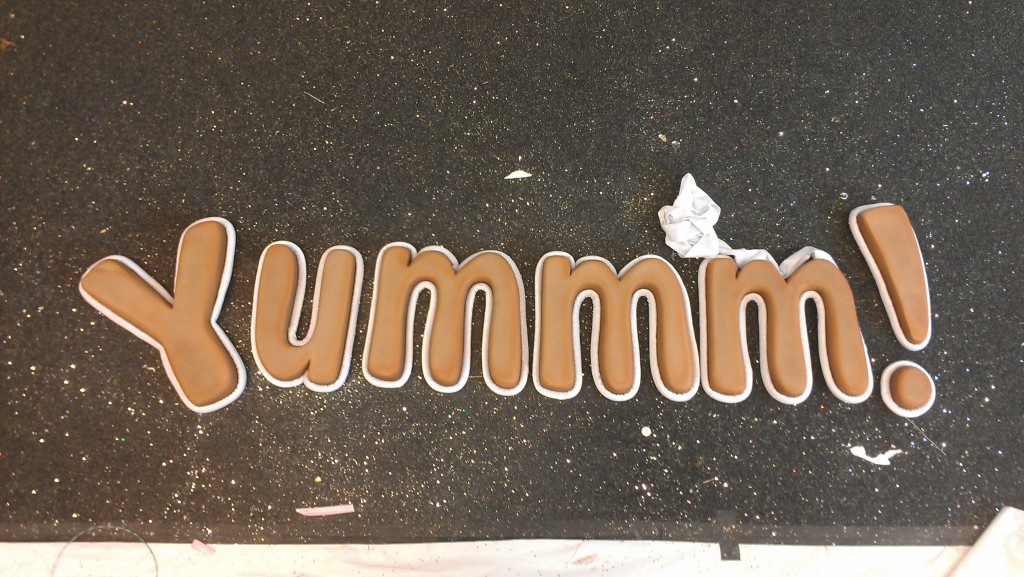
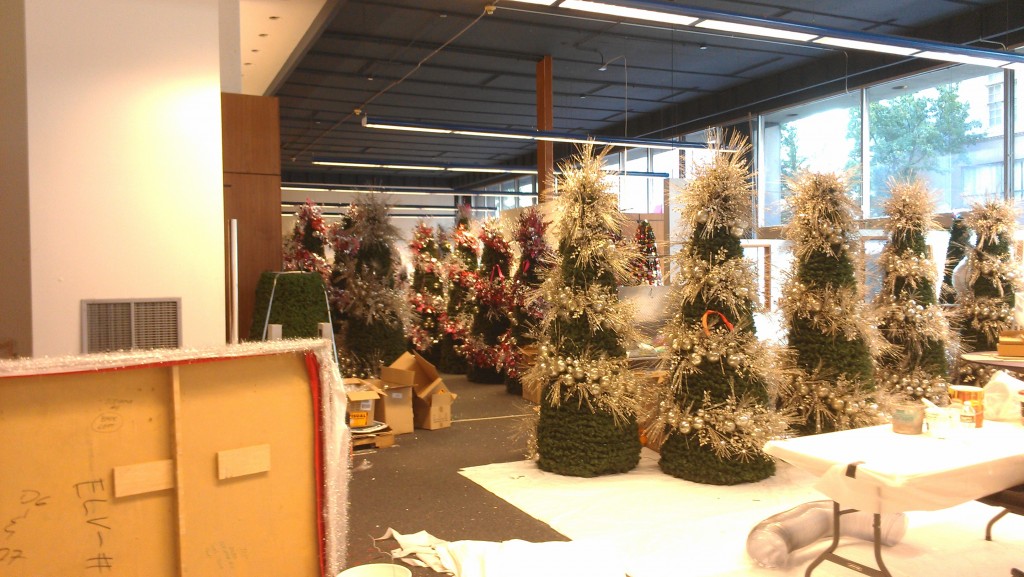
Here it is finished except for that last foot of frosting cording. The floor is coated in glitter from the roomful of trees the other crew decorated:

Roomful of trees:

This isn’t even all of them. I have no idea what round this is, tree-wise, as I worked at home more than on location.

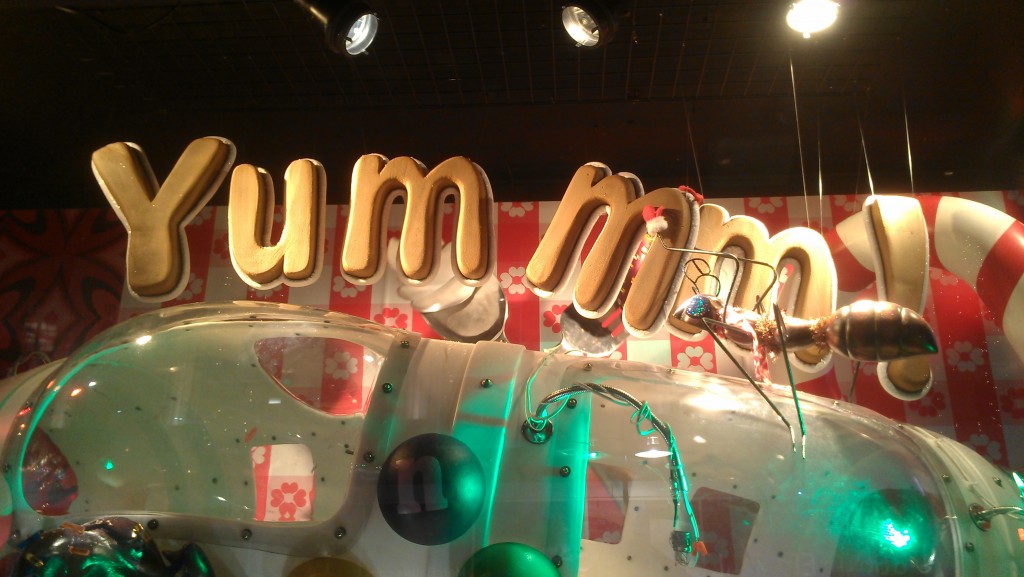
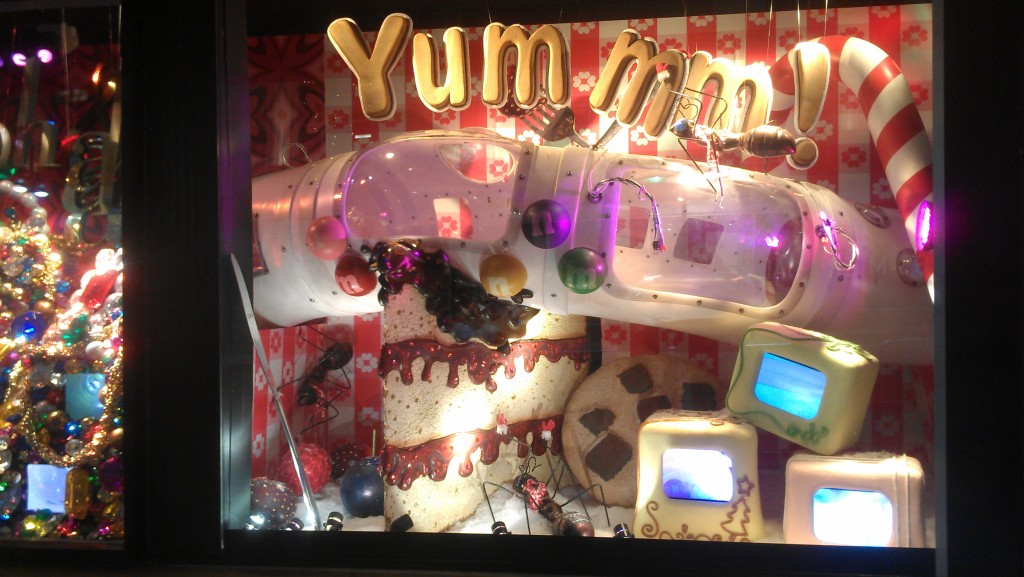
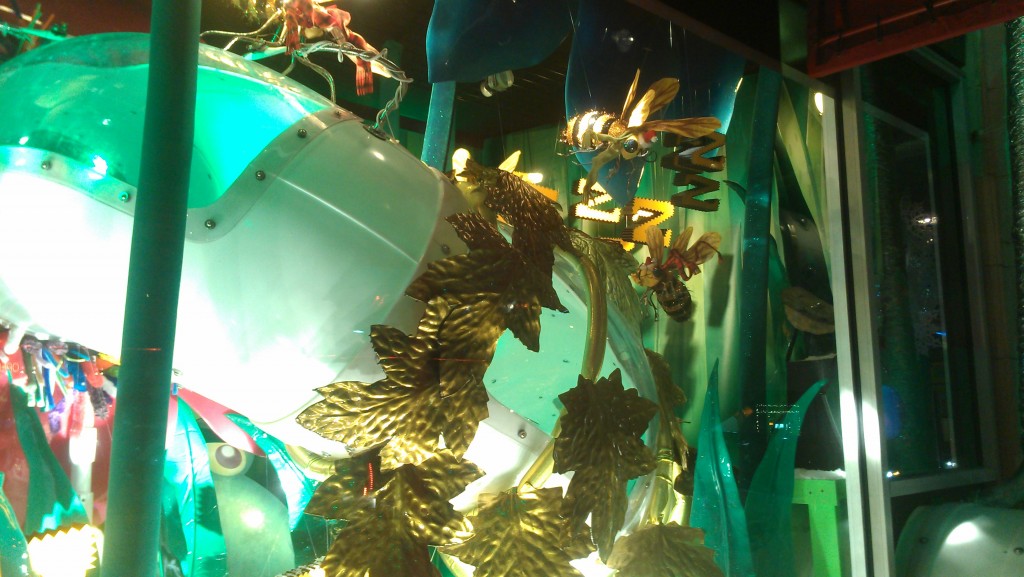
Yummm! in the window; that naughty ant messed up our kerning:

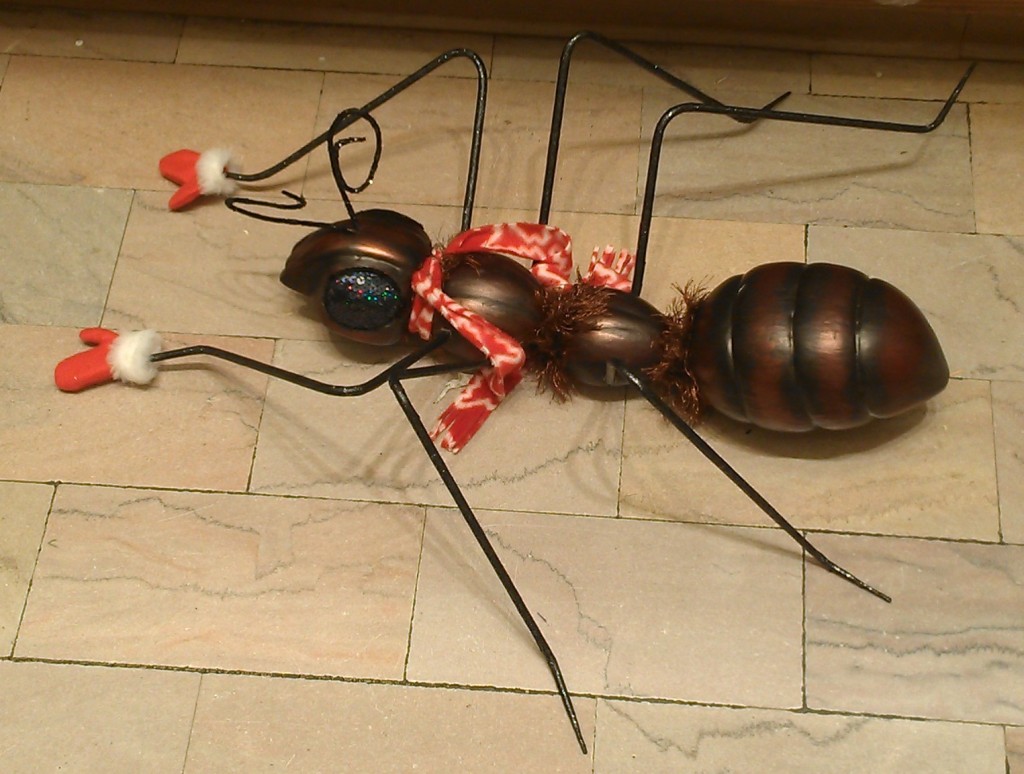
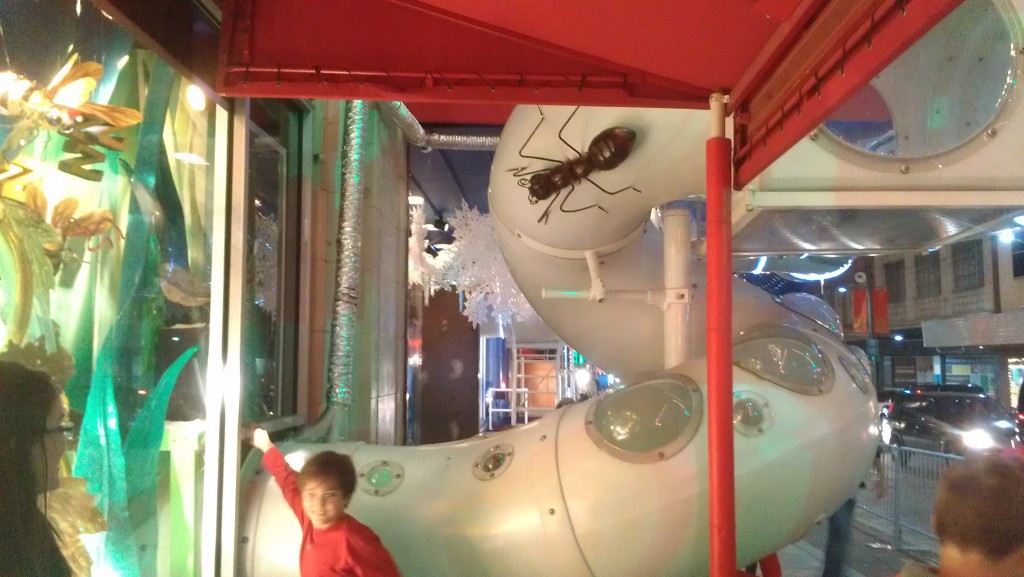
Neiman Marcus: Thanks Ants! Thants.

The project: dressing bugs for the winter

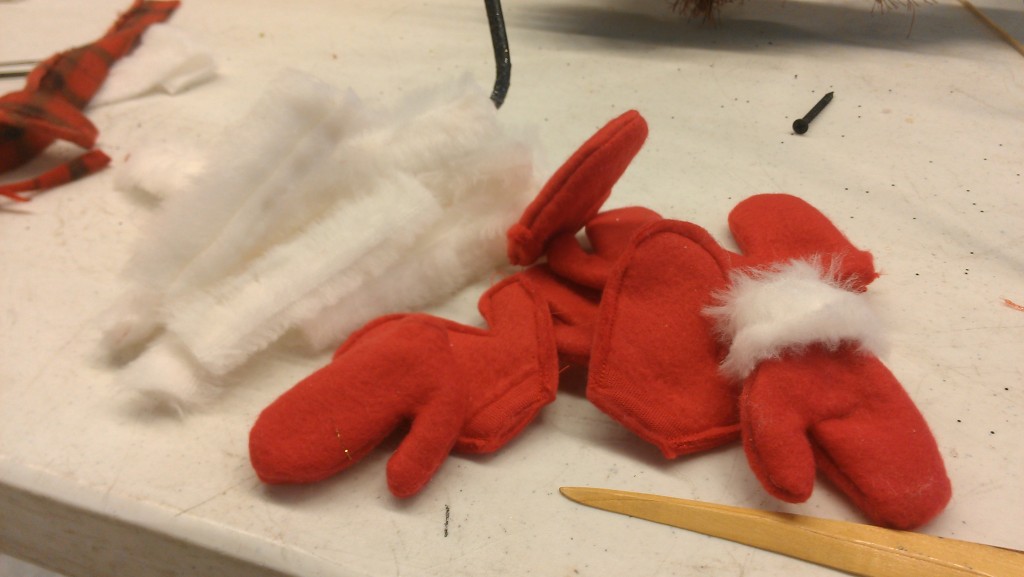
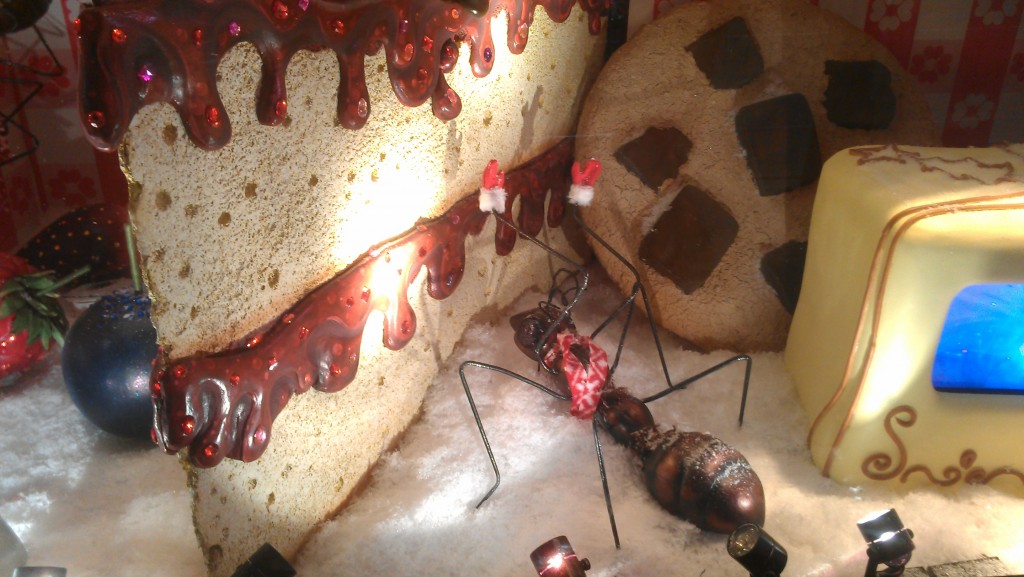
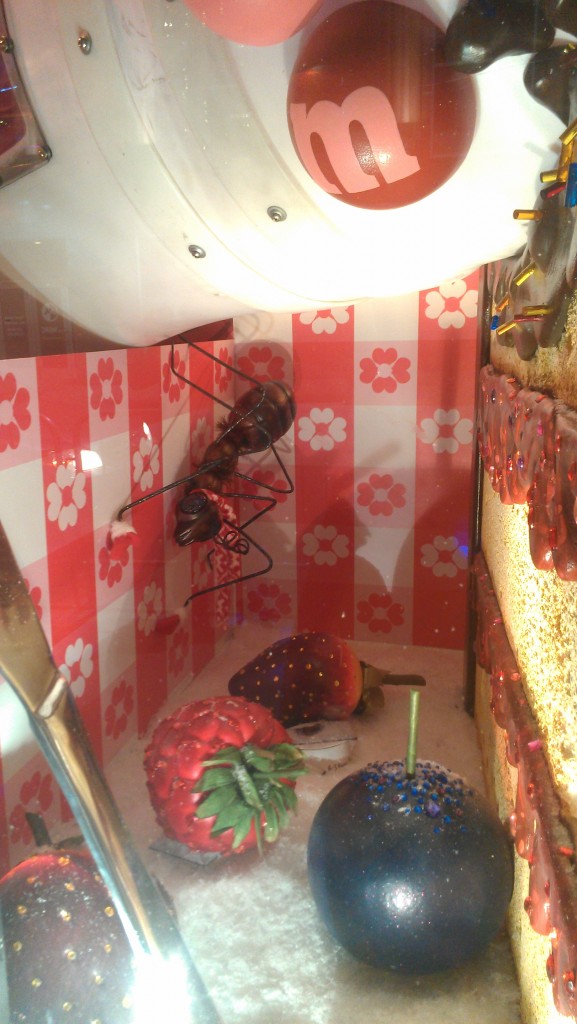
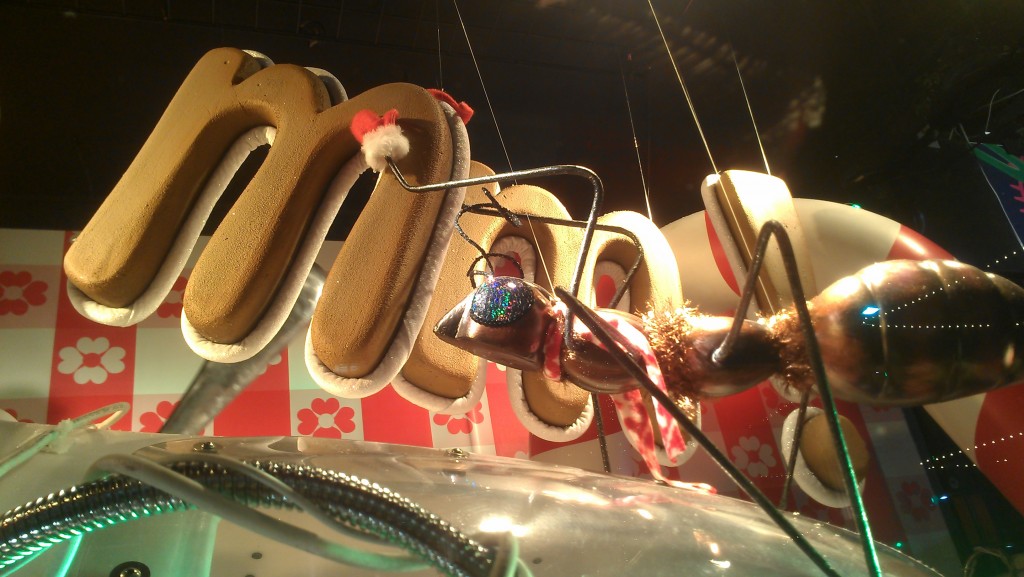
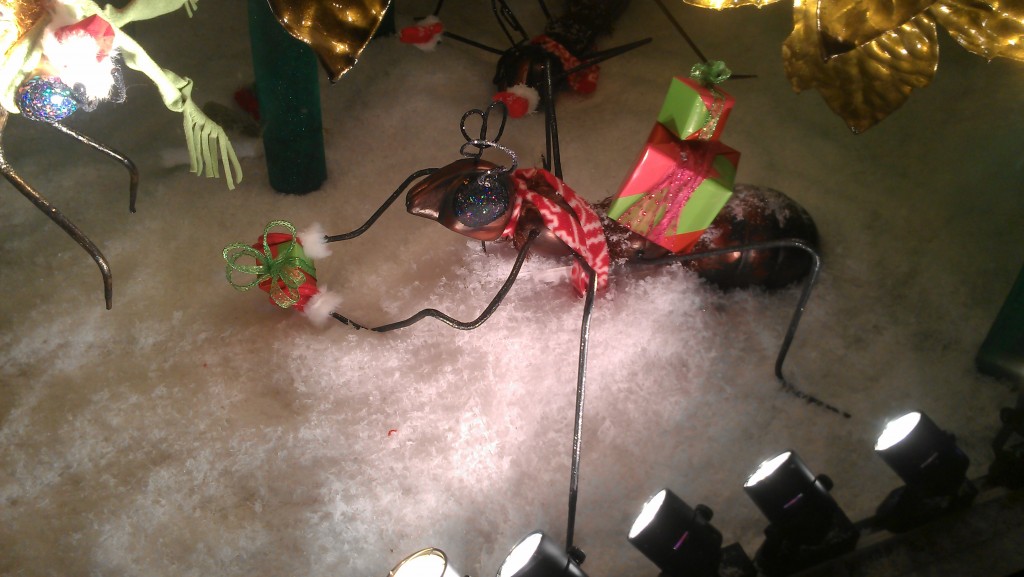
I made several sets of mittens for the ants:

All dressed up and looking for food; must be on a date. Just like people!

This ant is motorized so that he looks like he’s trying to get at the giant cake. Or possibly bowing to it. Well, can you blame him? That is some fabulous cake!

This guy’s mittens are a bit hard to see in this shot, what with the red-and-white tablecloth background. The raspberry is motorized to spin:

This ant had been put in before I made their mittens, so I had to climb out on the tube to mittenize him. I dripped hot glue everywhere and broke the giant candy cane’s support threads, but all was righted in the end:

The whole “Yummm!” window:

Those are neiman&marcus candy-coated chocolates, not m&m’s!


Over by the “Buzzzzzzz!” window, a naked ant has escaped and is about to carry off any unwary children:

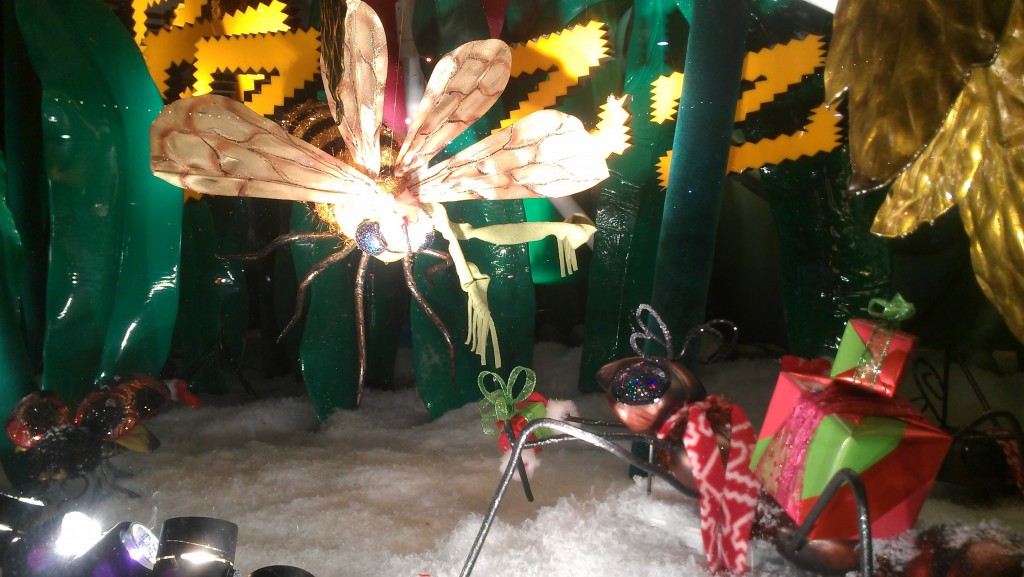
Here is a motorized ant offering a present to a bee. I wrapped a lot more presents than that, but those blasted ants must have already carried the rest off to their hive:

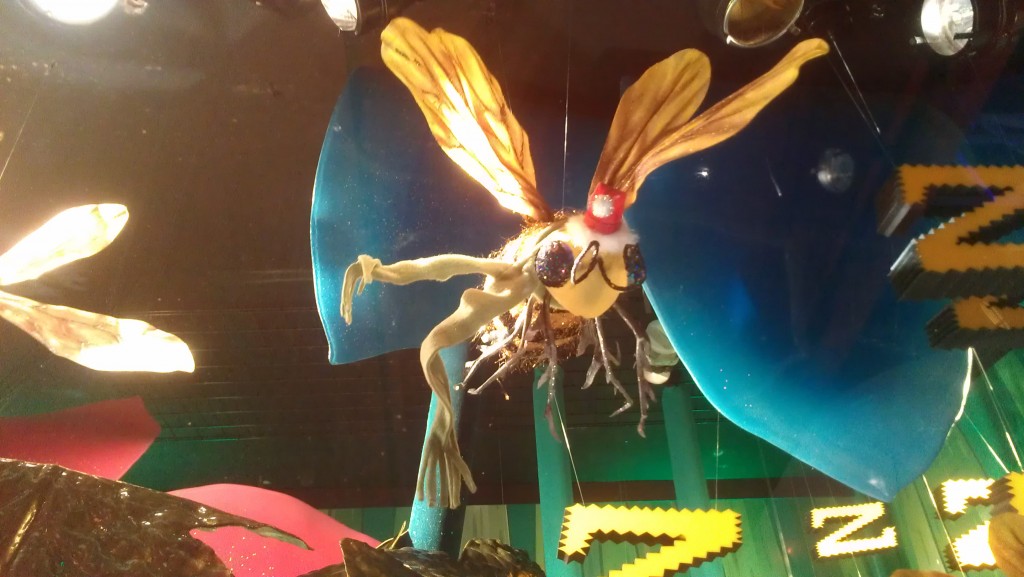
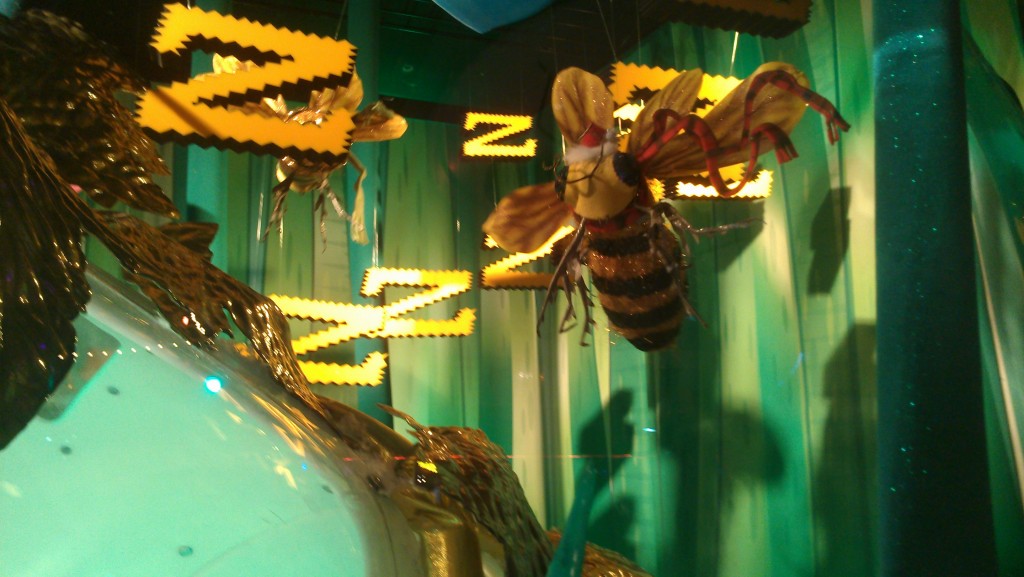
I wired the scarves on the bees so they would look like they were fluttering (also, they’re wearing Santa hats, though it’s hard to see them in any of the pictures):

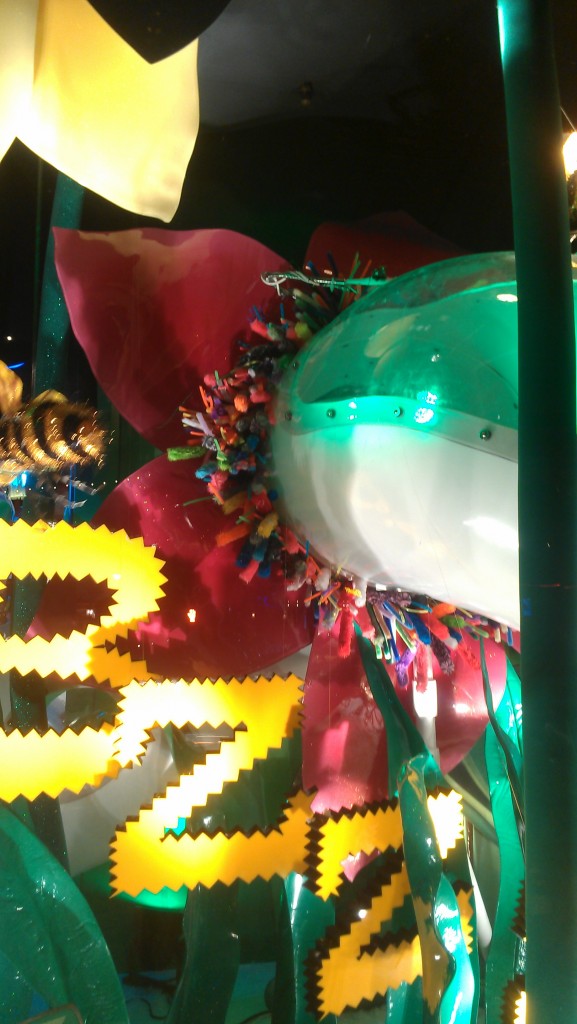
I got my annual late-night glue-gun burn from putting the pipecleaners around the flower:

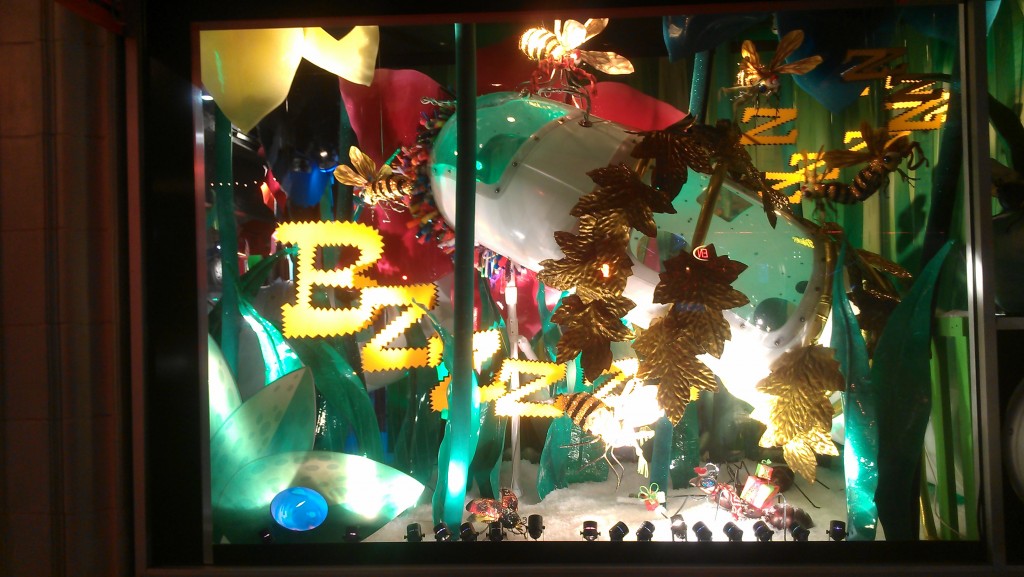
The whole “Buzzzzzz!” window:

For a video, go here: https://www.youtube.com/watch?v=gaI6kBVyu00

Neiman Marcus: Snowman

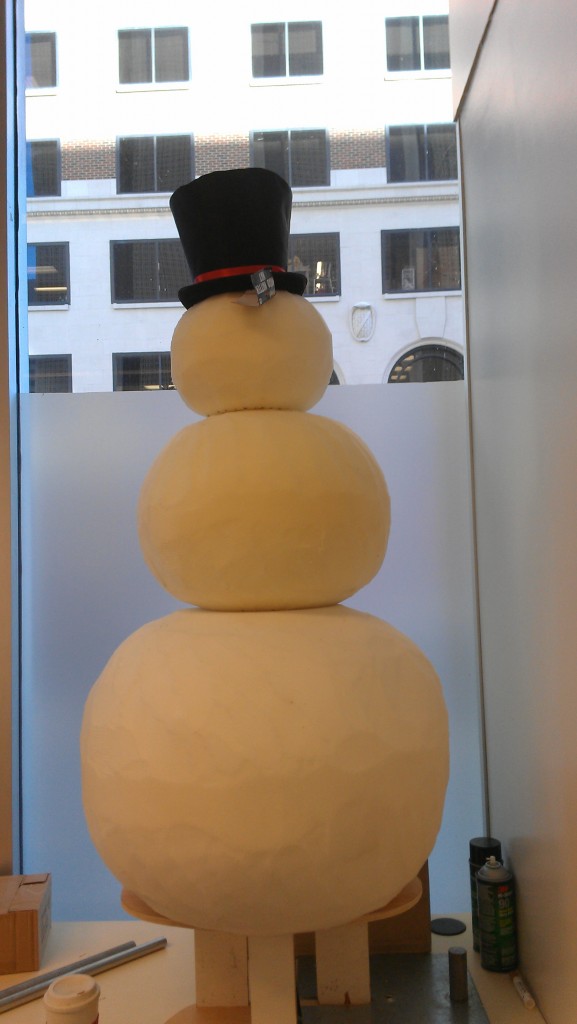
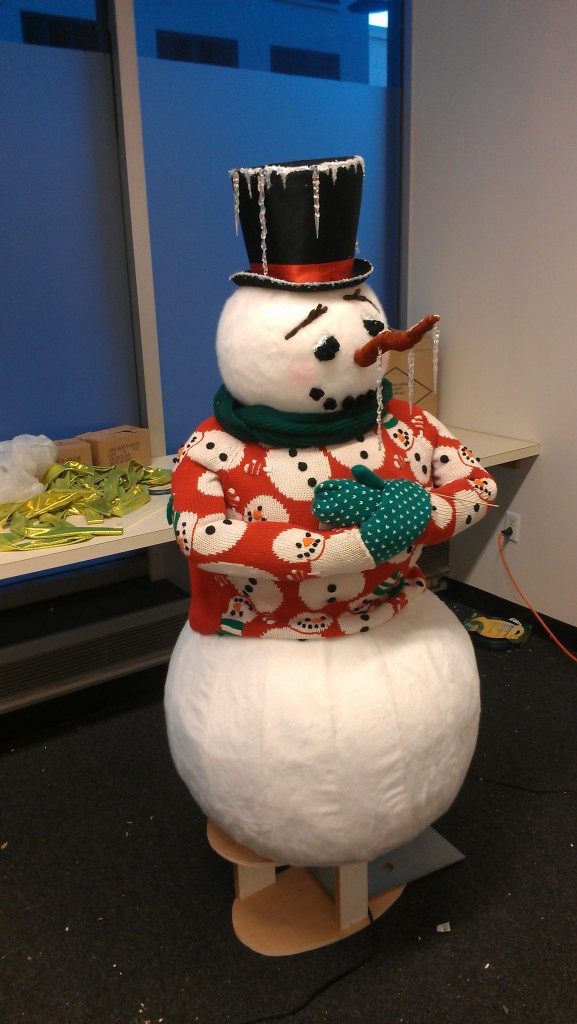
The project: A cold snowman

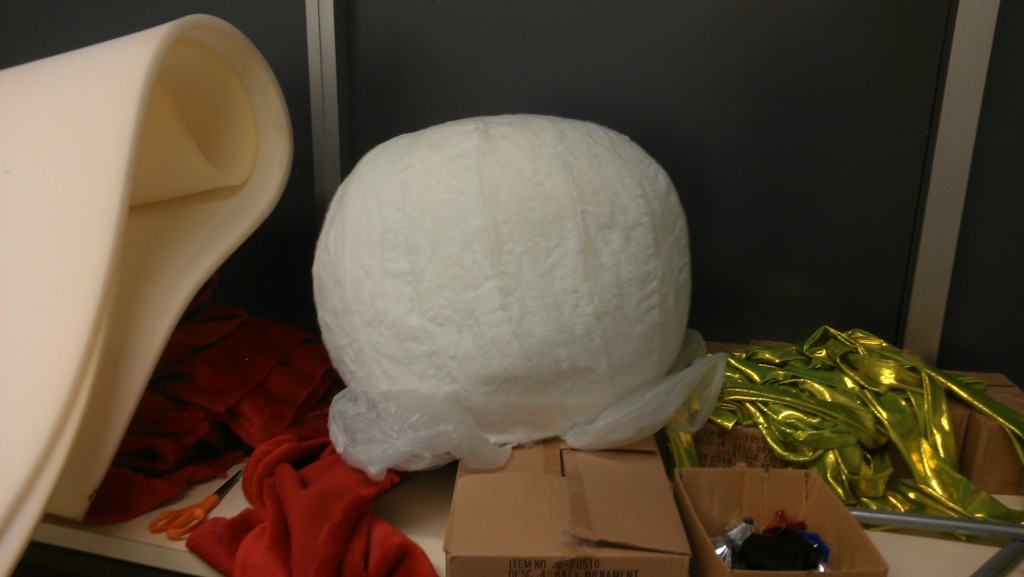
The original prototype center: we had planned on stuffing it. I tested it out with muslin and filled it with small pieces of fabric, as I don’t have however many pounds of stuffing on hand that it would take to fill a whole snowman:

Since it was going to be on a machine that would shake him to make him look like he was shivering, and since it was going to be constantly shaken for over a month, we decided it shouldn’t have as much possibility of shifting. Hence, foam:

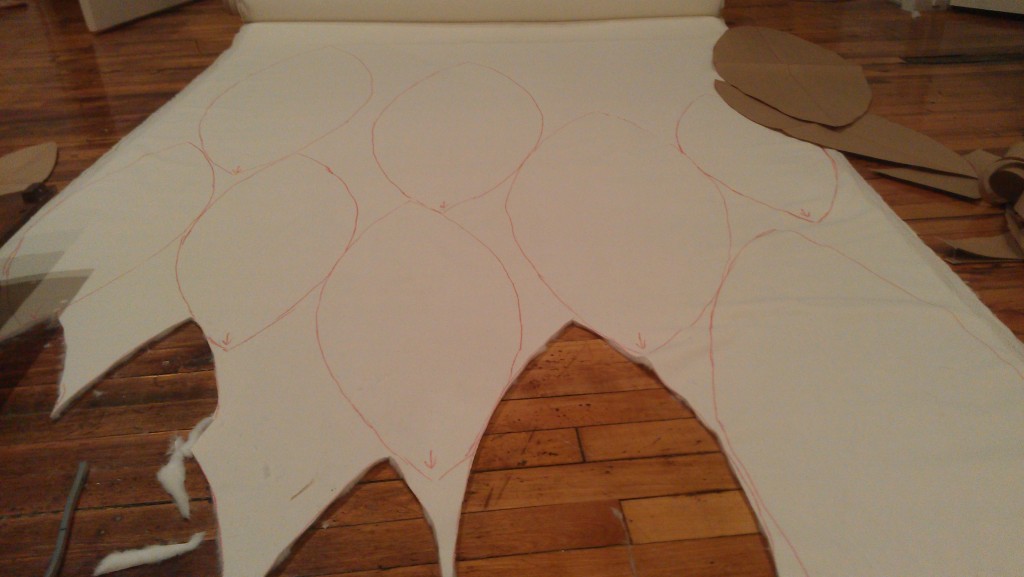
Since the fur was so thick, I could mark the pieces on the back with impunity, including an arrow to keep the nap straight:

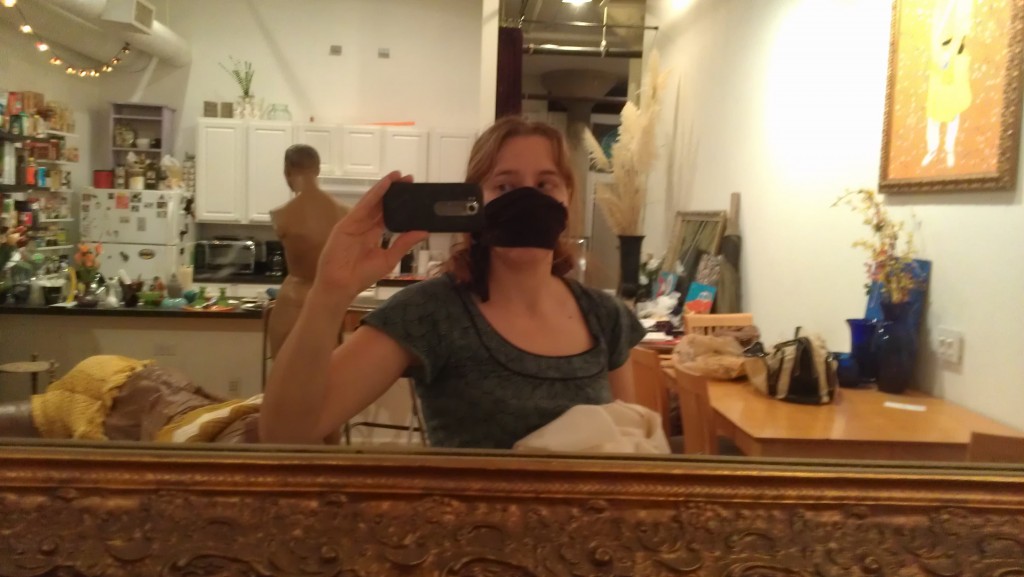
What with all the cutting and the serging and so forth, the flying fur dust became overwhelming. I finally tied some fabric scraps over my face:

I soon discovered the difficulties in covering something round with fabric that was not stretchy. My original pattern pieces, designed to make 6 panels per sphere, worked okay on the head, but came out looking really lumpy on the bottom snowball. I draped a piece of fabric over it and figured out the maximum possible width, which more than doubled the quantity of panels.

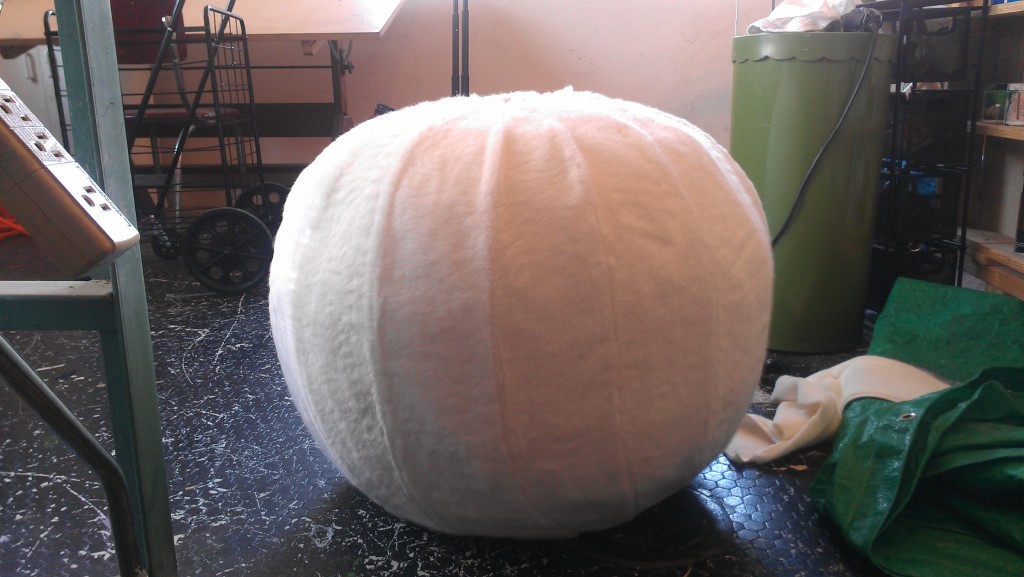
I still had to pull the fabric on really taut to keep it from looking like an albino pumpkin:

Pulling, scootching, and pinning; stitching, then somehow finding more fabric that could be pulled, scootched, pinned, and stitched. Repeat.

Then go through each seam with a pin and loosen every tucked-in fur fiber.

It actually looked better in person than I could get a picture of, but you can see in this shot that it’s significantly better than the original pumpkin.

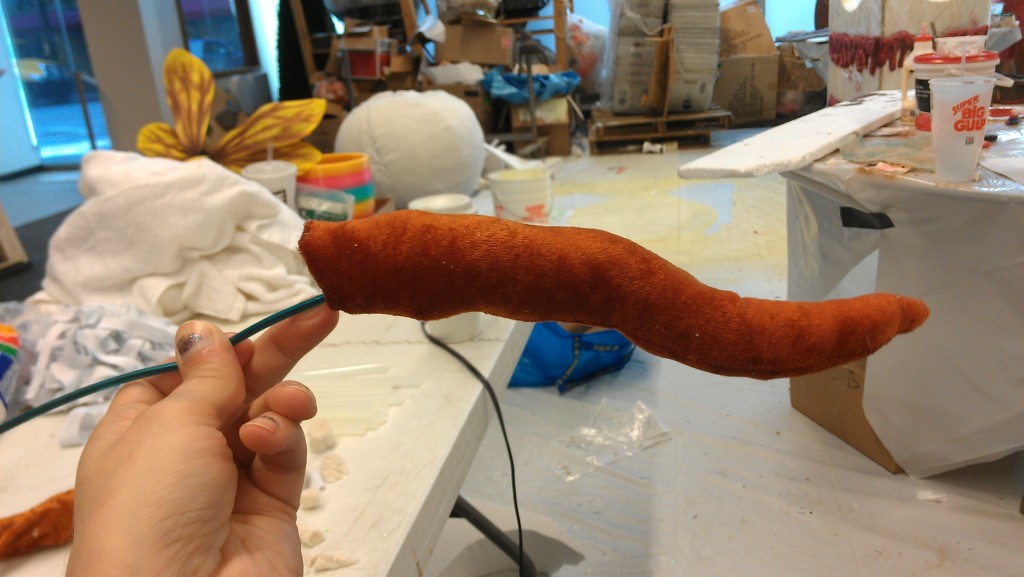
Now to style the face. Carrot nose:

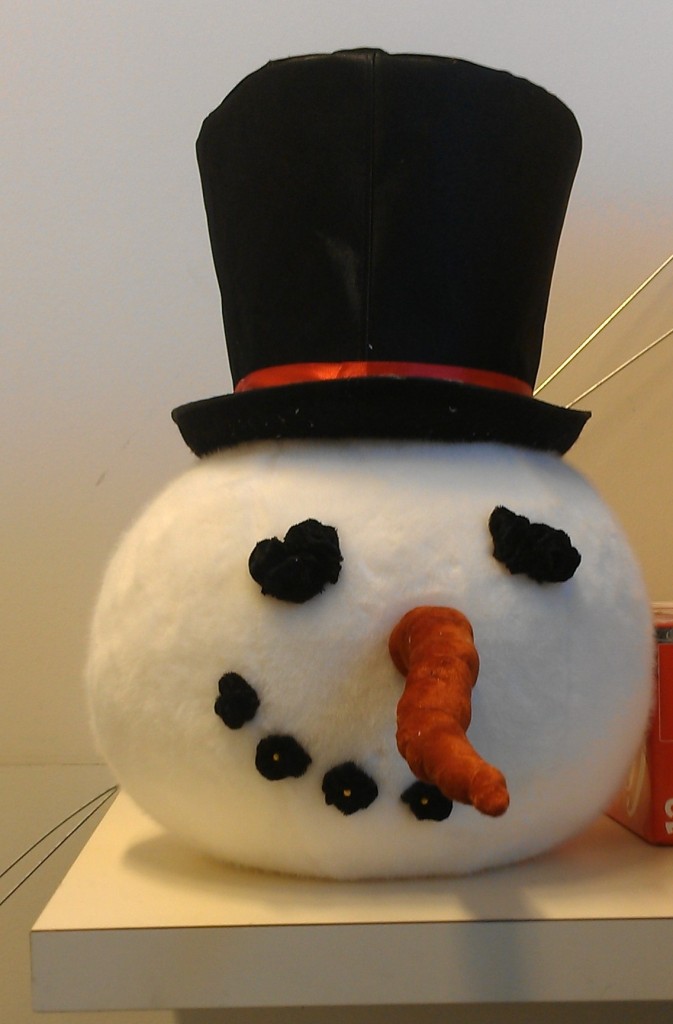
Here he is pre-eyebrows, with all his features pinned in place, and his eyes cheerfully sad:

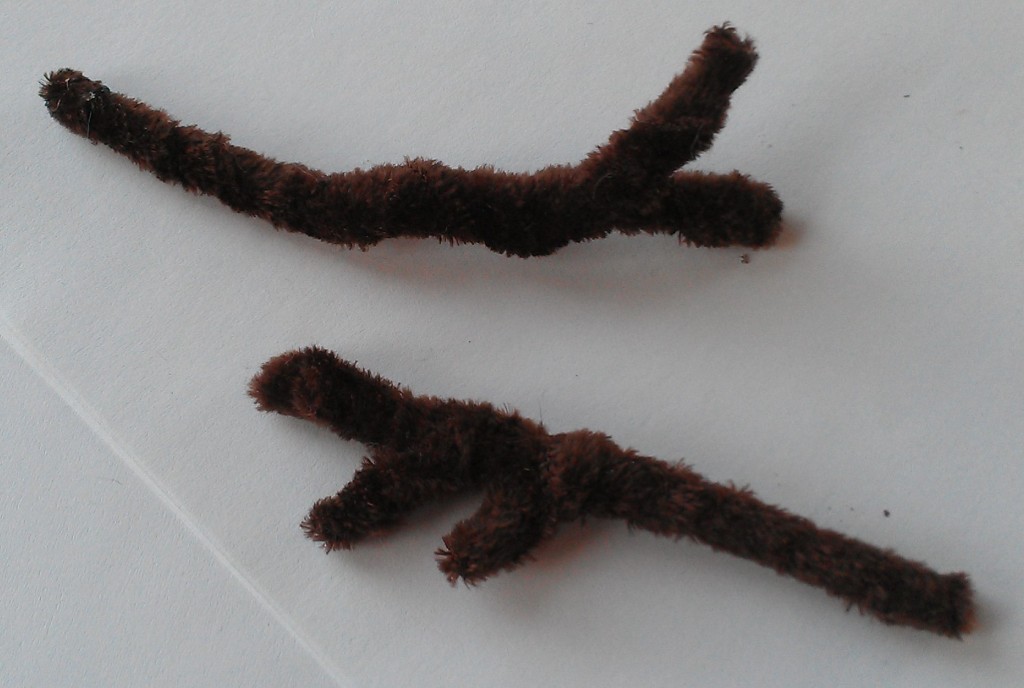
Eyebrows made from velvet-covered wire:

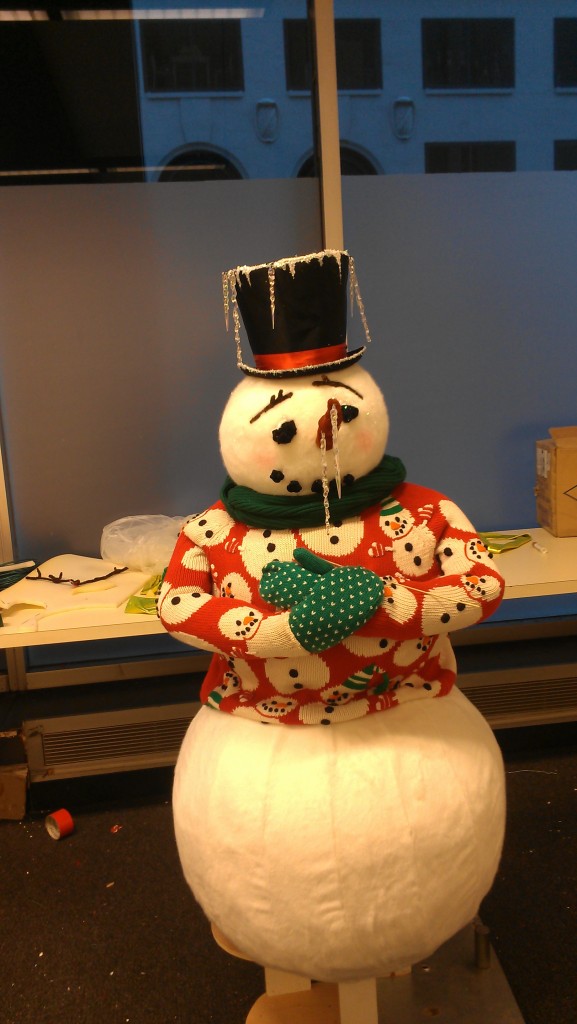
Nearly finished:

You’d think it would be easy to put someone’s hands into a position that looks like they’re rubbing their little mittens together. Not so. If his thumbs don’t show in the front, it’ll just look like socks. If you put the palms together, it looks like he’s praying. It was hard to keep the bend only at his elbows and not partway down his forearm, which would have, aside from the horrific element that added, solved the hand problem.

The sticks are holding his hands in place while they dry:

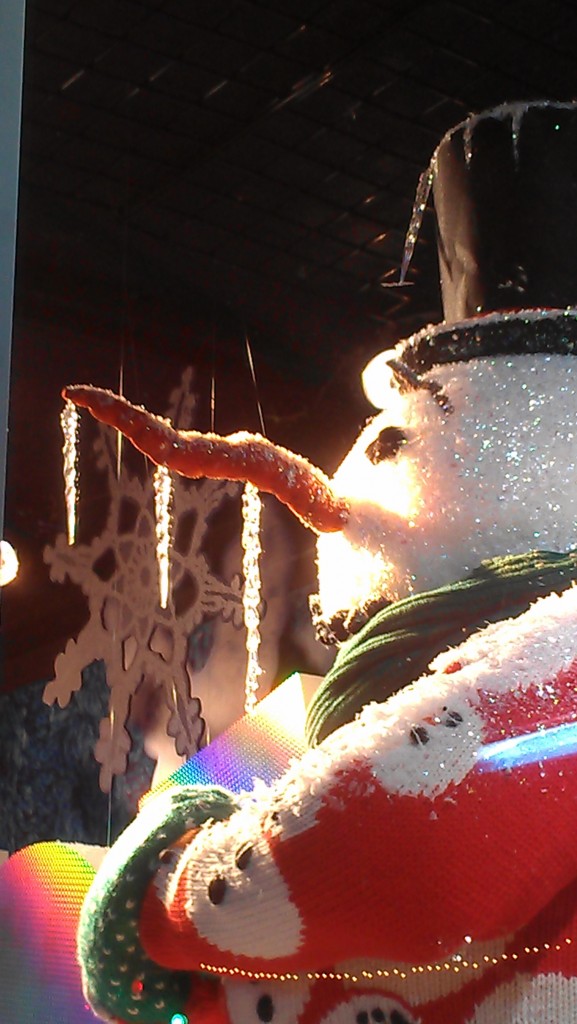
Big Carlos used techniques he’d learned in Columbia to dust the whole snowman with glittery snow so that it wouldn’t shiver off.

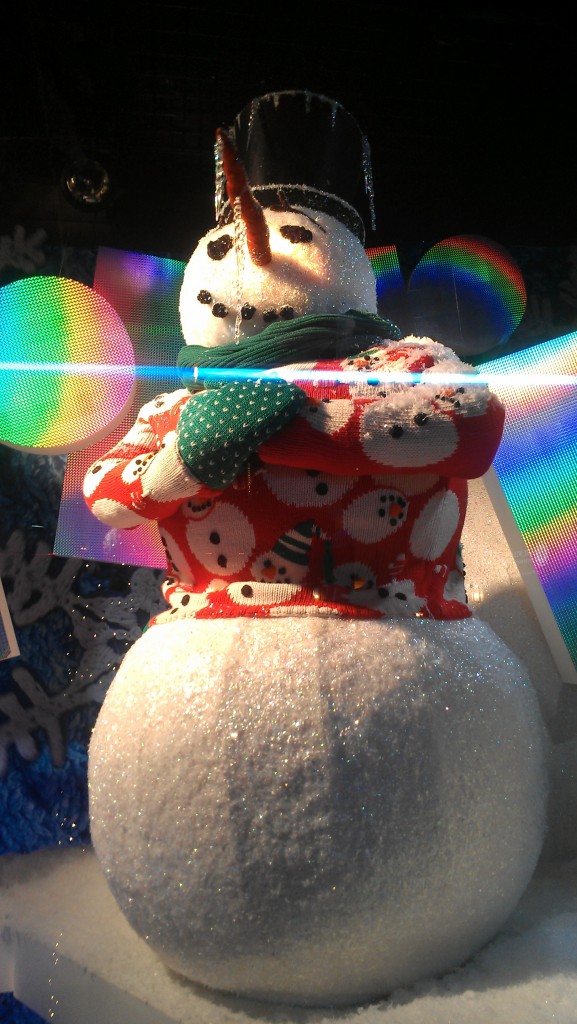
Taking this shot through the glass, it was difficult to keep that blue light reflection from landing right on his face:

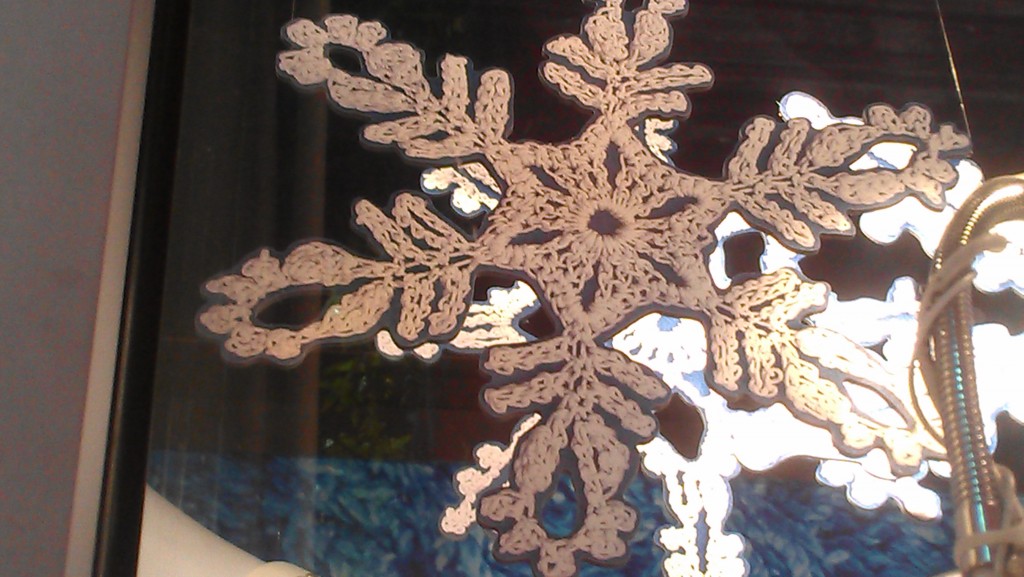
Also in Mr. Snowman’s window, giant blow-ups of crocheted snowflake ornaments, some of them on motors to make them spin:

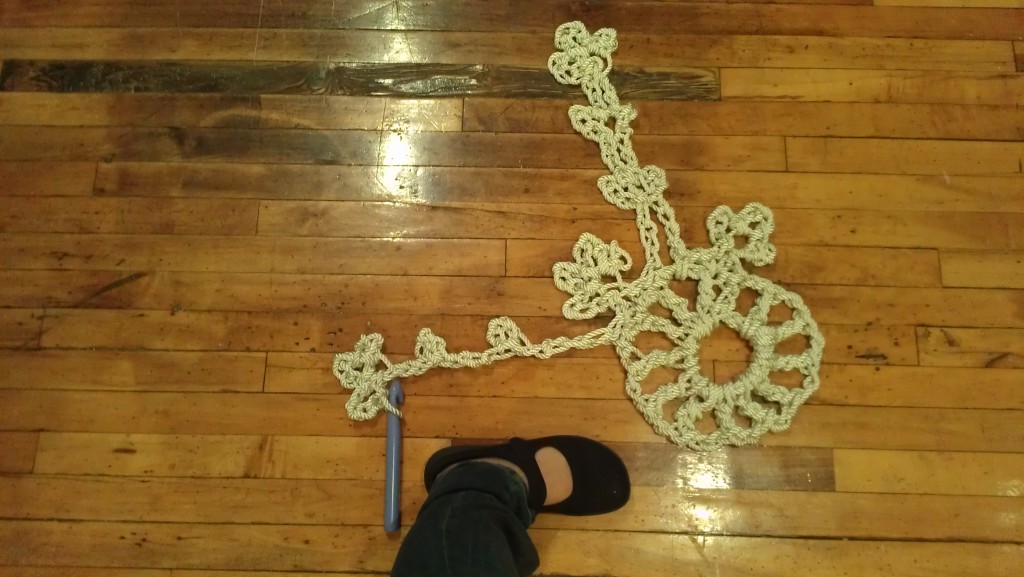
I had tried out making them out of rope, but it took a whole thing of rope just to start one snowflake, and we determined that the time involved and the logistics of how to make it stiff enough to even hang, let alone to spin, just weren’t worth it:

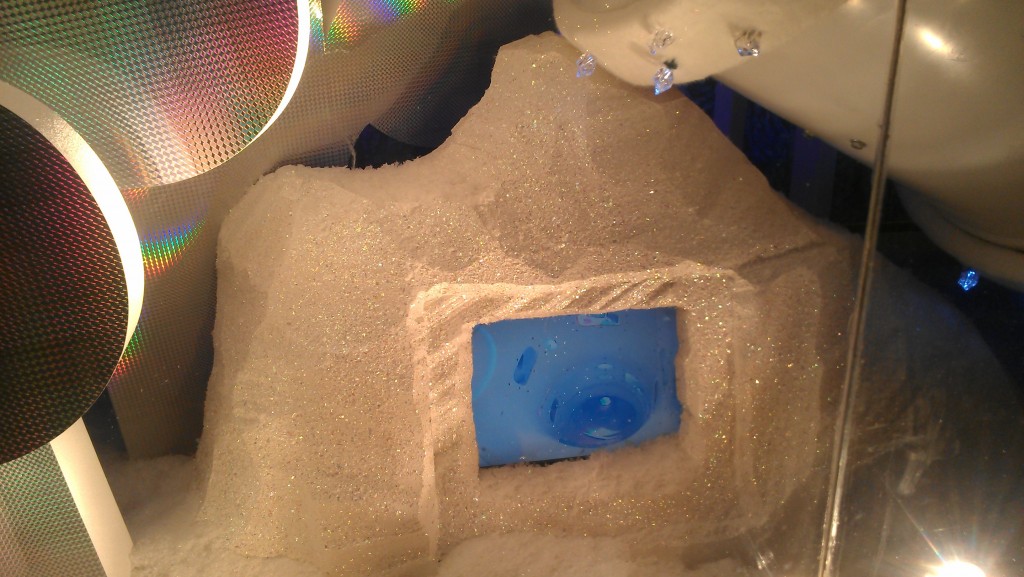
The screens set up to show the kids running through the tubes look like they’re in miniature glaciers:

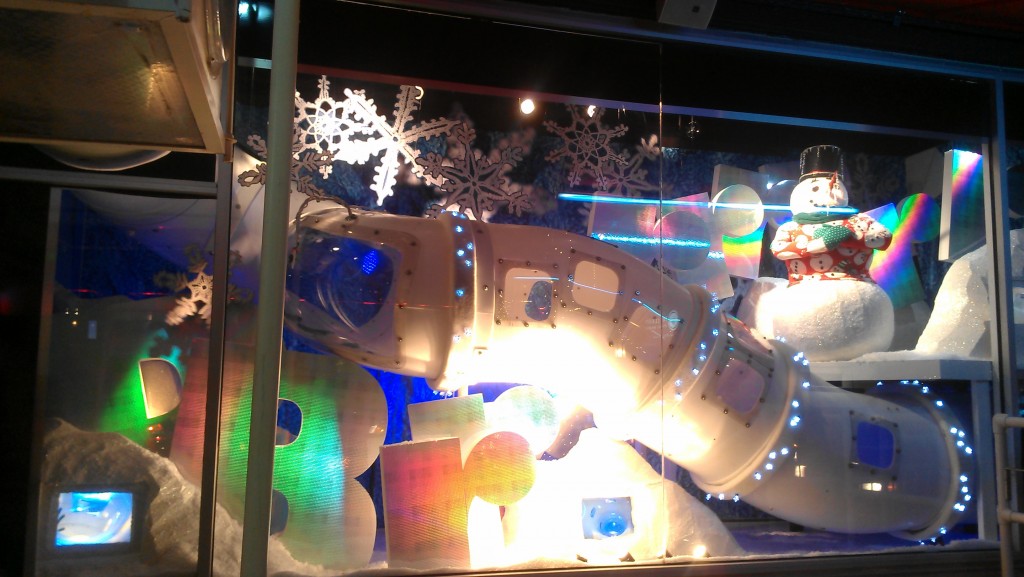
The whole Brrr window:

Neiman Marcus: leaves of grass

The Project: giant blades of grass


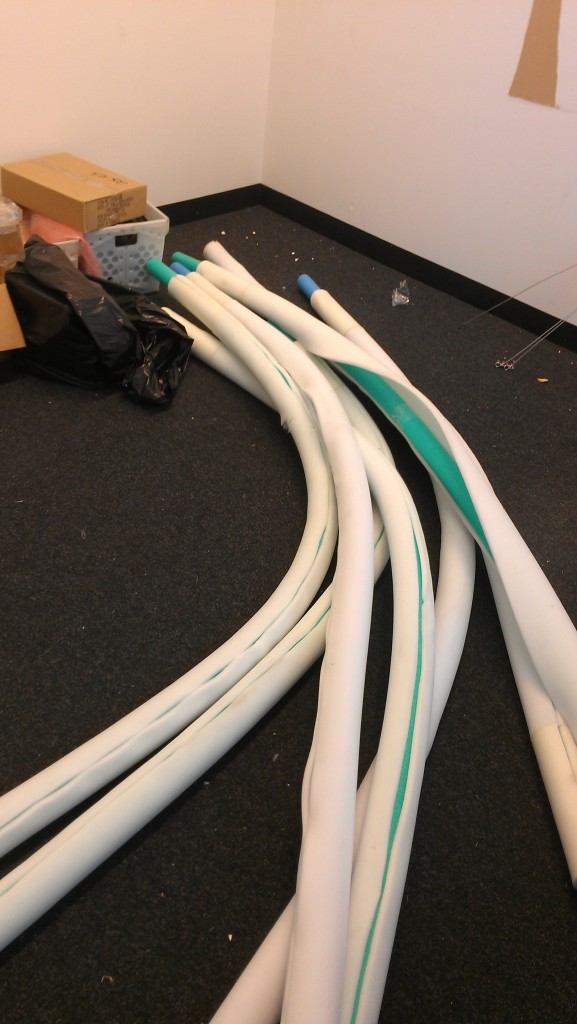
Foam tubes covered in more foam to make them thicker. The two foams had been glued together, then separated exactly one night before I went to cover them with the fabric:

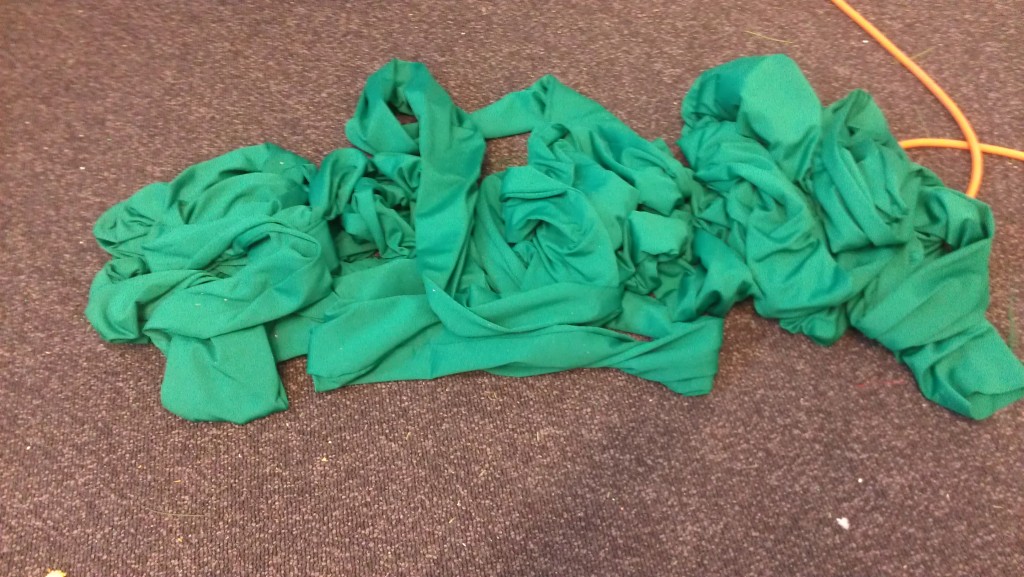
The fabric socks, as previously pictured in a teaser blog entry:

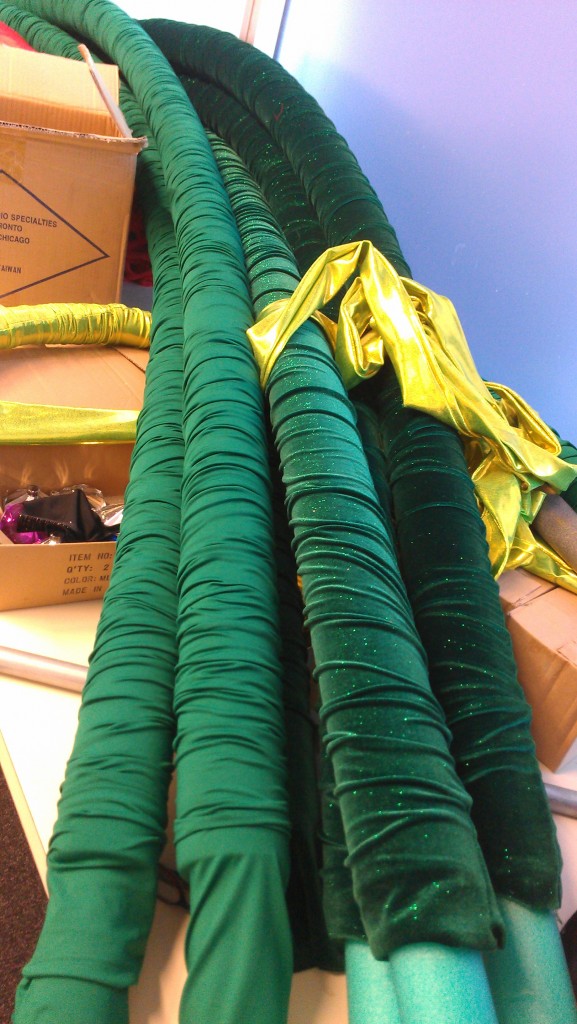
Here’s the first end result–I had thought the ruching was for all the foam tubes, but it was not intended for the grass; just for the vine part. It was delightfully Dr. Seuss-y this way, but that wasn’t what we were going for.

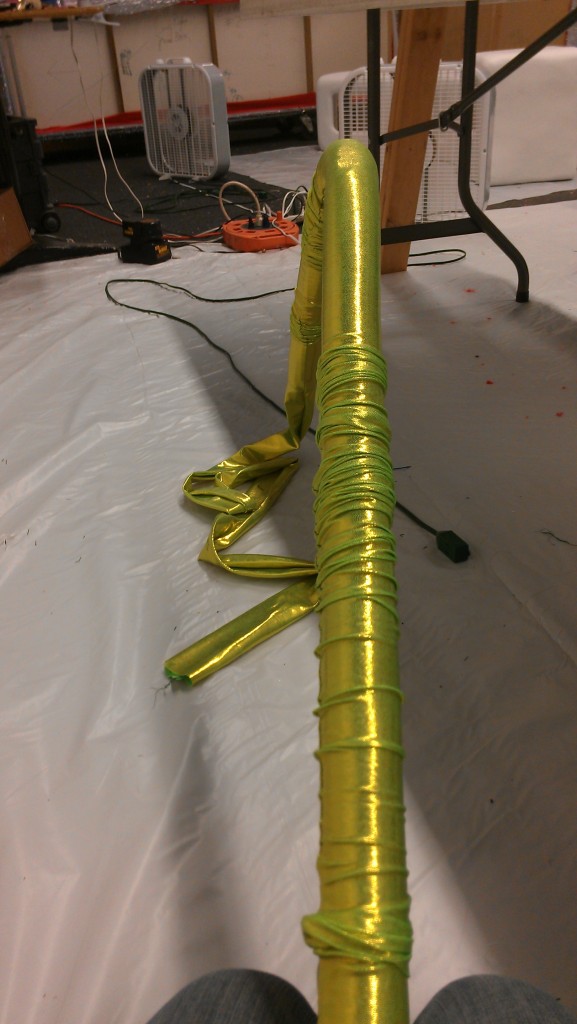
I put pieces of pipe inside the foam to make it stiff, which made it easier to pull the fabric on. The vine:

Here they are in the window:

Belly Dance Costume

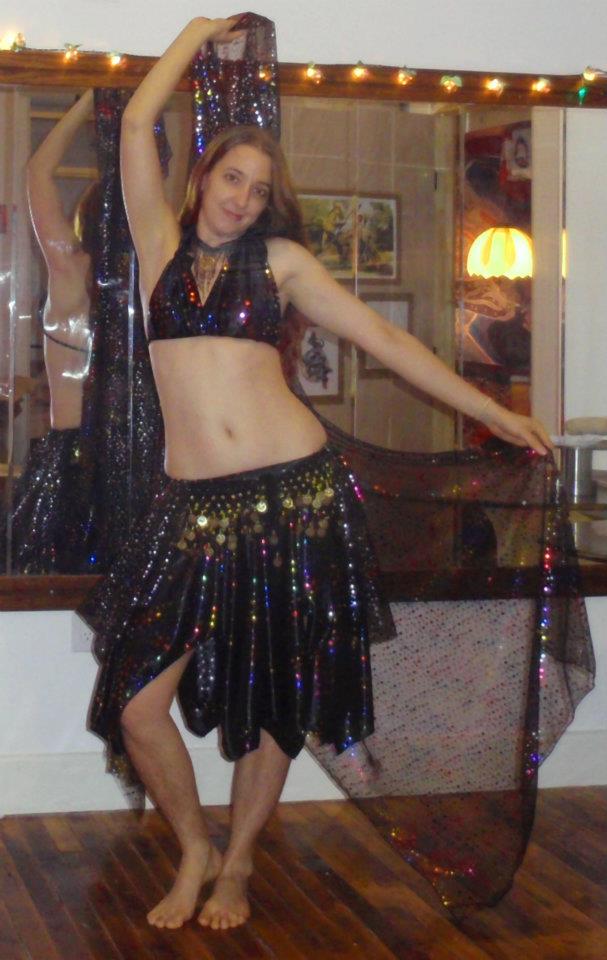
One day, feeling particularly bored with all my have-to-do sewing projects, I decided to play with some of my some-day belly dance costume fabric that I accumulate for myself and then don’t do anything with. I put this together with a skirt design that I had come up with before, then draped the top and invented it by pinning and tucking. The veil came from some fabric that had the same pattern but was printed on a sheer, net material.

And here’s me dancing in it: