Reception Dress

The Project: take in and shorten a reception dress that was covered in beads and sequins. For an out-of-state bride getting married in a couple weeks.


This dress is a very silky, loose-woven chiffon and is cut on the bias. It’s hard to tell how it will lay on the actual wearer, because the drape of it will be different on anyone who puts it on.

I pinned it on the bride-to-be and determined that taking it in in the sides would make the most sense at the back-center zipper.

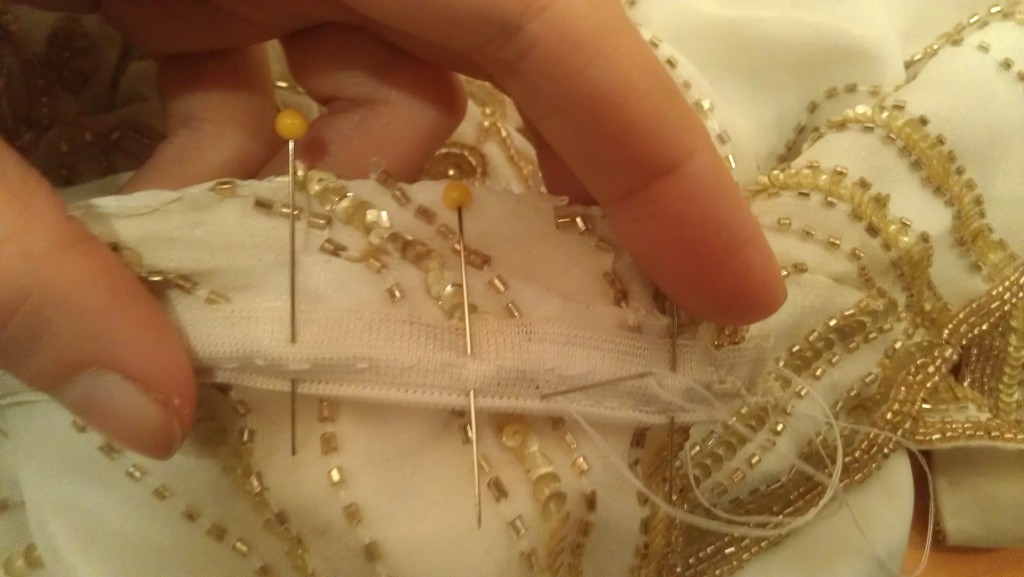
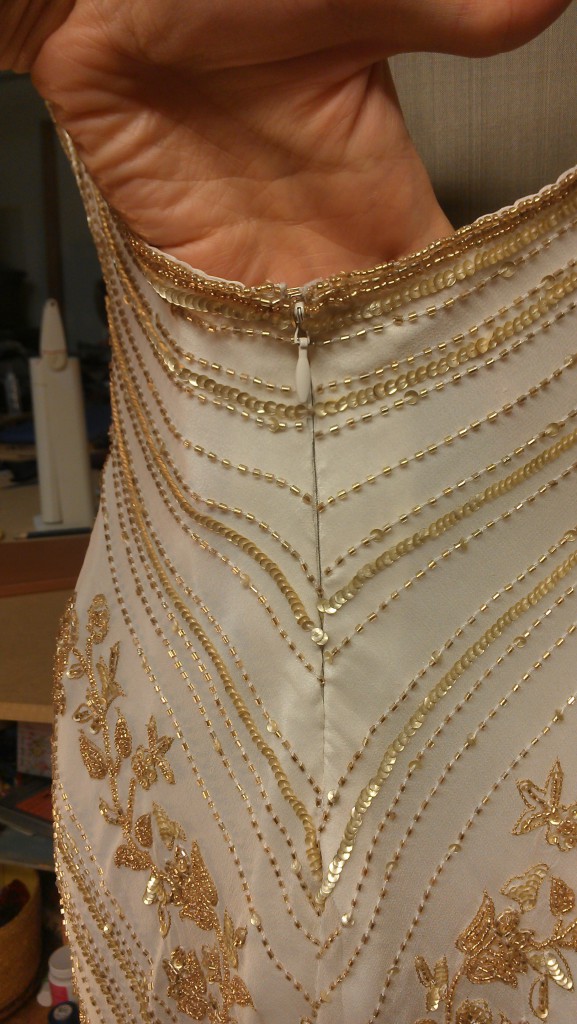
Once I delved into it, I discovered there was no machine sewing to be done, pretty much anywhere. I removed the zipper and replaced it by hand:

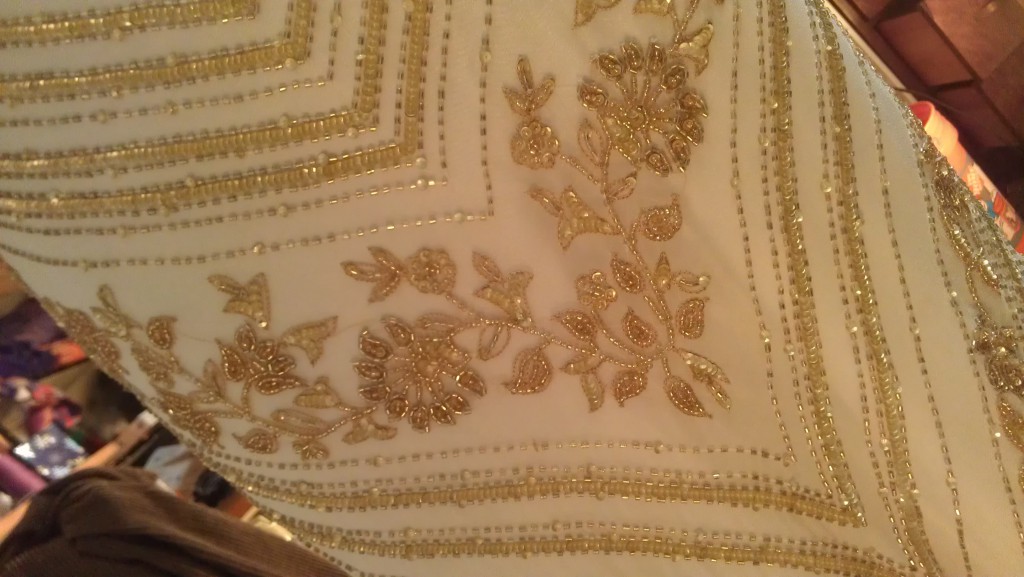
Working with this dress was incredible. It’s hard to tell how much of the beadwork was done by hand, and despite some scrutiny by both my designer-creator friend Denise and myself, we couldn’t come to any solid conclusions.

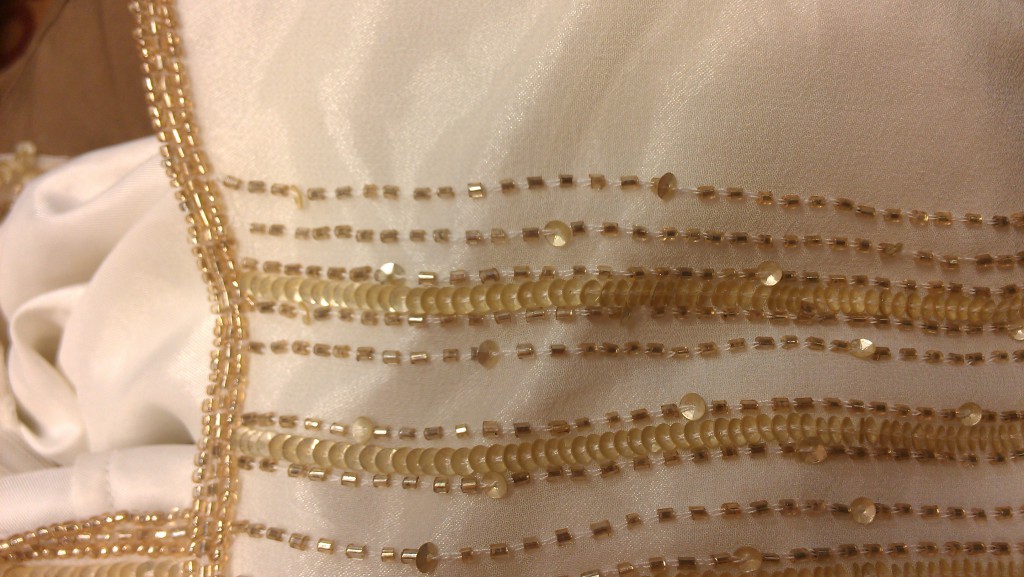
The periodically interspersed sequins into the lines of seed beads are a nice touch:

Look at this and keep in mind that it is done on the bias on the shiftiest, slidingest chiffon:

Seriously:

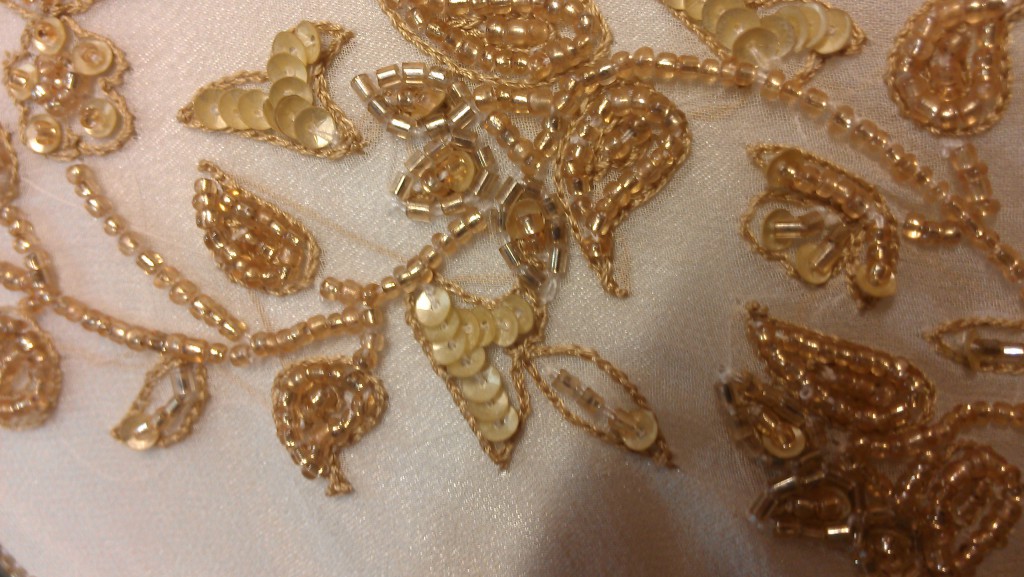
Remember this is not an applique. And it isn’t backed with stabilizer:

I had to find a balance between getting both edges right up on top of each other to hide the invisible zipper vs. making the beads lumpy against the edge or getting them too close to the teeth:

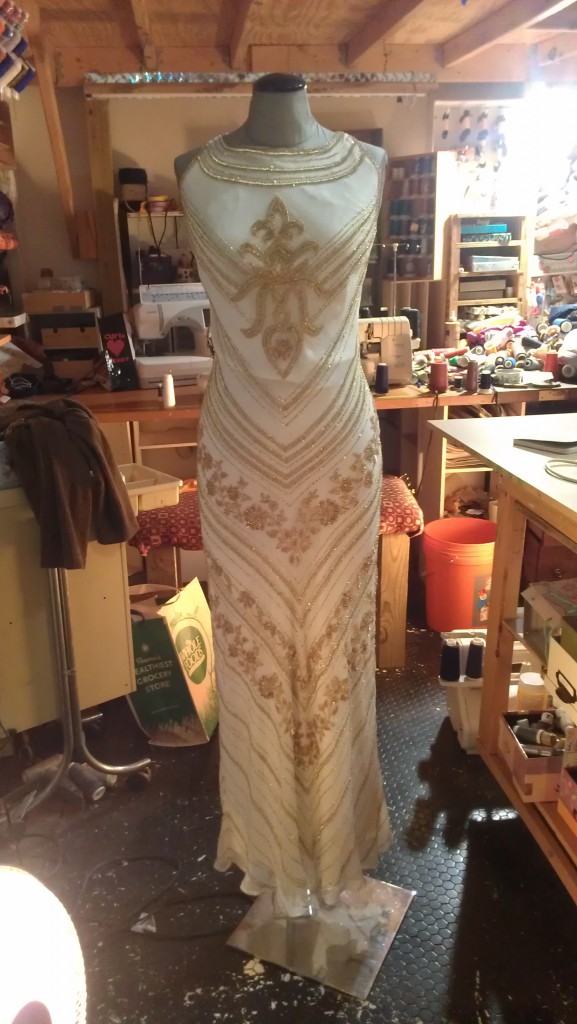
Here it is finished, hand-sewn hem and everything:

Added drama: despite planning to go to the wedding, I figured with something this last minute and this important, I’d better not be responsible for hand-delivering it and not losing it in transport. I could so see sleeping in late and missing the plane. So I sent it by Fed-Ex so it would arrive 2 or 3 days before the wedding.

I hadn’t paid attention to the tracking number and was out and about without the receipt when the groom called to ask about the dress’s whereabouts. Since I’d paid by debit, the tracking number was luckily listed in my online bank summary, and we discovered that some weather conditions (neither rain, nor snow, nor sleet, nor hail, my butt) had held it up–to the extent that it arrived shortly after I did.

Which doesn’t necessarily mean that we’d have been better off with me hand-delivering it; I’ve heard too many stories of items being stolen off planes, and after our adventure in ridiculousness in flying Spirit, I wouldn’t have gotten off that little toy plane too surprised if all my luggage had been replaced with a sack of potatoes.


 

Why was this blog tabled for so long?

So here I am back after a long absence caused by various reasons, not the least of which is being fabulously busy. So the next several posts, submitted in rapid succession will show some of what I have been up to.


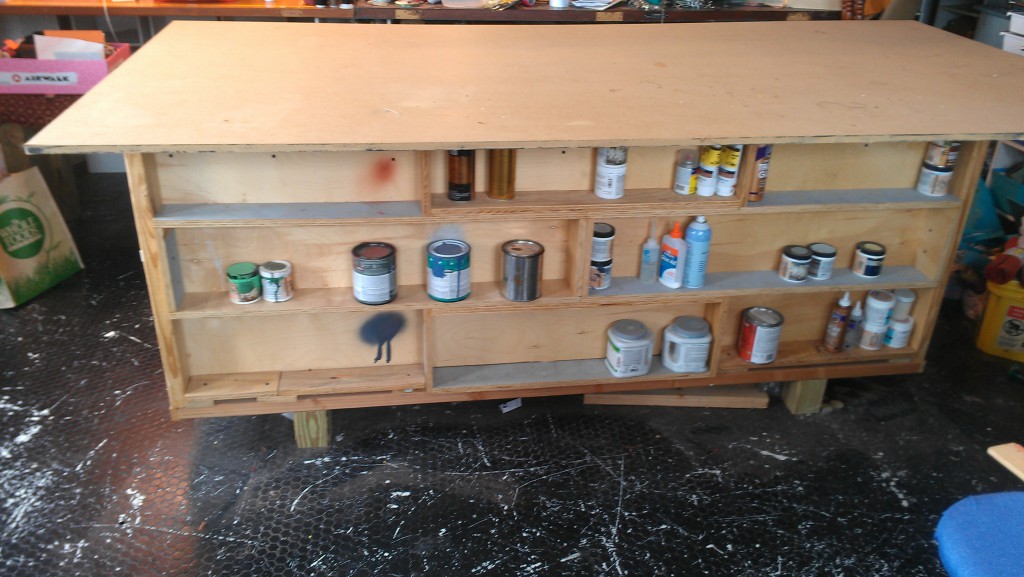
Here is my soon to be previous work table. It features some paint shelves, despite my not being a painter, and also despite the fact that the space provided here is barely enough to hold even the paint selection of a non-painter (which isn’t apparent in this picture as I remembered to snap this Before shot just before completely emptying all the paint into a milk crate).

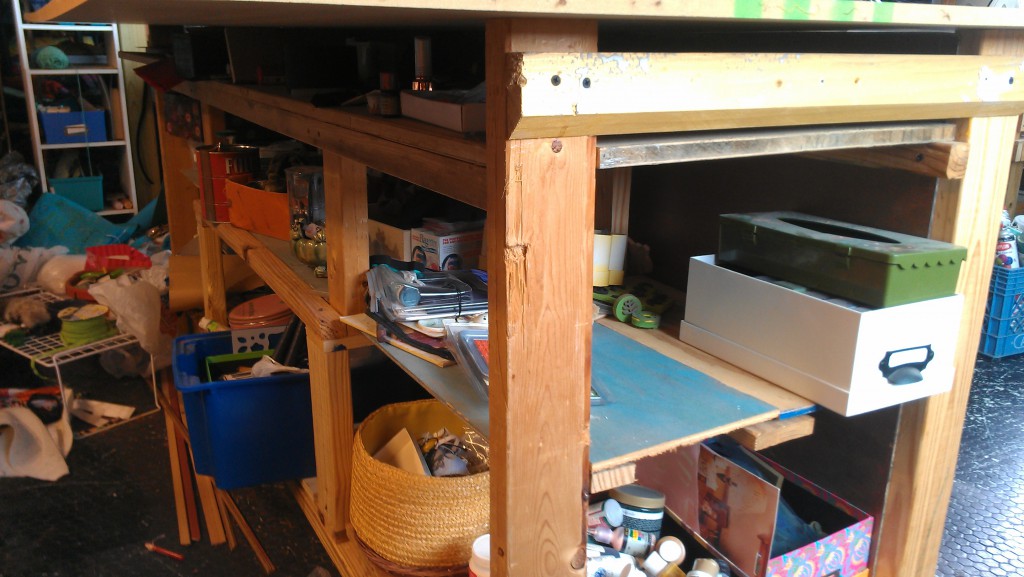
This table also featured shelves that were way too deep and too high on the other side, making it very hard for me to organize:


Shelves can be freaking cheap at thrift stores and they are readily available locally at places like Ikea and Target and what-have-you. However, I wanted specifically 36-inch high shelves that were fairly wide, but only about a foot deep. Apparently, this is not a common size.

An internet search turned up a decent selection online, and further inquiry turned up the cheapest to be found online. (http://www.hayneedle.com/)

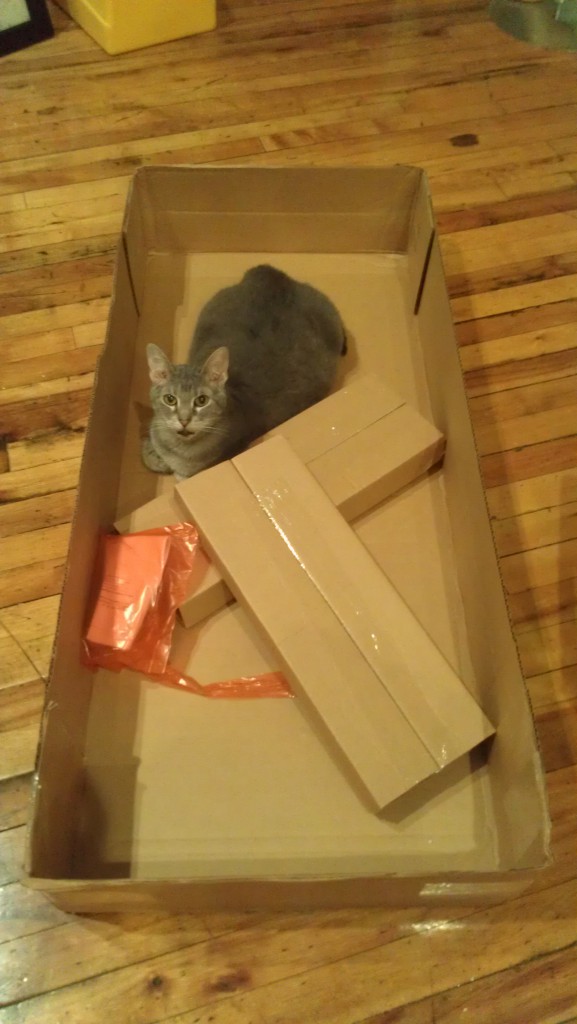
The description almost led me to hope that they would come put together, but when 5 boxes of the size shown below arrived, I knew some assembly was required.

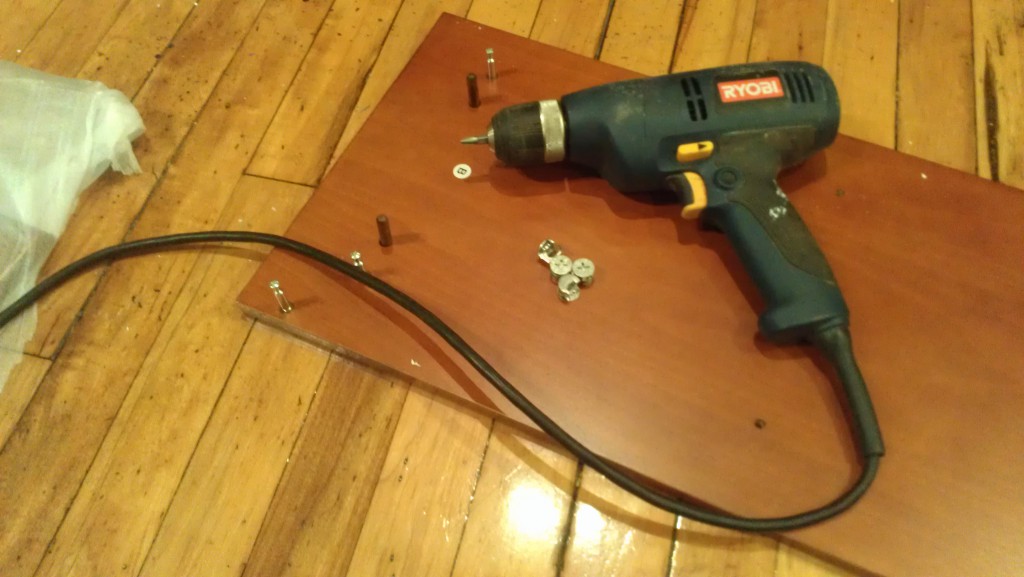
You know those little twist circles that cheap furniture always have? Well, maybe a quarter of the holes those go in had to be chiseled out. Which greatly increased the time it took to build these shelves. As well as the frustration and sense of tedium that is generally inspired by assembling this sort of furniture; the work vs. outcome ratio is akin to if it took 12 hours to prepare spaghetti. Their screw partners had to be screwed in tightly or loosely in various places so that the heads would line up, and it wasn’t apparent without screwing them in then testing, then adjusting. I wound up chiseling through the shelf in a couple places and not managing to complete the connection in a few more. In other words, I learned why these are hands down the cheapest shelves on the internet. I’m also getting email updates on office furniture deals pretty regularly now.

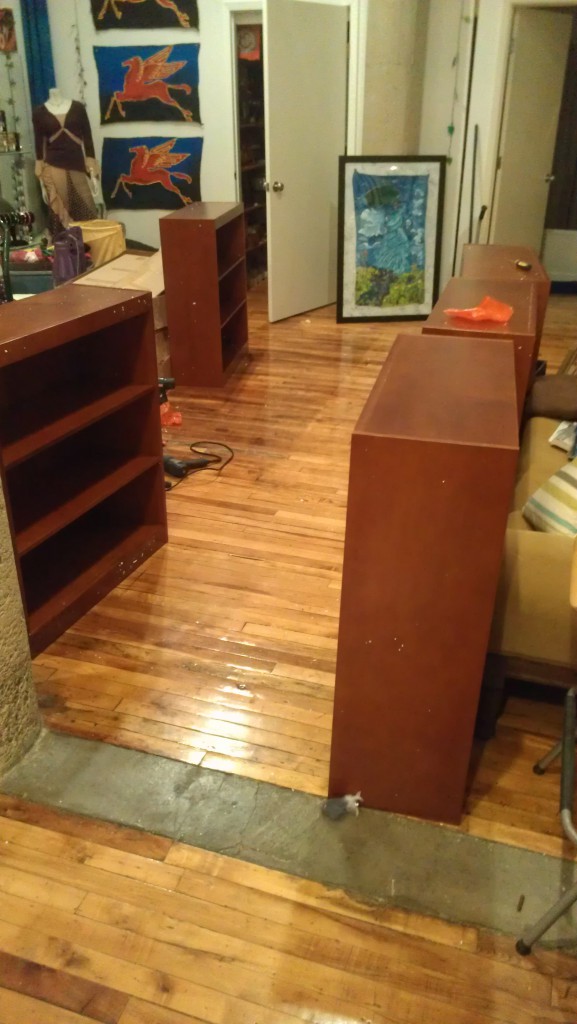
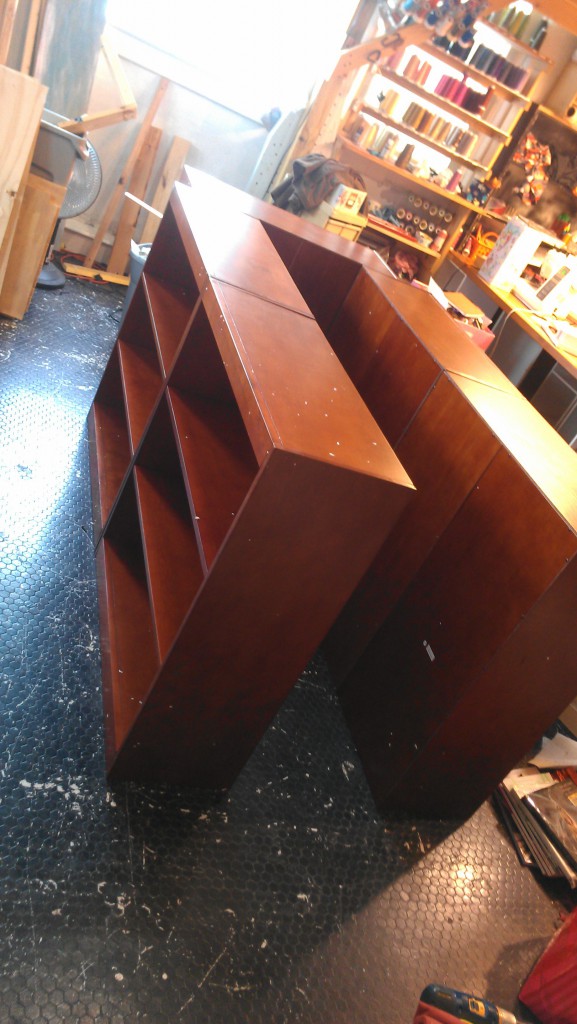
It took multiple sittings to manage to finish all of these, and about 3 or 4 trips down to the dumpster to get rid of the boxes and Styrofoam. So fast-forward ahead and here are 5 shelves waiting to go into my studio.

I discovered that much of the previous table had to be dismantled by pounding the crap out of it with a hammer and ripping the boards apart with my mighty thews. It took me back to that throw-away joke in Maniac Mansion about how the hamster cage was nailed, bolted, taped, and glued down. (Something like that; I can’t find the exact quote online, and I don’t want to download and play the whole game from scratch again just to get it right for those two people over the next decade who not only read this blog but also know what the heck I’m talking about. Unless you happen to know, please comment. Not knowing this occasionally drives me crazy.)

Also, I did not build this table myself, nor, apparently, have any say whatsoever in its construction.

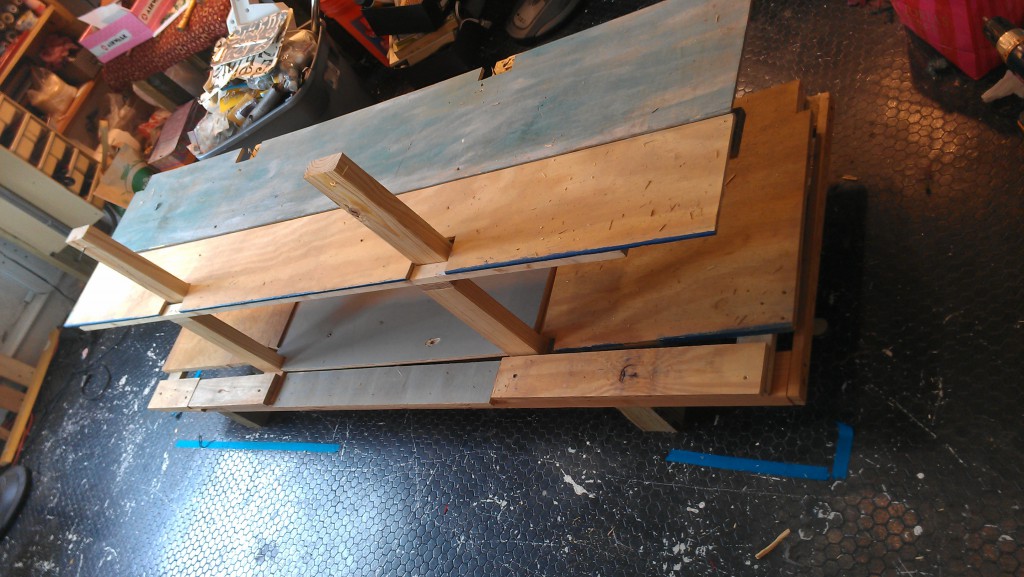
On to the new table base, still covered in Styrofoam bits:

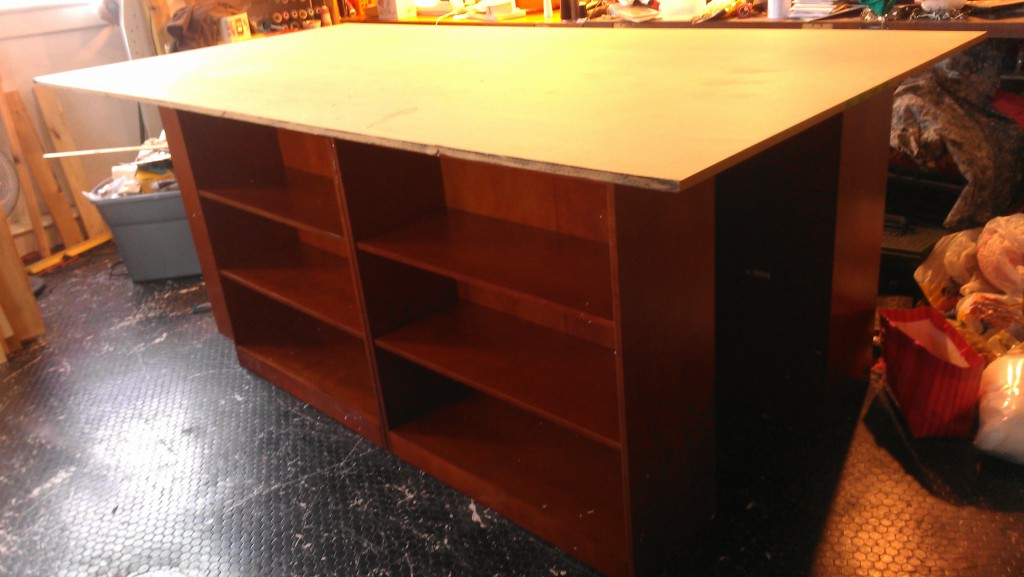
The following step was difficult. The sheet of MDF is outrageously heavy, and the shelves are pretty light and are easily knocked over.