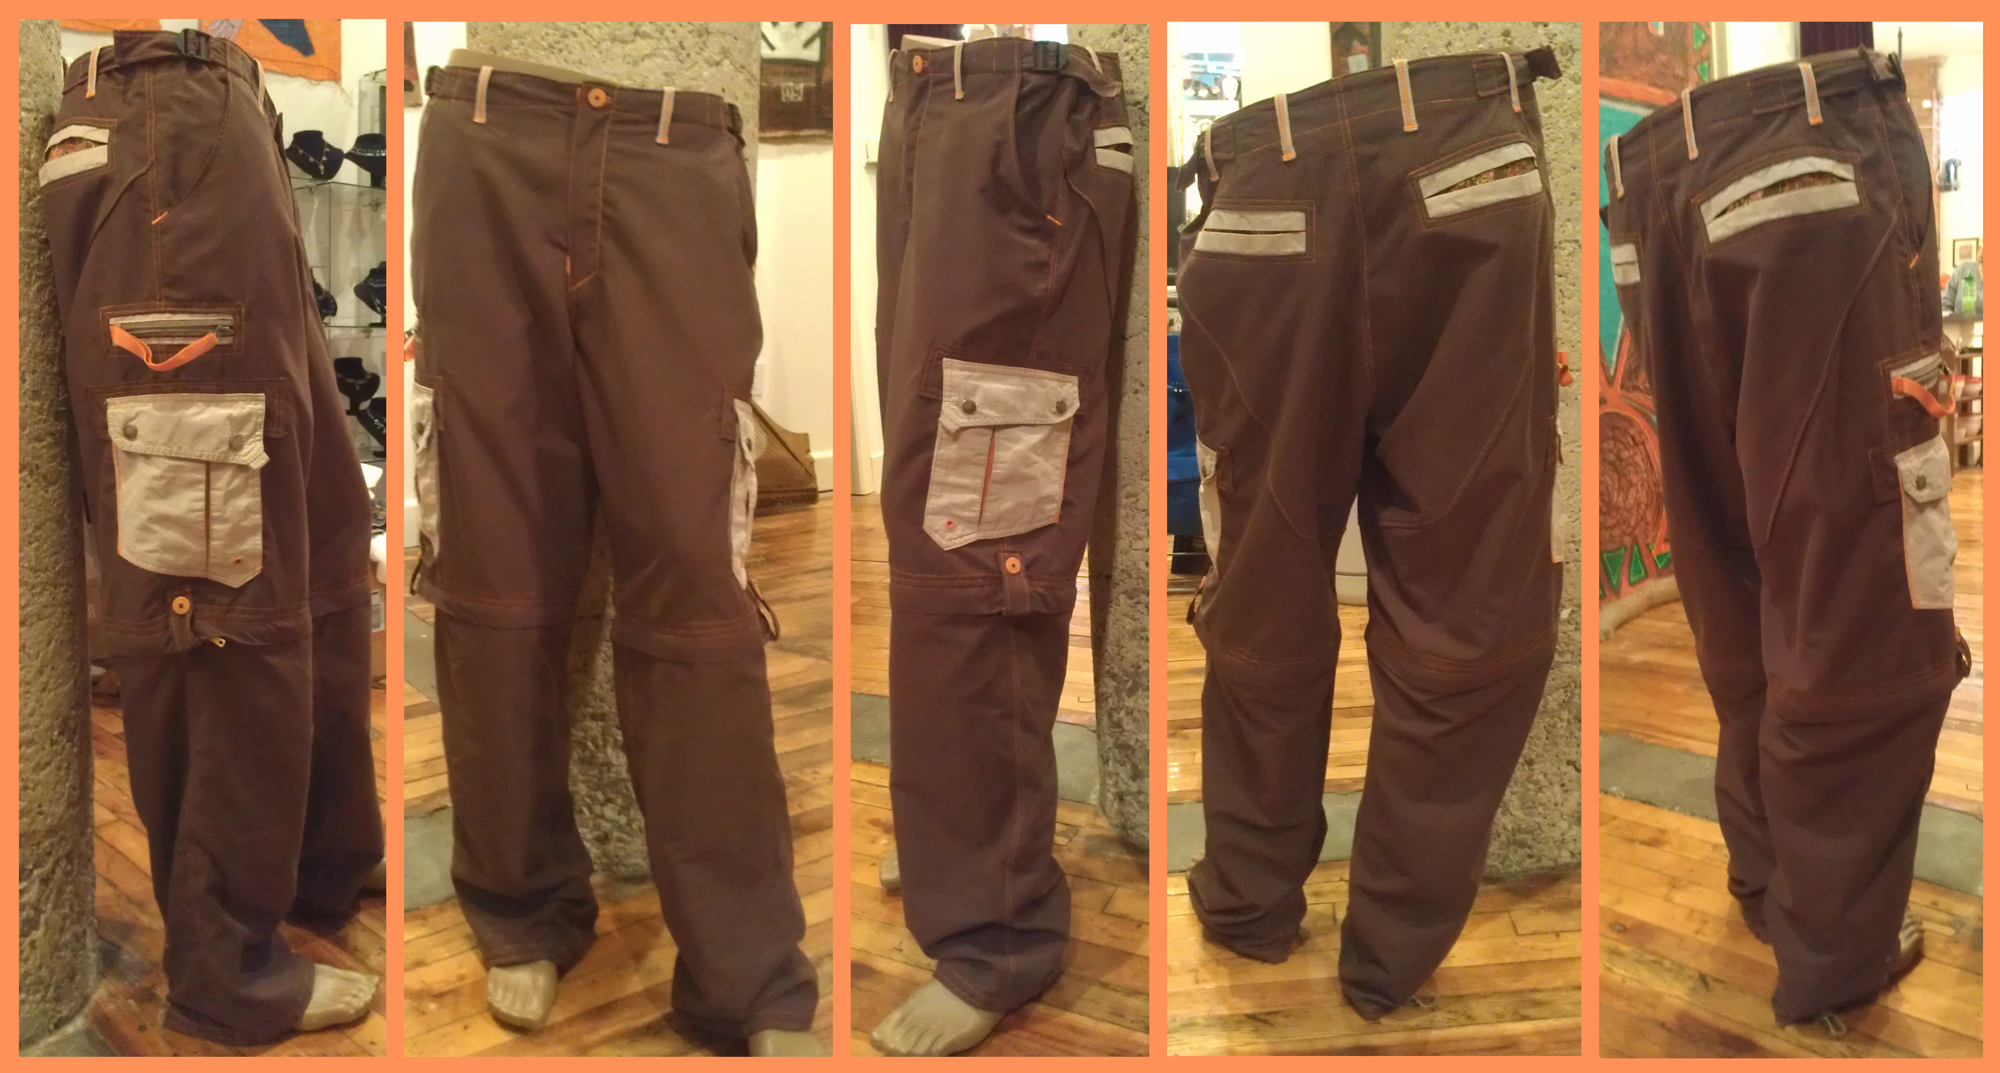
The project: pants like the black ones I made to be like the blue ones that died. You may remember the project from last September: black pants
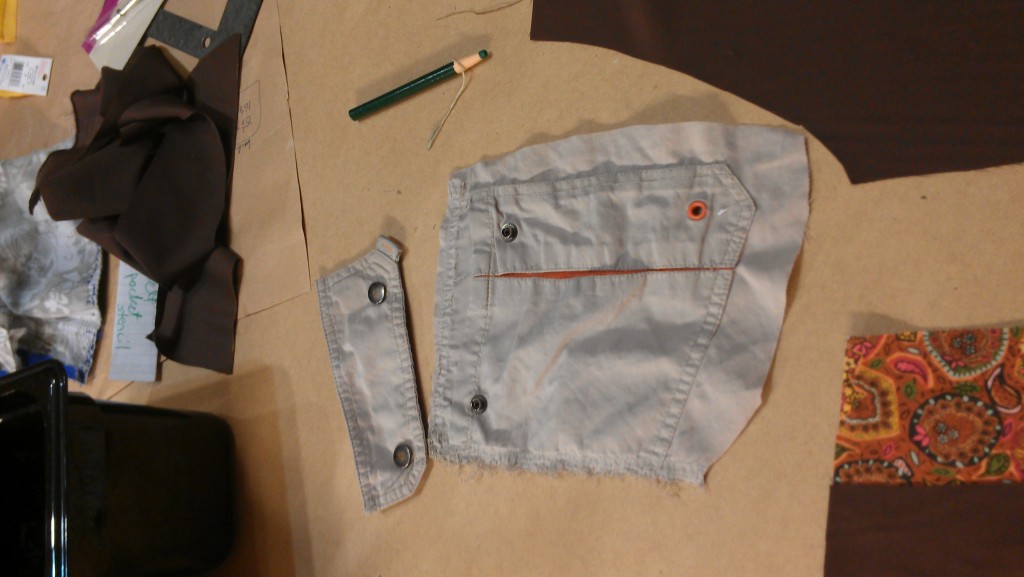
The previous pants used some pockets from the pair I copied and provided a delightful color contrast. This time I went to a thrift store and wandered through the men’s section in search of unusual pockets. I found a pair of khaki shorts with orange accents in a little boy’s size, so only the side pockets were usable; the back pockets were too small for normal people hands to fit inside.
I had been putting off starting on these pants because I couldn’t find any good fabrics. I ordered a sample online of some peachskin fabric, but it was the same flowy stuff as the black pants and I had really wanted to do something different. In my head, I saw myself using that . . . umm, I’m not sure what to call it . . . that slightly crinkly, stiff fabric they use on sporty pants; almost like it’s been treated for waterproof or something, but it probably hasn’t? Anyway, that stuff. I thought maybe if I kept checking back, some might turn up in the warehouse districts that get random fabrics and even sometimes have relatively cheap men’s suiting and what-have-you.
I went to the warehouse fabric district again a couple weeks ago and found a scrap of brown peachskin that was stiffer and less floopy, closer to the original pants and more sporty than the black fabric I had used last time. Since I knew the end user liked fun colors, I asked the shopkeep for anything besides brown; no luck, but they had more of the brown on a roll.
So I texted the client to ask if brown was okay. She wrote back that she had lost my number, and had been trying to figure out how to get ahold of me to let me know she’d like the Christmas pair to be brown. Actually, the verb up there, “wrote,” doesn’t really describe her message back, but I’ll leave that to your imagination.
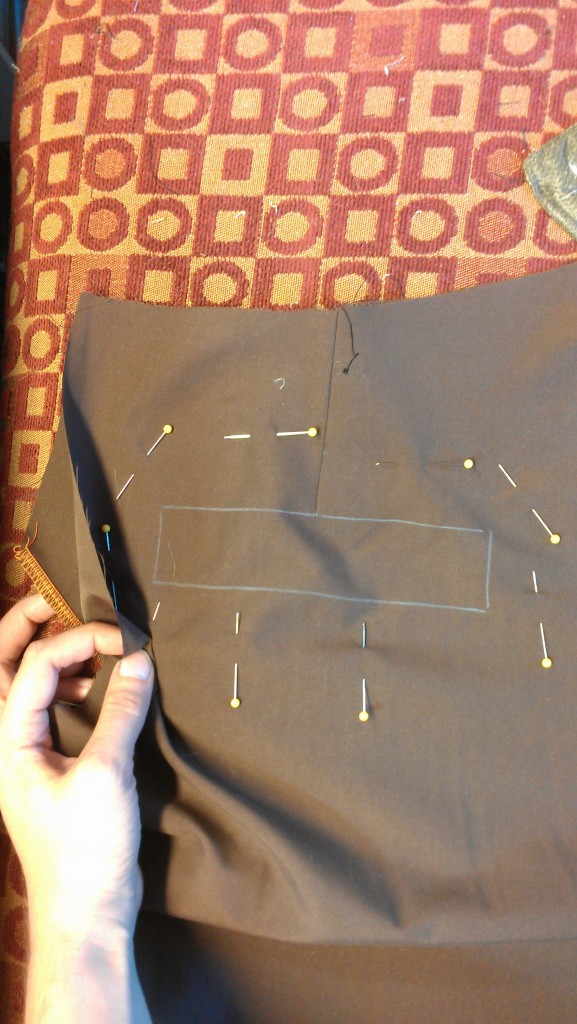
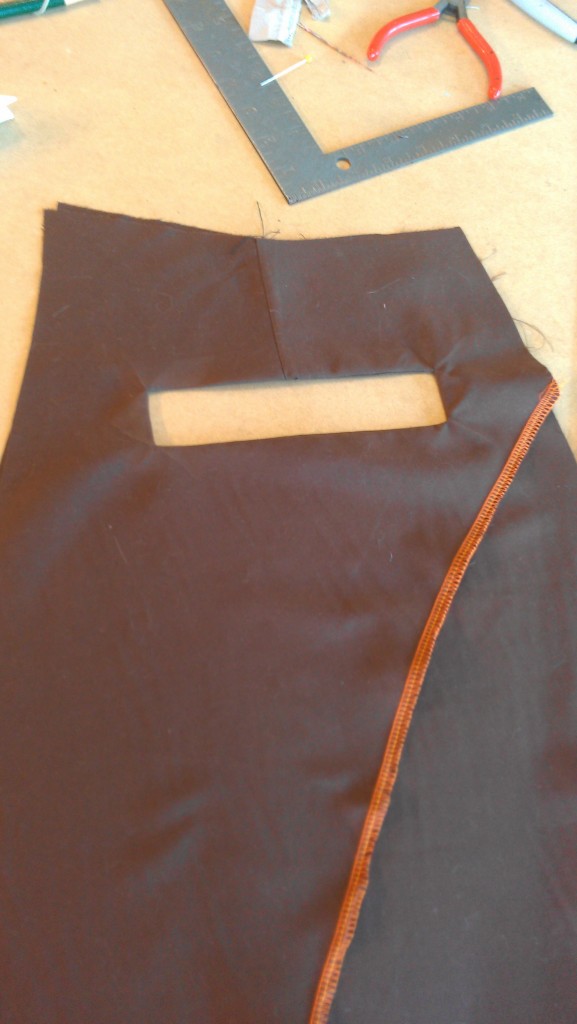
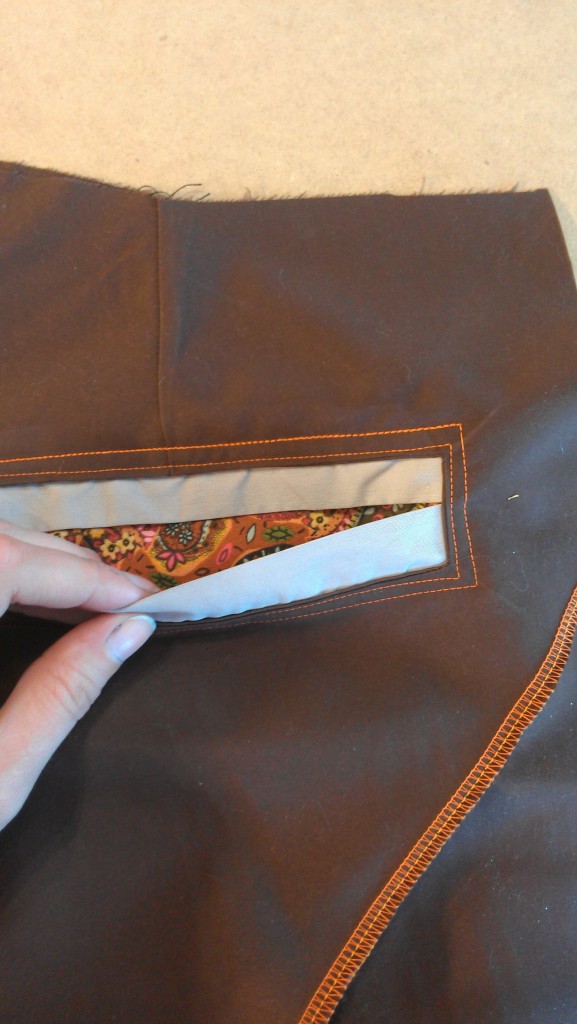
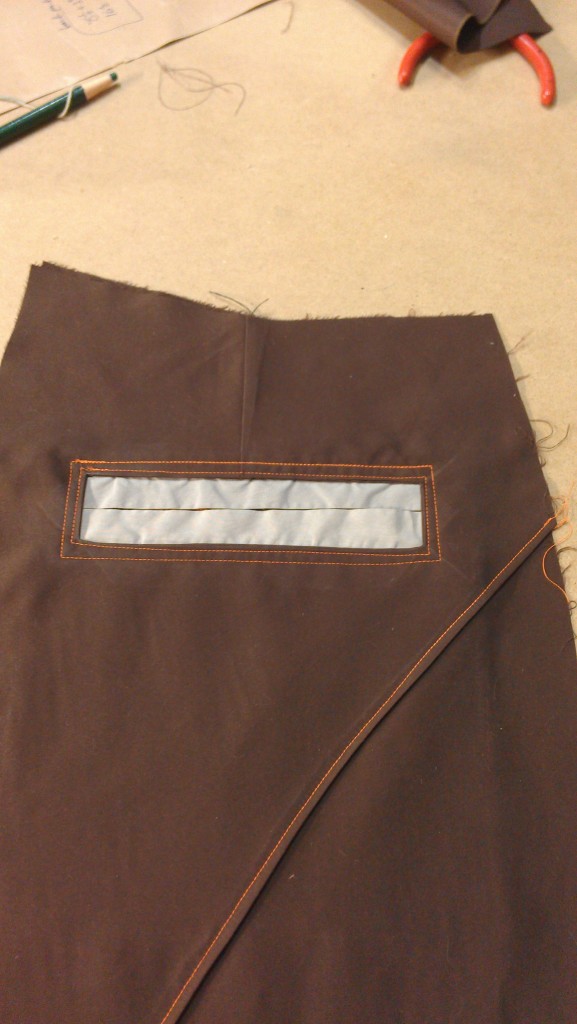
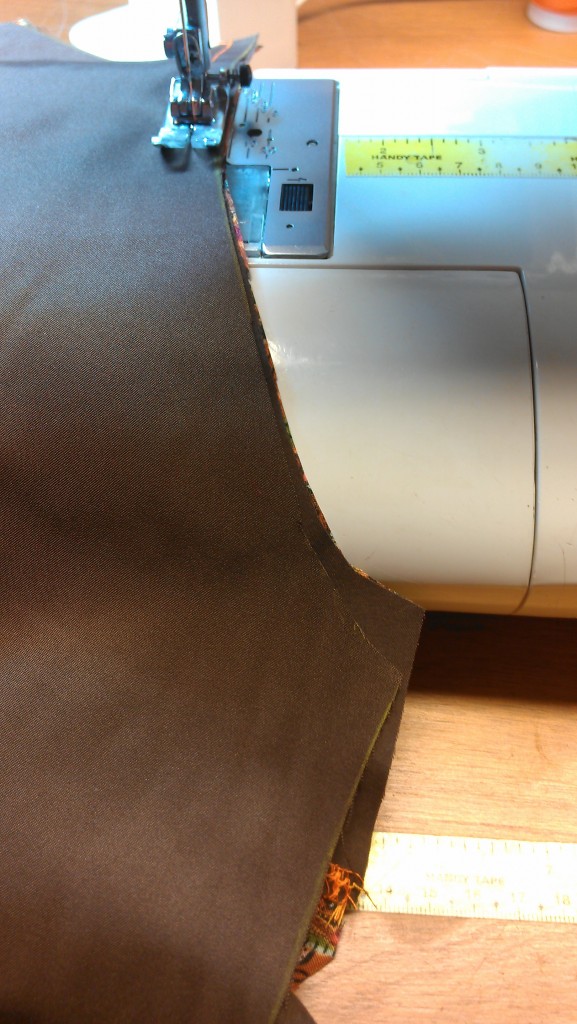
All my Constant Readers (as Stephen King would say) and my Alert Readers (as Dave Barry would say) might recognize nearly the same 2 photos from the black pair’s back pockets:
Above, I stuck my hand in the shot to demonstrate that the top layer (edged in orange thread) is pinned below the lower layer; the darts on both layers have already been put in.
Below: stitched, snipped, flipped right side out:
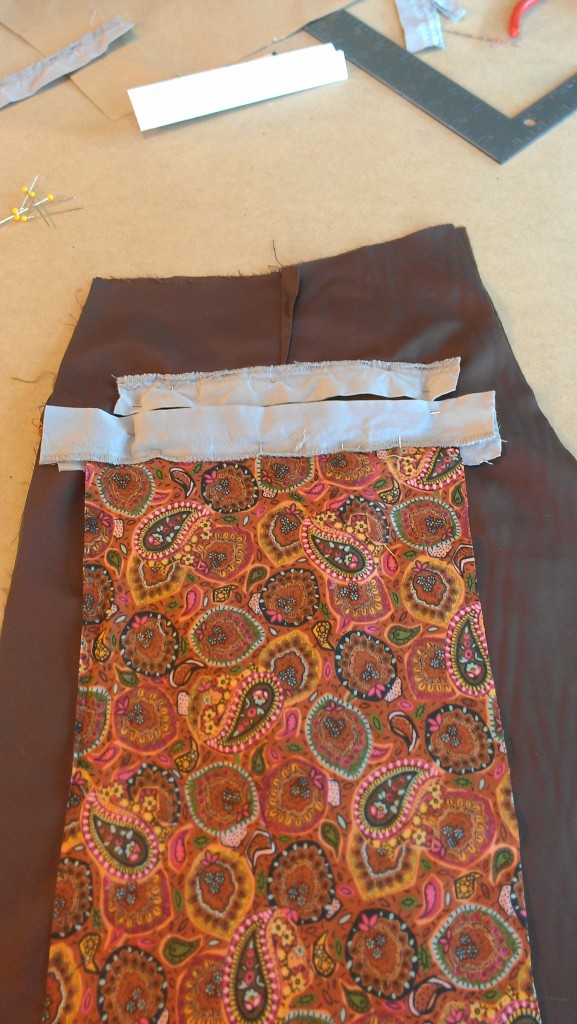
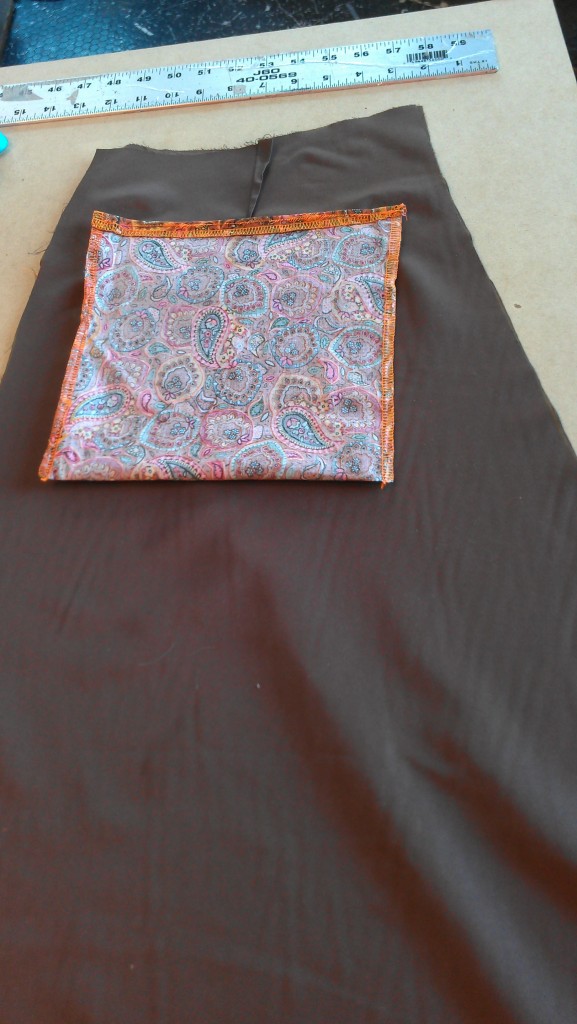
I used the cuffs of the khaki shorts for the contrast on the pockets, and a cotton fabric in complementary colors for the pouch:
Finished pocket from the inside:
From the outside:
After top-stitching the butt-protector, reinforcing layer, or whatever the heck that panel is called:
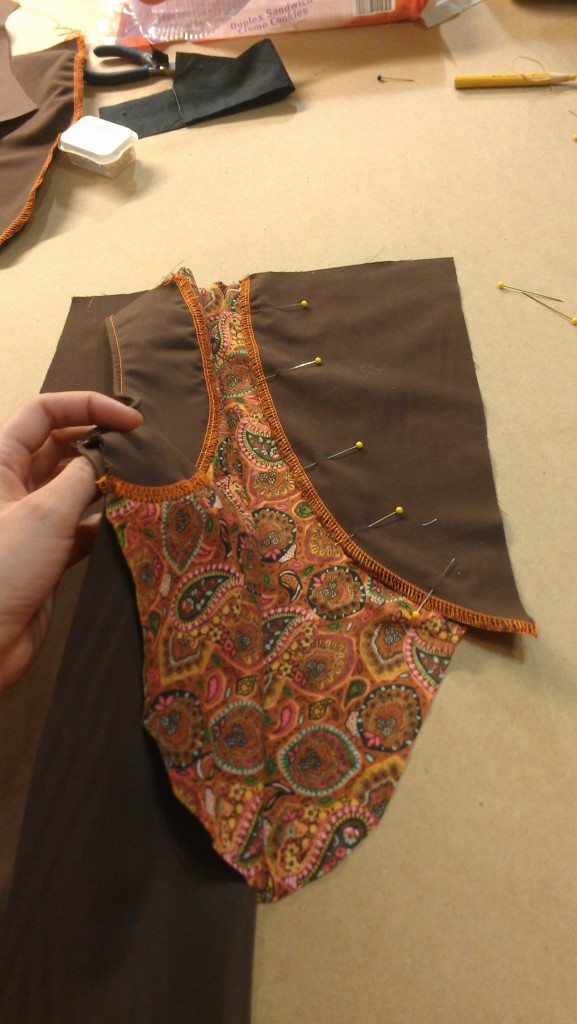
I attached the smaller facing (under my hand) onto the front pocket pouch first, then sewed it to the pants themselves before pinning the back part of the facing to make sure it laid right.
Here’s a cool thing about the front facing on these pockets. I’m showing this out of order to try to be clearer–this is the seam that I am holding in my hand above:
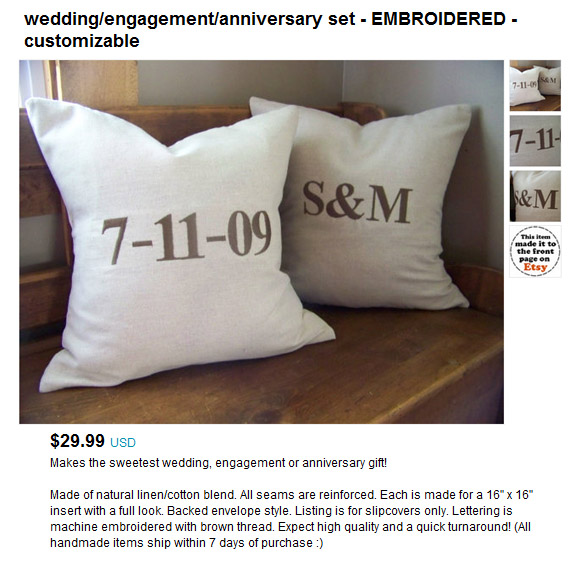
When they are lying flat and the top of the seam is lined up perfectly, the bottom of the curves are different by that much, though the total length of each is the same. This helps the pockets curve in a little when the pants are worn, rather than pooch out a little. It’s one of those things where sewing it not flat creates the illusion of it being flat. Kind of like how sewing square pillows to be square when they’re flat can give them rabbit ears, but sewing them with rounded corners produces a square pillow when it’s stuffed.
(Pillows spotted via Regretsy.)
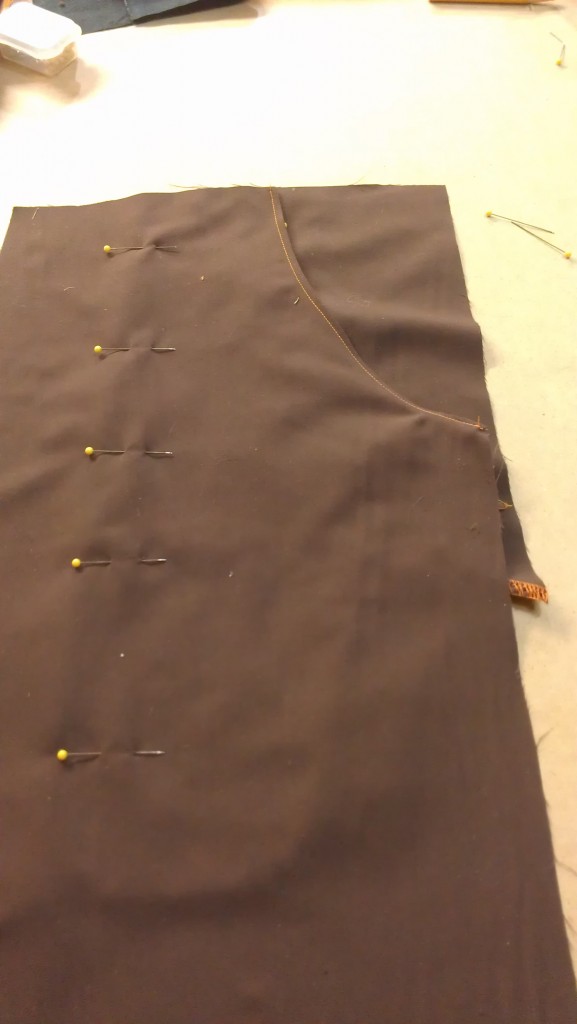
Back to the pants: pockets pinned flat–you can see the nonflatness at the bottom part, but it’ll look flat when it’s wrapped around a hip.
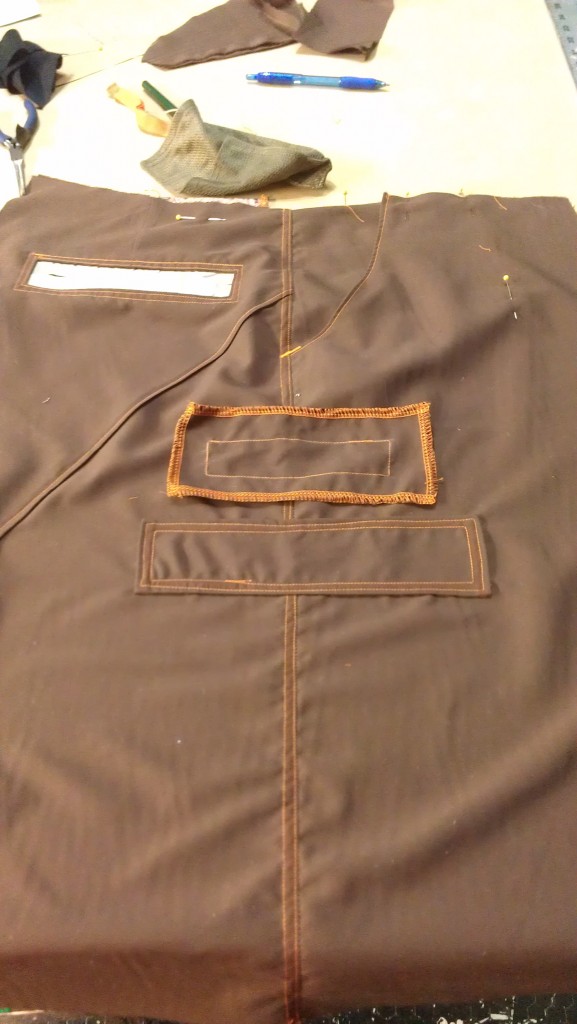
I finished off the side seams then placed the side pocket reinforcement rectangle. On one side, I also integrated an extra pocket from the khaki shorts. It needed a cut-out similar to the back pockets.
Orange zippers are no longer available locally, at least as far as I could find. Luckily, I had one on hand. Some people will look at my stash of materials as borderline hoarding, but how would they explain this zipper, installed right before Christmas and with no time to order online?
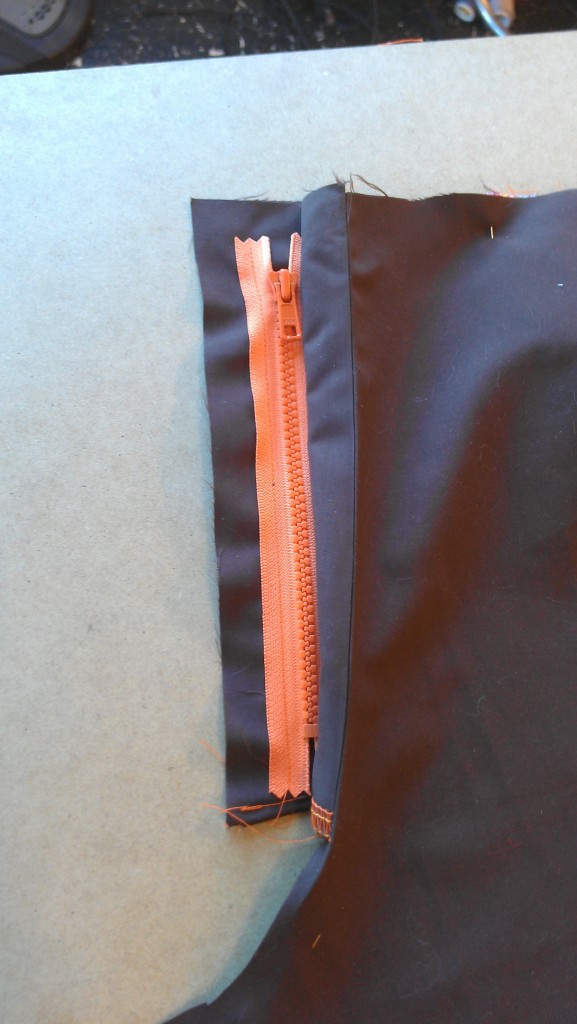
Starting the fly:
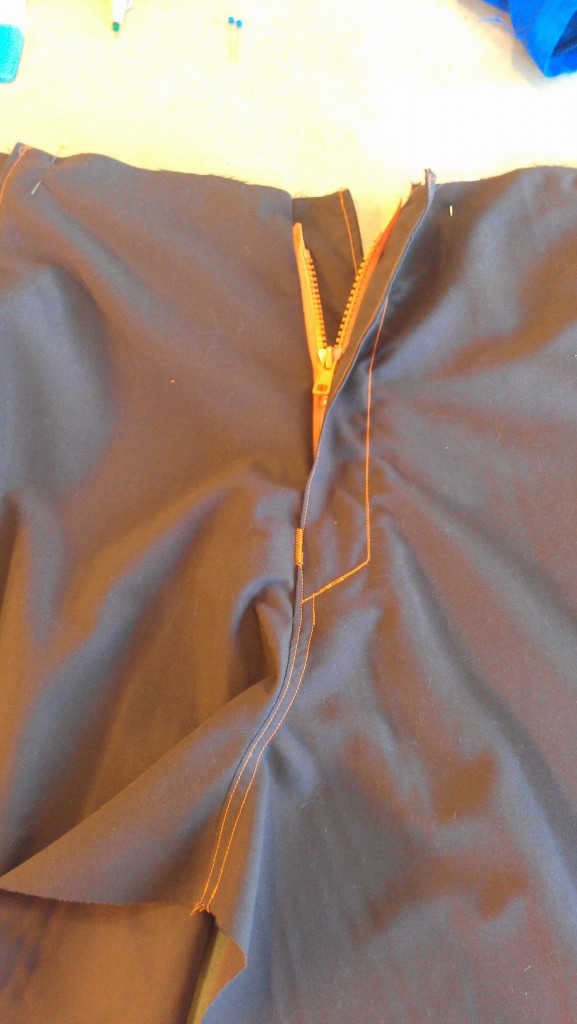
Finishing the fly:
I can put in an invisible zipper pretty much blindfolded, I never do welt zippers if I can help it, and I can count on my fingers–probably one hand–the number of fly-zippers I’ve installed. This one was practically easy–I must be getting smarter.
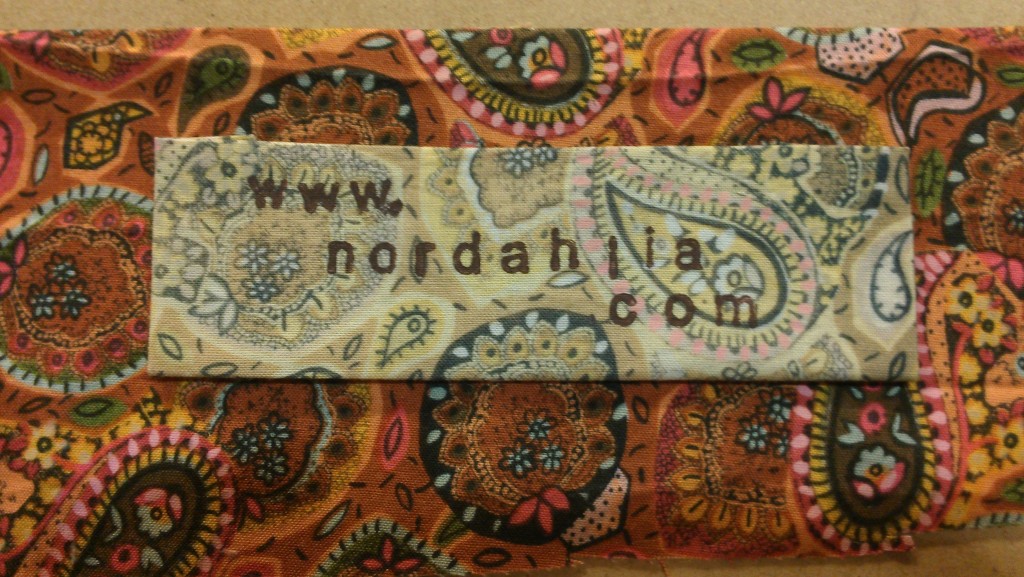
Partly in keeping with the original original-pants’ design that included large labels, as well as due to my desire to keep the inside of the waist as a “waistband” instead of having to use geometry to create a facing (I hid all the ease behind the label), I had some fun creating a specialty label:
No stamp would have turned up on the fabric as it was, so I soaked a scrap in bleach, then stamped it. I put a border of the regular fabric around the edge.

