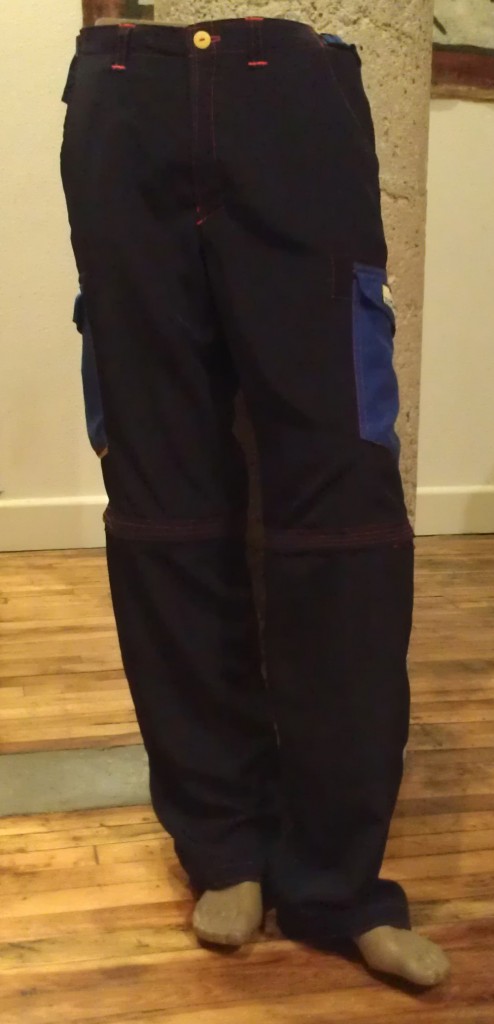
Last spring, a gentleman finally threw away his favorite (and discontinued) pants, as they were beyond repair. His very excellent wife, unbeknownst to him, retrieved them and handed them over to me to copy. Several months pass in which he has no expectation of seeing his pants again.
The Project: copy the old pants, make new ones, and incorporate the first pair into the replacement
The fabric was a sort of peachskin, which is a fairly broad description for fabrics which, although I am sitting here literally fingertaps away from finding out for sure, I am going to assume is made from brushing one side to make it soft. I’ve been on a search before for a heavier-weight peachskin fabric and come up empty-handed, despite visiting the fabric warehouse district, Joann’s, Hancock’s, and getting samples online. Luckily, Joann’s just so happened to have a current line of peachskin fabrics that were close enough. I picked the black fabric as it felt slightly closer to the original than the other colors.
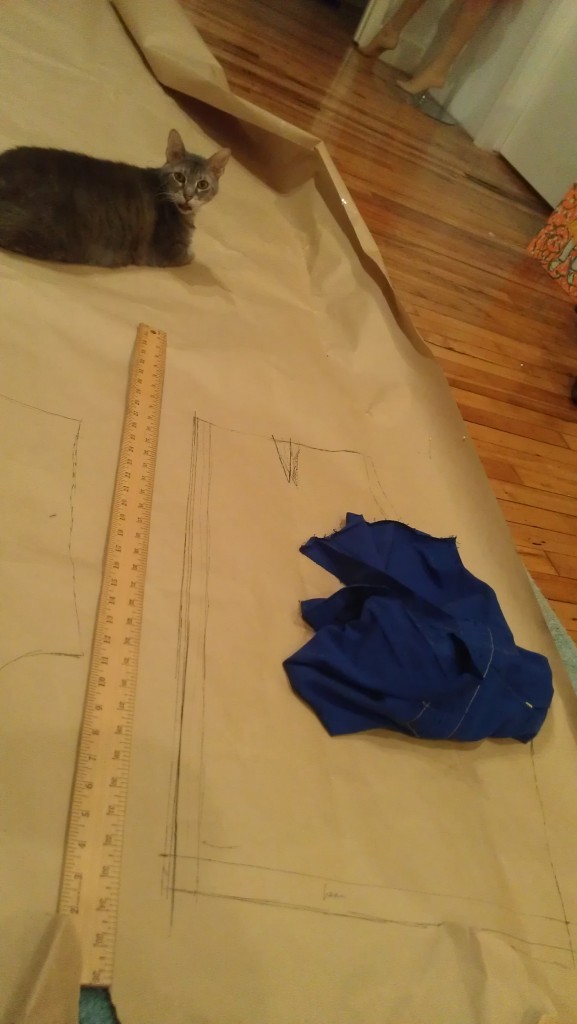
Step one: make a pattern. There are ways to do this without dismantling the original, but as that is not always as easy and accurate, and as these pants are trash anyway, I went ahead and ripped out several of the seams.
Paper pattern:
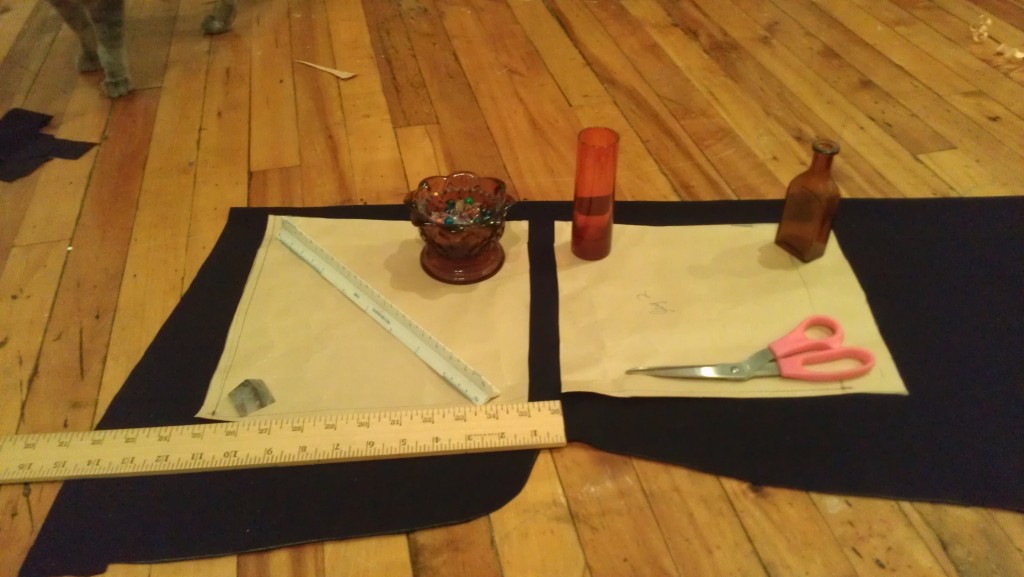
While copying the lower legs, I remembered that the client had said the originals were actually a little short. Since this was a simple pattern piece, I just cut it in half horizontally, measured an inch space between them and weighted the piece on the fabric.
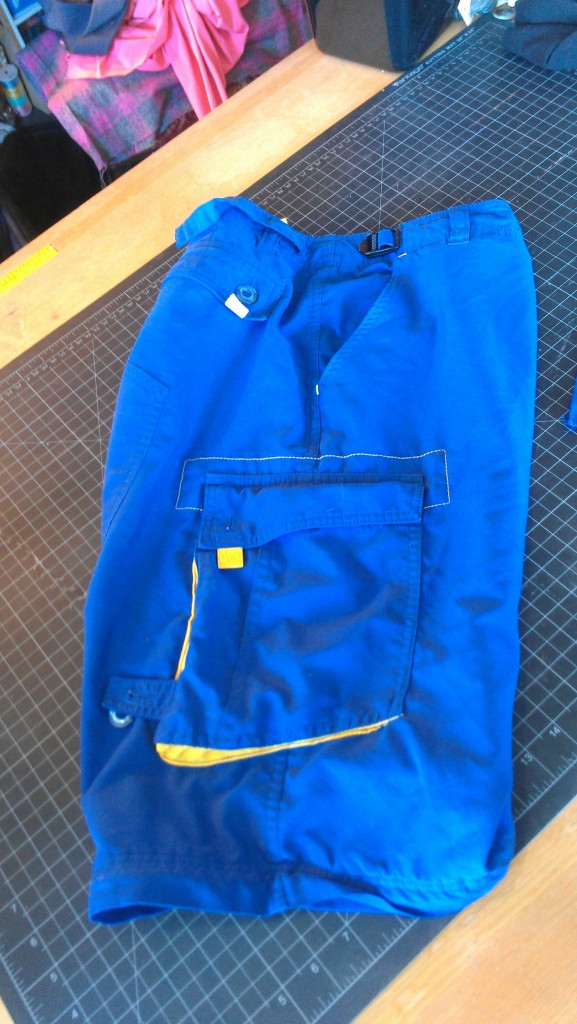
I remembered at the last minute to take a picture of the original before completely cutting it up:
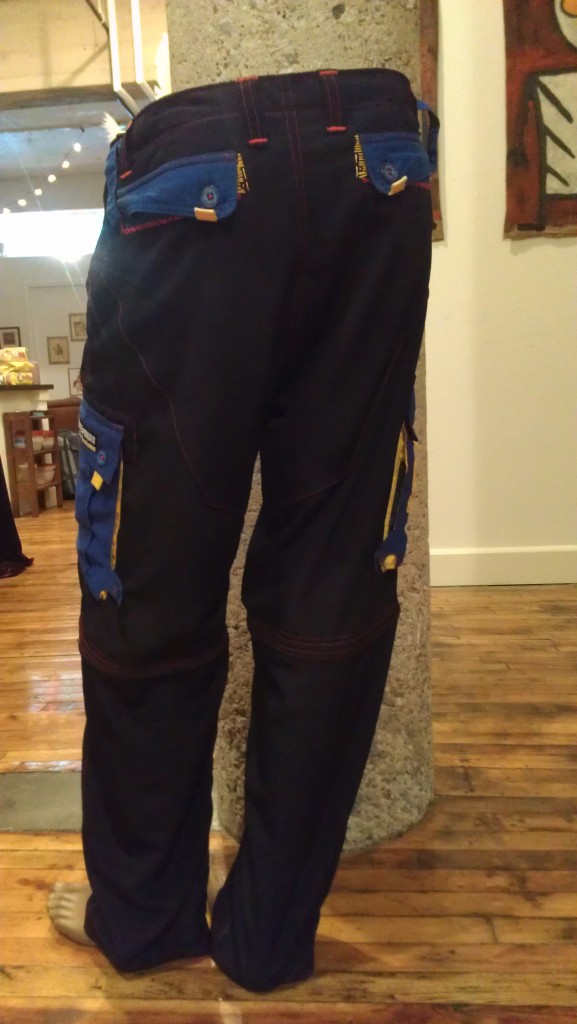
On the left, you can kind of see the seam from where the butt-reinforcer stops short. It only comes about halfway up the back of the pants, and the final tear was just above it. I decided to expand the reinforcement to cover the entire back up to the waistband.
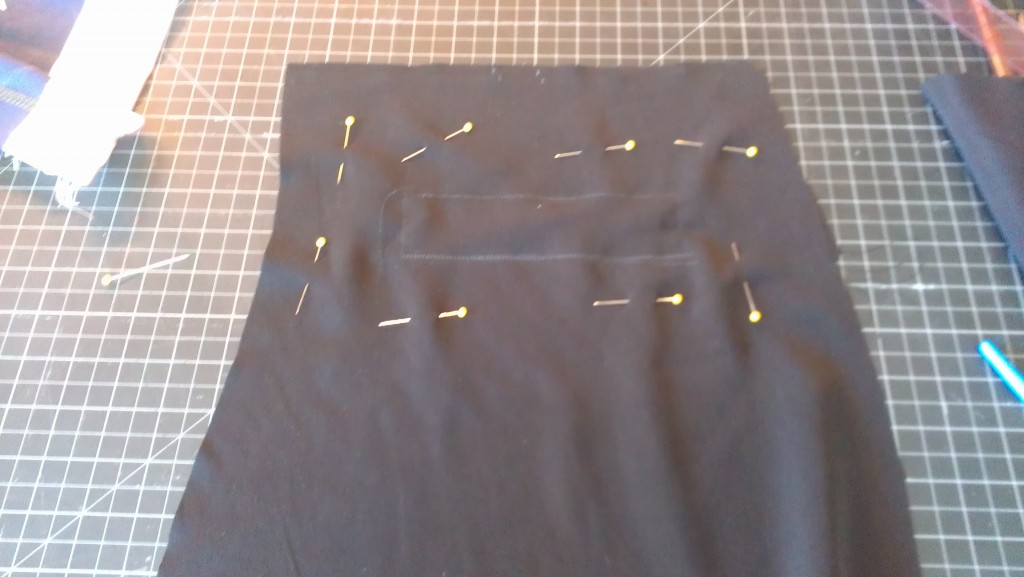
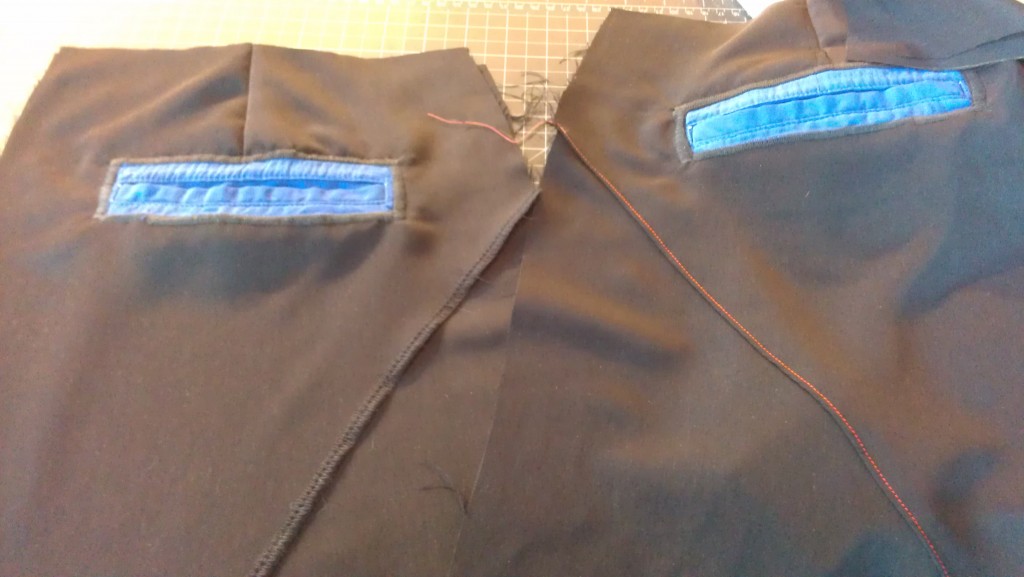
Improvised on the back pockets, using the reinforcing piece as the facing:
Stitch over the chalk rectangle, cut a slit and fold the fabric through to create a finished edge around the inside of the rectangle.
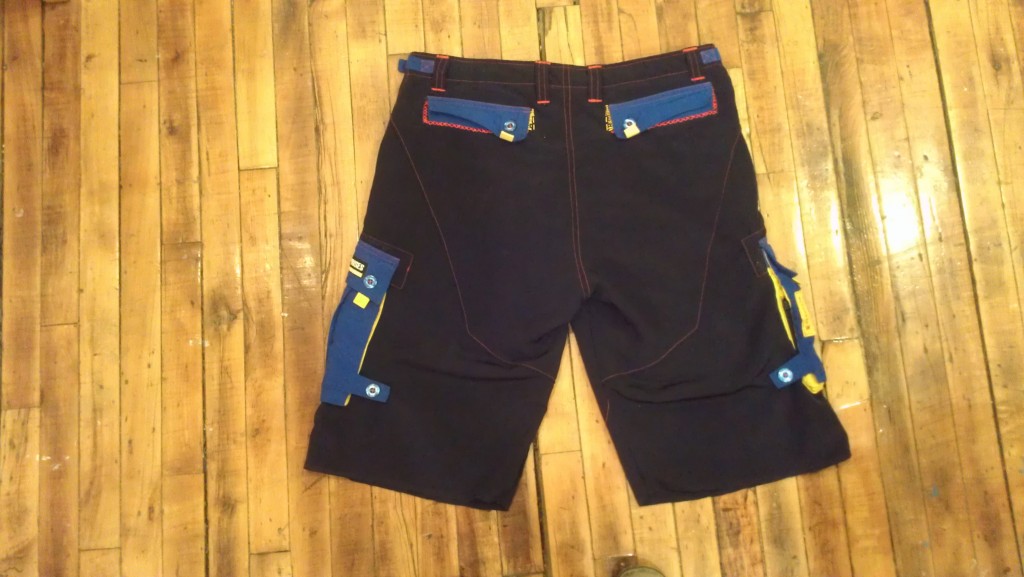
I cut off the original blue back pockets, satin-stiched them into place on the new pants. The right leg has the reinforced back top-stiched into place (I decided to go with red), while the left one has not been finished off yet:
In summary:
1. Make a pattern
2. Sew on the back pockets
3. ????
4. Pants!
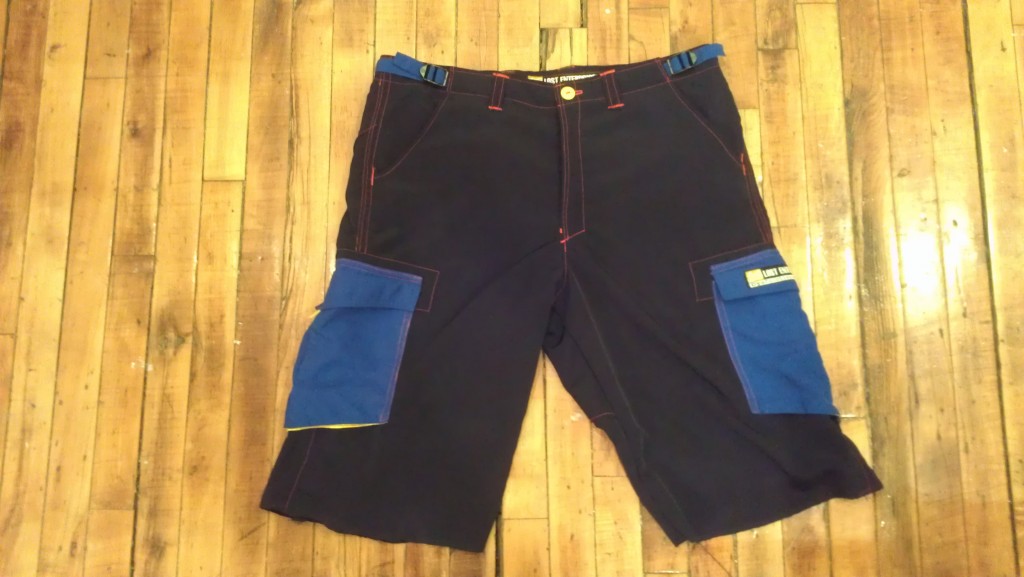
I used as much of the original pants as possible. One of the blue buttons was missing, so I dug through my yellow-button drawer and found one that matched the yellow fabric. I found a tempting red one as well, but the shade made the red top-stitching seem more pink.
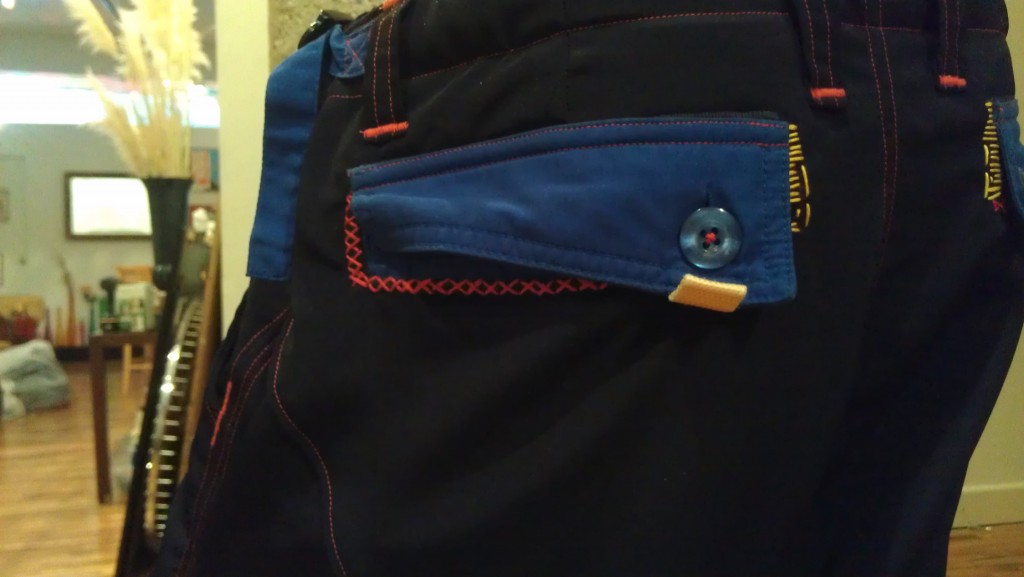
I added some hand-stitching with embroidery thread around the edges of the back pockets as the machine top-stitching came out looking yo-mama homemade instead of handmade.
This is the top half of some removable-bottom pants that could be transformed into shorts. At this point in the process, it was like climbing down the other side of Mt. Everest. Still a challenge, but not nearly as exciting as the first part. Kinda ready to pitch a tent and hang out for a bit. Admire the view, dwell on the challenges overcome.
Birthday deadline coming up soon :: storm coming in over the horizon.
Have to head back down, ignore temptations to dawdle.
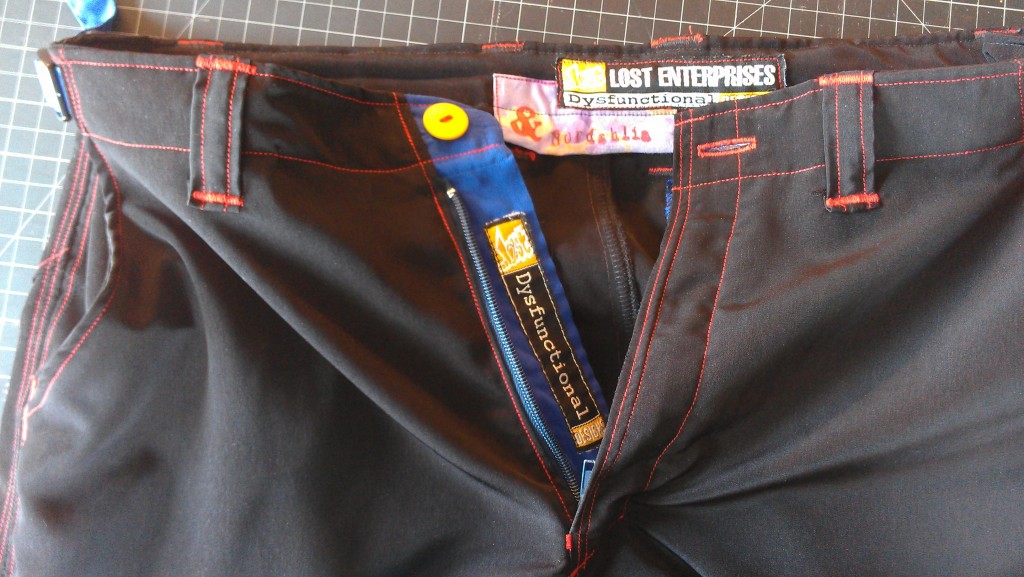
I kept the original fly-pieces. Yes, the label “dysfunctional” was there originally. I put the back-of-waist label in, and made one of my own to go with it. Partly because I’m cool like that, and partly because it bridged a gap and made it possible for me to use a waistband instead having to measure out a facing on the inside and geometrically allow for the back darts.
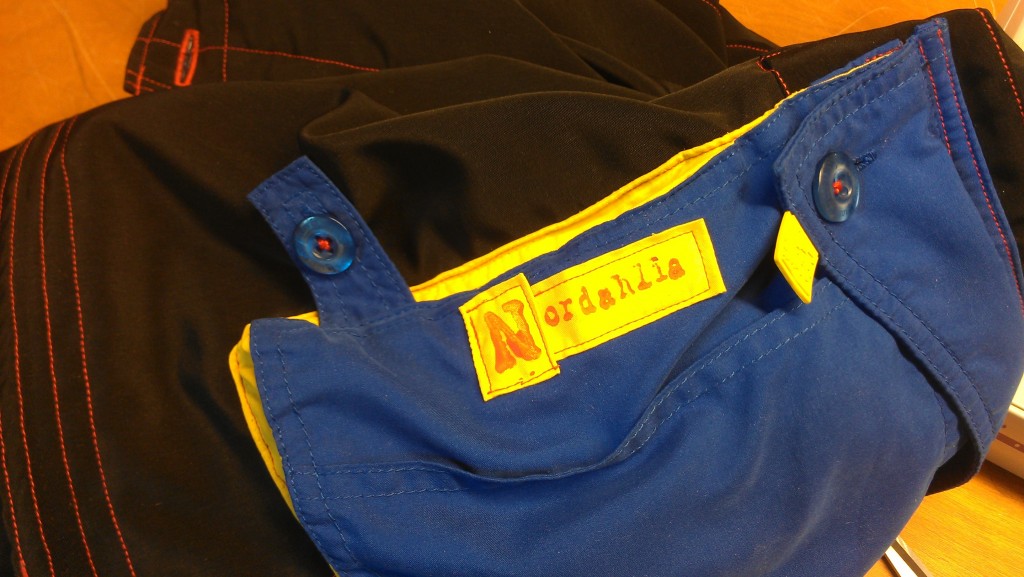
As the original design included other decorative labels, I decided to stamp my brand onto some of the old yellow fabric to cover up a hole in a pocket. I could NOT get the N right, so I decided to stop wrestling with the tiny N stamp and make it look like a design element.
I’m not a big fan of sewing pants, which is the cause and the effect of almost never making them. While, apparently, everyone else figures out welt zippers and then freaks out about invisible zippers, I’ve taken the opposite path. I can just about do invisible zippers with my eyes closed, but welt zipper style and jeans fly?? I’ve always viewed them with that “step one, step two, then a miracle occurs, zipper!” attitude. Plus, I’m going to have to reset my perceptions for pants in general, and menswear in particular, in regard to work vs. reward. I can pretty quickly add a flounce of some kind to a skirt–they can look complicated and eye-catching without spending much time. However, the elements that go into menswear and pants are time-consuming, require more exacting placement, and aren’t generally admired so much as expected.
While working on these pants, I decided to take the opportunity to think about my attitude about potential projects. Before starting, I was really reluctant, I thought they would be harder than they turned out to be, and was put off by the expected tediousness of all the small and subtle elements. I contemplated a future of only accepting projects that were fabulously exciting from the outset.
The encouragement to add a lot of color and get creative really helped get me going. Through the rest of the process, I thought a lot about how much he would appreciate the gesture from his loving wife resulting in his pants’ resurrection.
As I’ve dabbled in menswear and discovered how hard it is to find ways to change them and add design elements without turning them into girl clothes, I enjoyed figuring out creative touches to these pants that wouldn’t make the color choice scream 80’s.
I checked in with the client after her husband’s birthday party. My initial plan, as there was a bit of uncertainty about the proper length, was to leave them extra long and unfinished. Then I realized it’s no fun to unwrap your favorite pants and have to wait to have them tailored. So I went ahead and finished them at the length we suspected.
Turns out they were perfect–exactly the right length. Dude put them on immediately, wore them the next day as well, absolutely loved them. So gratifying.

Everything is very open with a precise description of the challenges. It was really informative. Your site is very helpful. Many thanks for sharing!
Hi, i have reading out and i will definitely bookmarrk your site, just wanted to say i liked this article.